The kitchen faucet is one of the most used fixtures in any home, which means it can also be the first to show signs of wear and tear. It’s not uncommon for homeowners to want to replace their kitchen faucets, whether because of a leak or simply to update the look of their sink.
While replacing a kitchen faucet may seem daunting, it’s a relatively simple task that can be done in just a few hours with the right tools and some basic DIY knowledge. We will walk you through the step process of how to replace a kitchen faucet.
We’ll cover everything from choosing the right replacement faucet to removing the old one and installing the new one. We’ll also share some tips and tricks to make the process as smooth and stress-free as possible.

What Is A Kitchen Faucet?

A kitchen faucet is a device used to control water flow in a kitchen sink. It typically consists of a spout, handles or knobs for controlling the water temperature and flow and various internal components such as valves and cartridges that regulate the water pressure. Kitchen faucets come in multiple styles and finishes to match the décor of your kitchen, from traditional designs to sleek modern options.
They can also include additional features such as pull-down sprayers or touchless technology for added convenience and functionality. Overall, a kitchen faucet is an essential component of any kitchen sink and plays an important role in daily activities such as washing dishes and preparing food.
Types Of Kitchen Faucets

When choosing a kitchen faucet, there are several types to consider. The most common kitchen faucets include single-handle faucets, double-handle faucets, pull-down faucets, and pull-out faucets. Single-handle faucets are convenient for quick adjustments of water temperature and flow with just one hand, while double-handle faucets allow for more precise control over the water temperature.
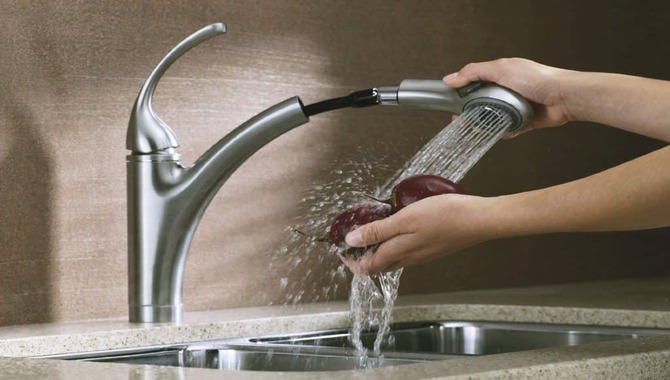
Pull-down and pull-out faucets have a spray wand that can be pulled down or out for easier cleaning and rinsing of dishes. Ultimately, the type of kitchen faucet you choose will depend on your personal preferences and needs in the kitchen.
How To Replace A Kitchen Faucet: The 7 Easy Steps
Replacing a kitchen faucet can seem daunting, but it can be done easily and quickly it can be done easily and quickly with the right tools and a little know-how. Before you start, turn off the water supply valves under the sink and disconnect any water lines or hoses from the old faucet. It can be done easily in just 7 steps. Here’s how to replace a kitchen faucet:
- Turn off the water supply. This is an important step to prevent any potential water damage or accidents.
- Remove the old faucet. Use a wrench to loosen and remove the nuts holding the tap in place.
- Clean the sink area. Remove any leftover debris or caulk from around the old faucet.
- Install the new mounting hardware. Follow the manufacturer’s instructions to attach the new mounting hardware to your sink securely.
- Attach the new faucet. Carefully align and secure your new faucet onto its mounting hardware using nuts and washers.
- Connect water supply lines. Use flexible connectors to connect hot and cold water supply lines to your new faucet.
- Test for leaks. Turn on your water supply and test for any leaks at all connections before cleaning up and enjoying your newly installed kitchen faucet.
Troubleshooting Common Issues With Kitchen Faucets
Kitchen faucets are essential to any home, but they can sometimes experience issues that require troubleshooting. Common problems include leaks, low water pressure, and difficulty turning the faucet on or off. If you experience any of these problems, there are several steps you can take to troubleshoot the issue before calling a plumber.
For leaks, check the O-ring and valve seat for damage and replace them if necessary. For low water pressure, clean out the aerator and remove any debris blocking the water flow. If your faucet is difficult to turn on or off, try tightening or replacing the handle. By following these troubleshooting tips, you can keep your kitchen faucet running smoothly and avoid costly repairs down the line.
How To Change A Kitchen Faucet
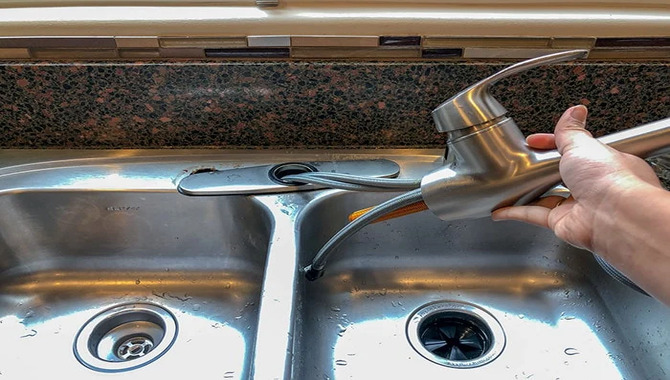
When changing a kitchen faucet, it is essential to have all of the necessary tools and materials readily available before beginning the project. Start by turning off the water supply valve below the sink and removing the old faucet using an adjustable or basin wrench.
Before installing your new kitchen faucet, apply the plumber’s tape to all its threading connections to prevent possible leakages. Then follow your new kitchen faucet’s manufacturer’s instructions meticulously, including securing its mounting nut tightly with pliers or a wrench and attaching it to your sink using its escutcheon plate or deck plate if needed.
Finally, reconnect your water supply lines with couplings or compression fittings and turn on your hot and cold water valves. Don’t forget to test for leaks before putting away any extra supplies.
Tips For Installing A New Kitchen Faucet
Installing a new kitchen faucet can be a DIY project that can save you money and give your kitchen a fresh update. It can be a relatively simple process. Before installing, turn off the water supply to your sink and remove any old fixtures or hardware. Here are some tips to help you successfully install your new faucet:
- Turn off the water supply: Before starting the installation process. Make sure to turn off the water supply to your kitchen sink. This will prevent any accidental flooding or water damage.
- Gather necessary tools: It is important to have all essential tools on hand before beginning the installation process. These may include a basin wrench, an adjustable wrench, a plumber’s tape, and a screwdriver.
- Follow manufacturer’s instructions: Each faucet is different, so it is important to read and follow the manufacturer’s instructions for installation carefully.
- Check for leaks: Once the installation is complete, turn on the water supply and check for any leaks or drips. If there are any issues, tighten connections or apply the plumber’s tape as needed.
By following these tips, you can successfully install a new kitchen faucet and update the look of your kitchen while also improving its functionality.
How Long Does It Take To Replace A Kitchen Faucet?
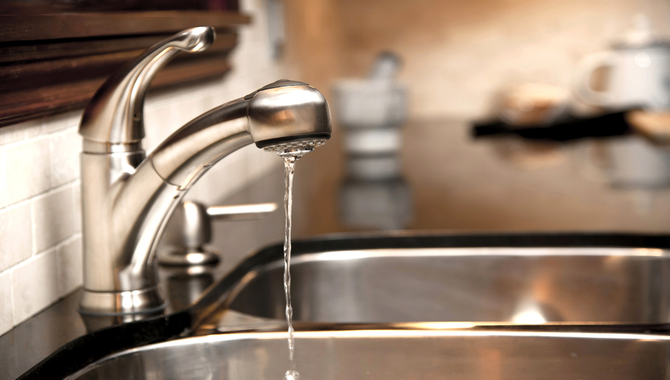
The amount of time it takes to replace a kitchen faucet can vary depending on several factors. Such as the complexity of the installation and the experience level of the person doing the replacement. However, on average, it typically takes about 1-2 hours to complete the installation process.
This includes turning off the water supply, removing the old faucet, installing the new one, and testing for leaks. It may take longer if any additional plumbing work is needed or if there are complications during the installation process. It is best to consult a professional plumber if you are unsure how long it will take to replace your kitchen faucet.
Things To Keep In Mind While Replacing A Kitchen Faucet
Replacing a kitchen faucet can be a great way to update the look of your kitchen and improve functionality. However, it is important to keep a few things in mind before you start the project. First, ensure you have the necessary tools and supplies on hand, including a basin wrench, adjustable wrench, plumber’s putty or silicone caulk, and Teflon tape.
You should also turn off the water supply to your sink before you begin to prevent any leaks or flooding. Additionally, consider the size and style of the new faucet to ensure that it will fit properly with your sink and existing plumbing.
Finally, take your time during the installation process and follow all manufacturer instructions carefully to ensure that your new faucet is installed correctly and functions properly. By keeping these tips in mind, you can replace your kitchen faucet with confidence and enjoy a refreshed look in your kitchen.
Conclusion
Replacing a kitchen faucet may seem daunting, but it can be a manageable DIY project with the right tools, materials, and instructions. Remember to choose a faucet that fits your sink and style preferences, turn off the water supply, and carefully follow each step of the installation process.
Again, always turn off the water supply before beginning any plumbing work. If you’re unsure about any step on on how to replace a kitchen faucet, don’t hesitate to seek the help of a professional plumber for assistance.
With the right tools and knowledge, replacing a kitchen faucet can be a satisfying and rewarding DIY project. With a little patience and attention to detail, you can successfully replace your kitchen faucet and enjoy a refreshed look in your kitchen.
Frequently Asked Questions
[rank_math_rich_snippet id=”s-c87cccb8-1702-4042-97e3-6c0085fc6c3f”]

I am passionate about home engineering. I specialize in designing, installing, and maintaining heating, ventilation, and air conditioning systems. My goal is to help people stay comfortable in their homes all year long.

