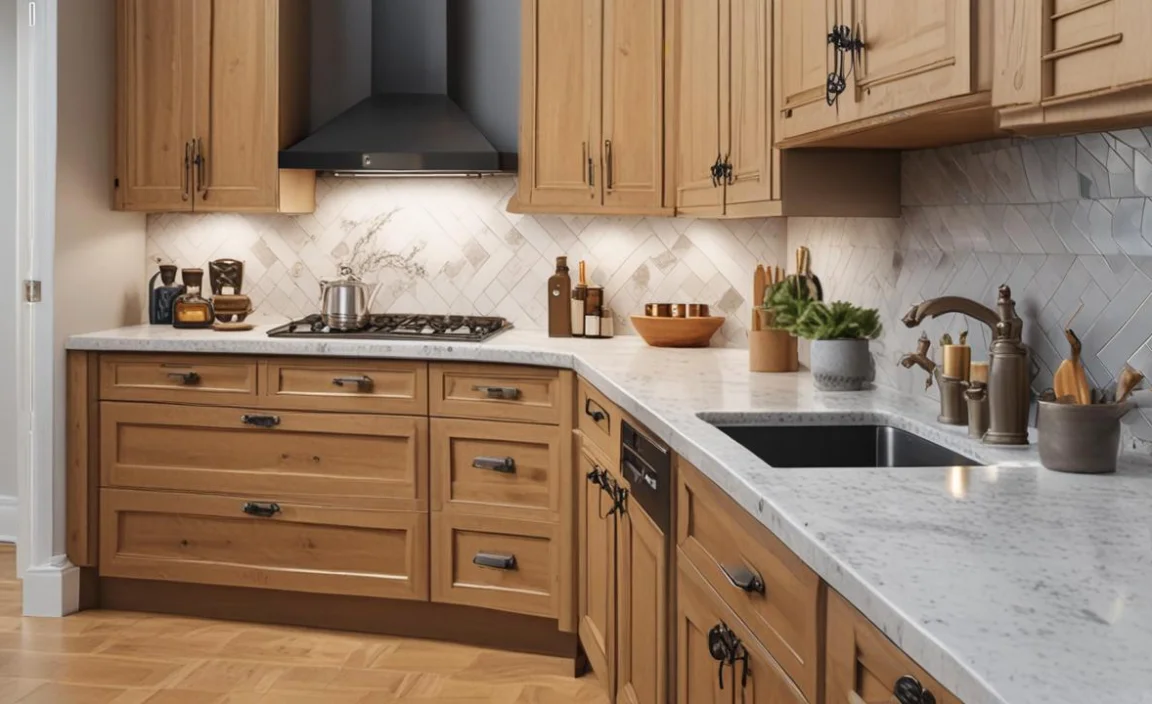
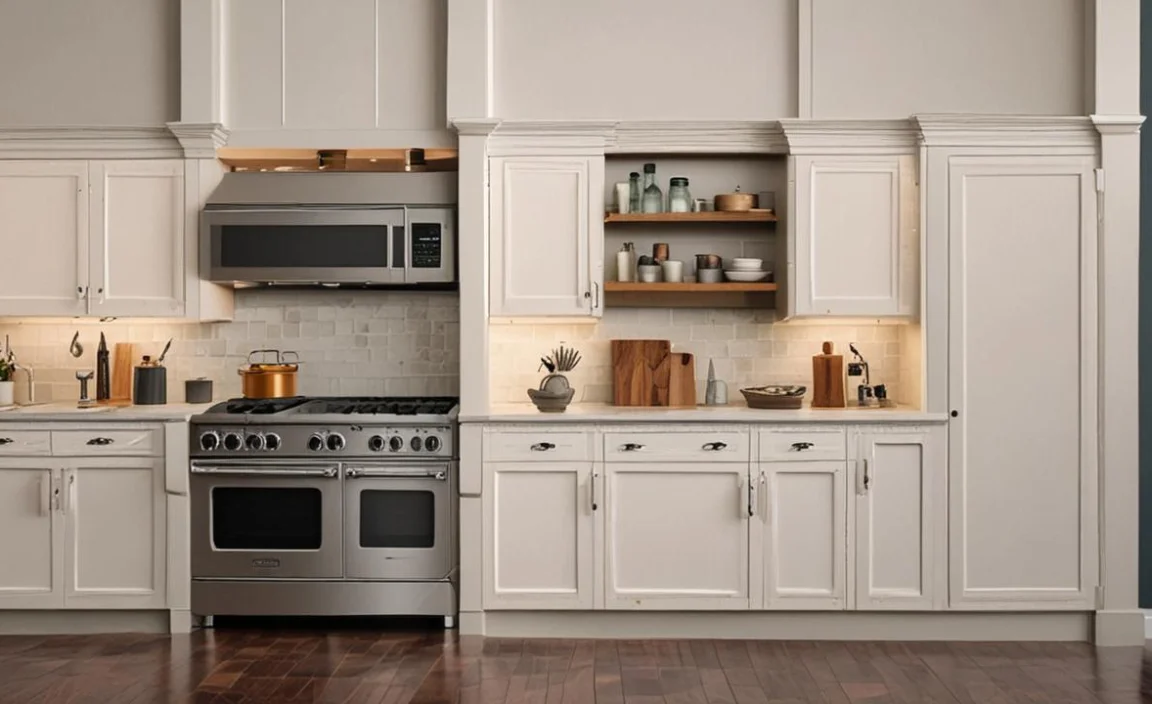
Replacing cabinet hardware can be a quick and easy way to give your kitchen or bathroom a fresh new look. Whether you’re looking to update outdated hardware or just switch things up, replacing cabinet hardware is a simple DIY project that can make a big impact.
With just a few basic tools and some new hardware, you can transform the look of your cabinets in no time. We’ll cover everything from the tools and materials needed and how to replace cabinet hardware, to choosing the best knobs for your cabinets and installing new hardware.
We’ll also share some tips on updating existing cabinet hardware, so you can achieve the look you want without breaking the bank. So let’s get started.

How To Replace Cabinet Hardware – Things To Know
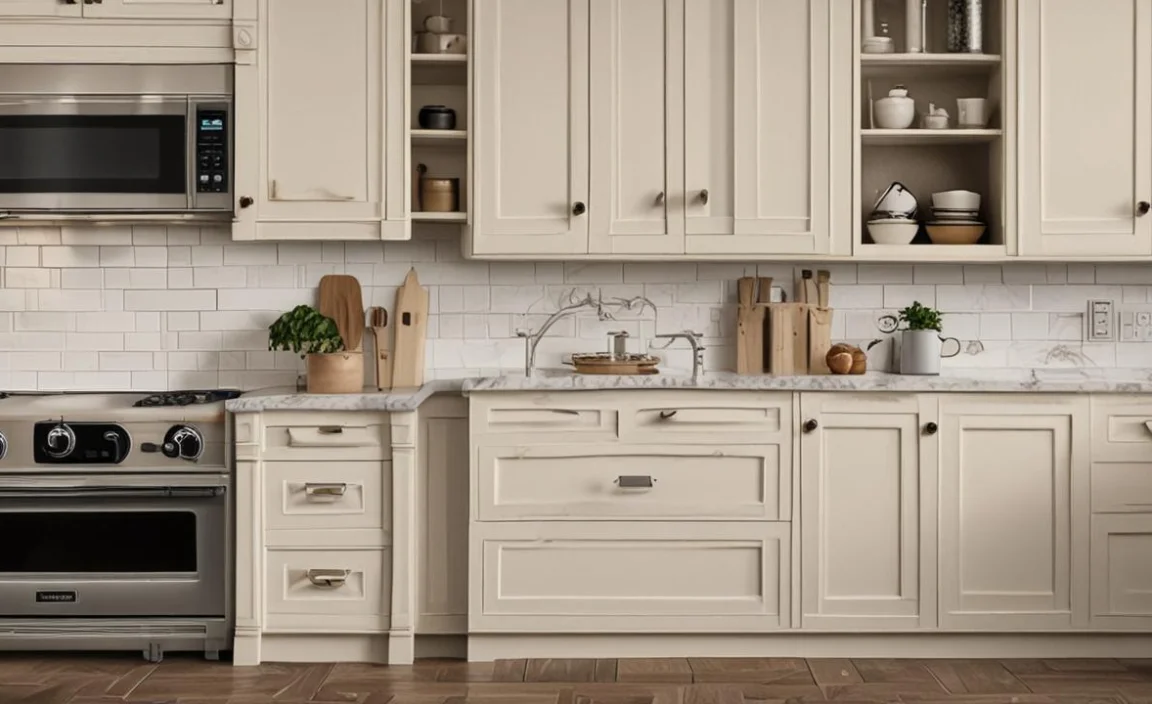
Replacing cabinet hardware is a simple and cost-effective way to give your kitchen or bathroom a fresh look. Before you begin, there are a few things to know to ensure the process goes smoothly. To replace your cabinet hardware, you will need to follow these steps.
Following these steps, you can easily replace your cabinet hardware and give your space a fresh look without breaking the bank. Here is step by step process on how to replace cabinet hardware.
Tools And Materials Needed
Replacing your cabinet hardware can give your kitchen cabinets a new life without having to invest in new cabinetry. Basic tools such as a screwdriver, drill bit, and measuring tape are required for this project. To install new knobs or pulls in place of old ones, you need to determine the diameter of the hole and the type of hardware needed.
You can use a template provided with the hardware or make one yourself from scrap cardboard for drilling holes in exactly the right place. Once you have drilled a hole in the right place, check that the screw thread is compatible with your drawer front or door edge.
What Is The Best Knob For Your Cabinets?
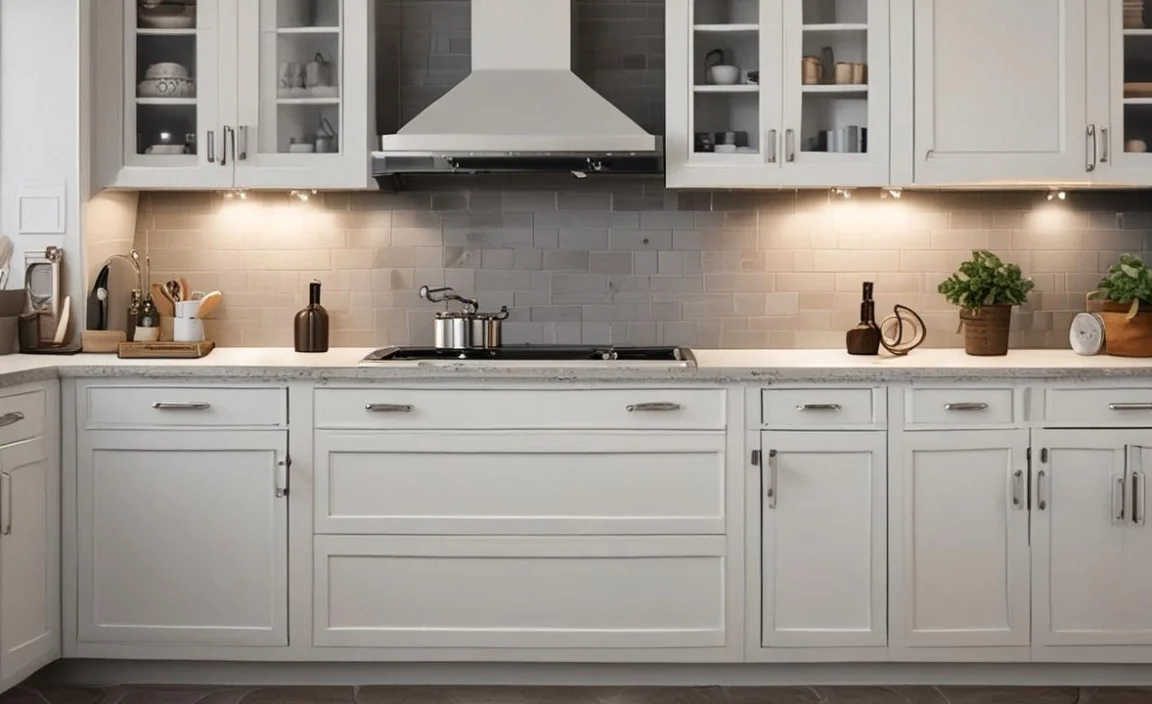
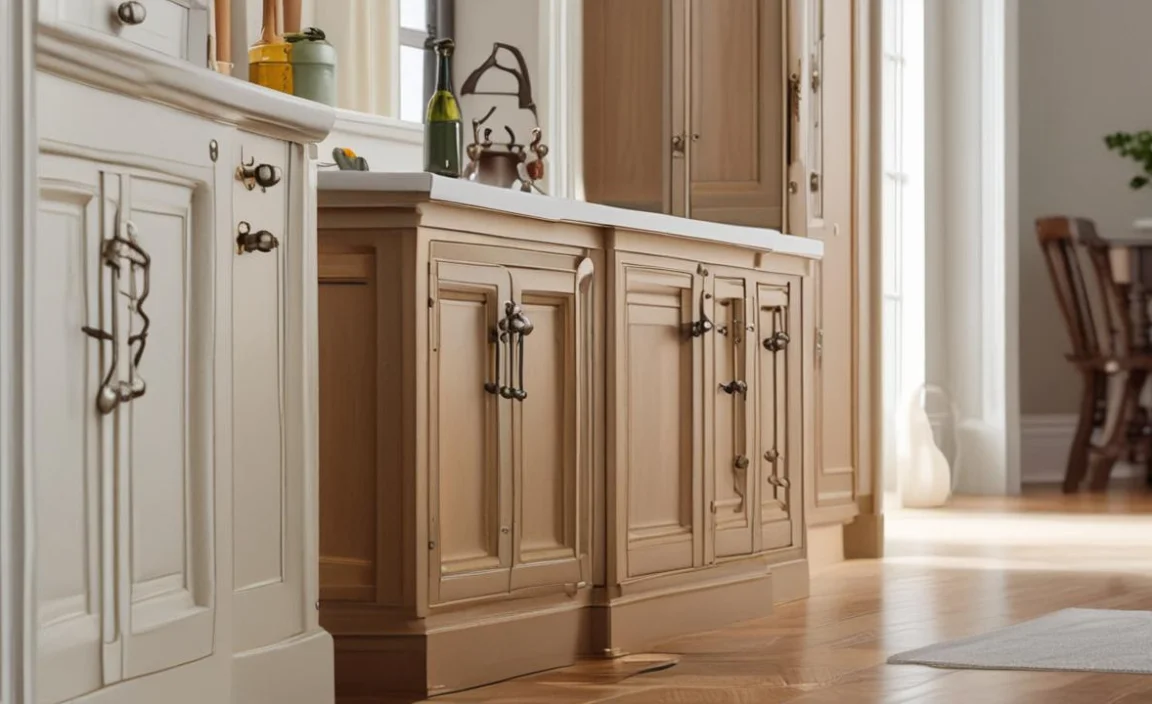
Choosing the right hardware is important to give your cabinets a polished look. Knobs and pulls come in various finishes, styles, and materials such as brass, chrome, ceramic, or wood. Consider the overall style of your space and choose hardware that complements it.
For example, sleek and simple hardware may be the best fit if you have a modern kitchen. Ornate hardware with intricate details might be more appropriate if you have a traditional bathroom. Ultimately, the choice is yours and should reflect your personal style.
How To Remove Old Cabinet Hardware
After selecting new cabinet hardware for your kitchen renovation project or new home construction, learning how to remove the old hardware is essential for a successful installation. Begin by gathering necessary tools such as a screwdriver and pliers.
Use the screwdriver to remove screws holding the old cabinet door or drawer pull in place. If the old hardware is stuck, gently pry it off with a flat head screwdriver or pliers. Be sure to fill any holes or gaps left by the old hardware before installing your beautiful new cabinet knobs or pulls.
Using A Template To Drill New Holes
When replacing cabinet hardware, drilling new holes can be challenging. To ensure proper placement of new hardware, measure the distance between existing holes before removing old hardware. Using a template ensures the correct location and even spacing of new holes.
Ensure you use a drill bit that matches the screw size for your new hardware and drill straight using a level. Longer screws provide stability and security. Upgrading kitchen hardware (cabinet knobs, drawer pulls) creates a big impact with minimal effort. Adding affiliate links for Amazon or Facebook home improvement accessories can improve functionality & aesthetics.
Filling Holes With Putty
If you’re replacing cabinet hardware, filling old holes with wood putty is key to achieving a seamless finish. Opt for putty that matches your cabinetry’s stain and allow it to dry entirely before drilling new holes for new knobs or handles.
You can use a template or measure accurately while installing the new hardware to ensure proper placement. Don’t forget that using longer screws can add stability and security to your kitchen cabinets. A handyman could help if this is your first time installing hardware.
Installing New Cabinet Hardware
Once you’ve removed old hardware and filled any holes, it’s time to install new cabinet hardware. Use a template or measure accurately before drilling new holes for your new knobs or pulls. Ensure you use the right size drill bit and level while drilling to prevent unwanted mistakes.
After drilling, attach the hardware using screws provided in the package or ones that fit properly. Tighten them firmly but avoid overtightening them as it may damage your cabinets. Step back and admire your newly upgraded kitchen cabinets with beautiful new hardware.
Using A Jig To Align Hinges
For quick and accurate installation of cabinet hardware, consider using a jig. With this handy tool, you can save time and avoid common mistakes that may come with free-hand installation.
Begin by measuring and marking where your hinges will go on the cabinet frame and door. A hinge jig usually comes in two parts; one for the door and one for the cabinet frame. The jig secures your hinge to stay straight and level during installation.
Super Gluing Knobs
If you’re looking for a quick and easy way to update your kitchen cabinets without drilling new holes, consider using super glue to attach new knobs. Before you get started, clean both the cabinet’s surface and the back of the knob.
Apply a small amount of glue to the back of the knob and firmly press it onto the surface of your cabinet. Hold the knob in place for a few seconds while the glue sets. Remember that while this method is great for temporary solutions or lightweight hardware, it may not be as secure as drilling new holes.
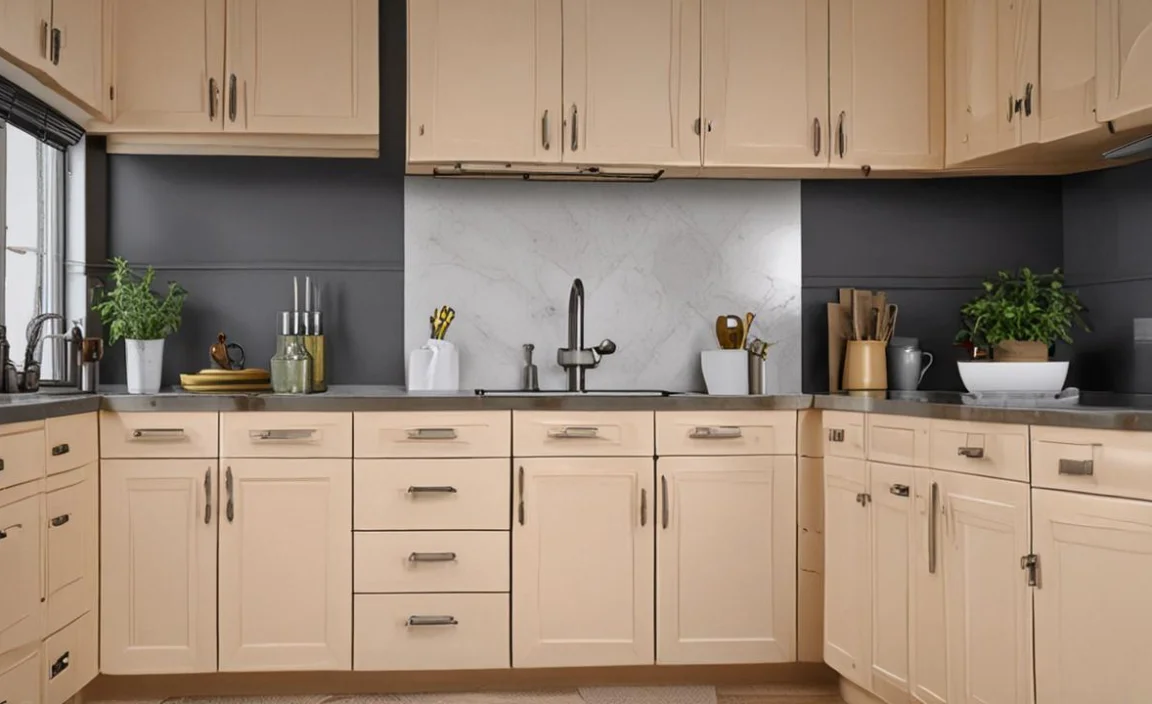
Tips For Updating Existing Cabinet Hardware
Updating your kitchen cabinets is easy with these tips on replacing cabinet hardware. Match the style and finish of your existing cabinetry when selecting new knobs or handles. Ensure proper fit by measuring the distance between screw holes and using a template for consistent placement.
To complete the look of your refreshed kitchen space, consider updating other elements like faucets or lighting fixtures. Making small changes like these can have a big impact on your home improvement project.
Choosing The Right Size Knobs
Choosing the right size knobs for your kitchen cabinetry has a big impact on its final look. To achieve a cohesive appearance, take into account the size and style of both your cabinet doors and drawer pulls. For smaller cabinets or drawers, opt for smaller cabinet knobs made of nickel or stainless steel.
Conversely, select larger ones for bigger cabinets or drawers made from brass material. Mix and match sizes and shapes to create an eclectic look that reflects your personal style. Test out different knob options before installing them to ensure they fit comfortably in your hand.
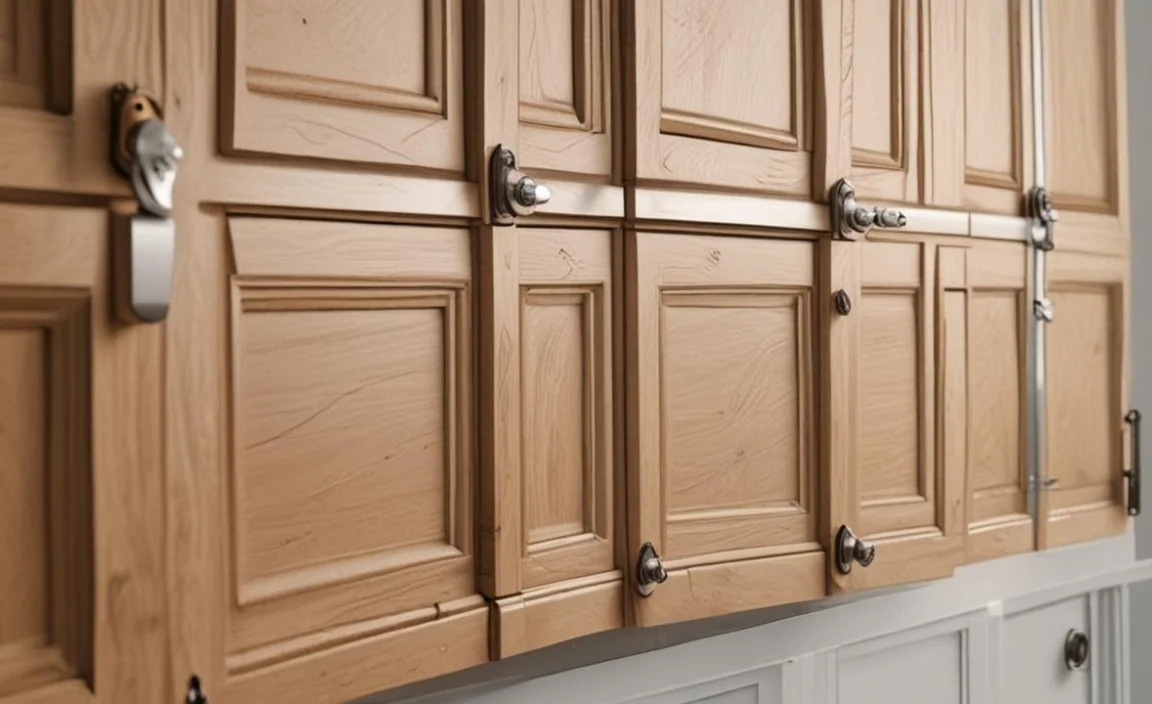
Matching Hardware Styles
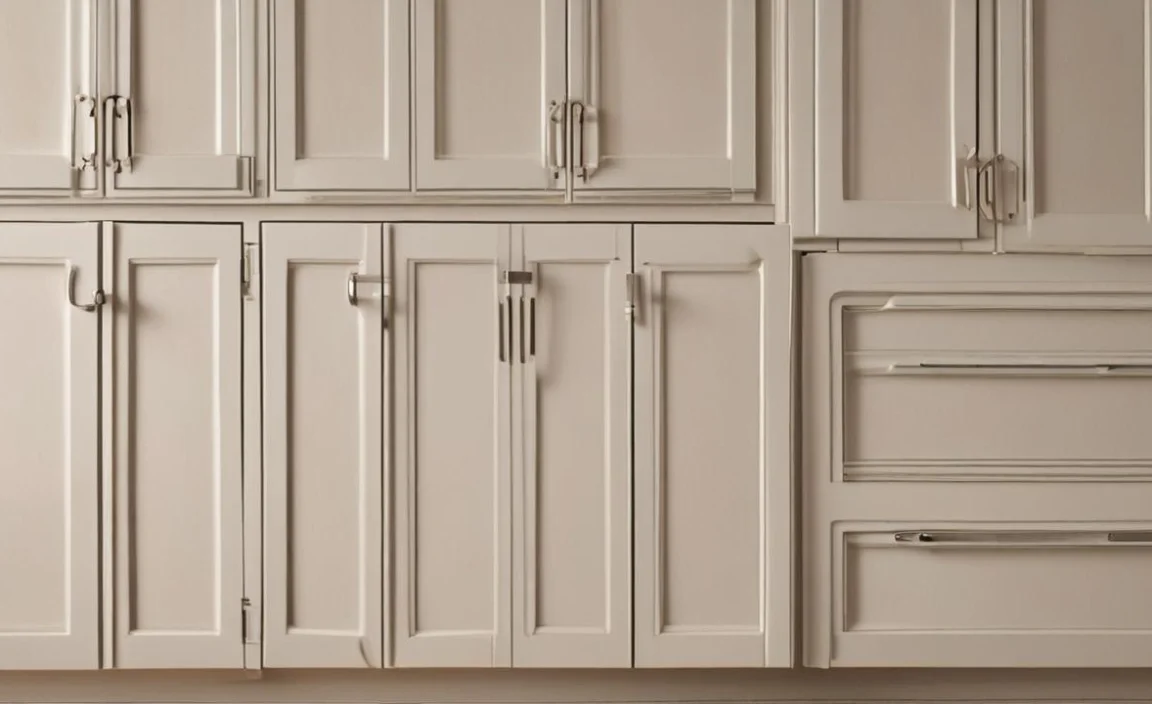
While updating your cabinet hardware, it’s essential to consider the style and finish of the new hardware along with its functionality. Matching cabinet hardware styles can give your kitchen or bathroom cabinetry a polished look.
Swapping old and worn-out cabinet knobs or pulls with new ones can create an entirely different look without changing anything else in your home. When drilling holes for new knobs or handles, use a template or guide to ensure consistent placement while measuring accurately.
Consider using wood putty or a scrap piece of cardboard to fill excess holes or cover sharp edges. Finally, check out online retailers like Amazon or social media sites like Facebook to find home improvement accessories at affordable prices.
Conclusion
Replacing cabinet hardware can give your home a fresh and updated look without the need for a complete renovation. The process may seem daunting at first, but with the right tools and a little patience, it’s something you can easily do yourself.
Remember to choose hardware that complements your cabinets and personal style while considering functionality. Updating existing hardware is also an option if you’re not ready for a full replacement. replacing cabinet hardware is a simple and cost-effective way to update the look of your kitchen or bathroom.
By following these steps and taking care to measure carefully how to replace cabinet hardware, you can transform the look of your cabinets with ease. So go ahead, grab your screwdriver and get ready to give your cabinets a fresh new look
