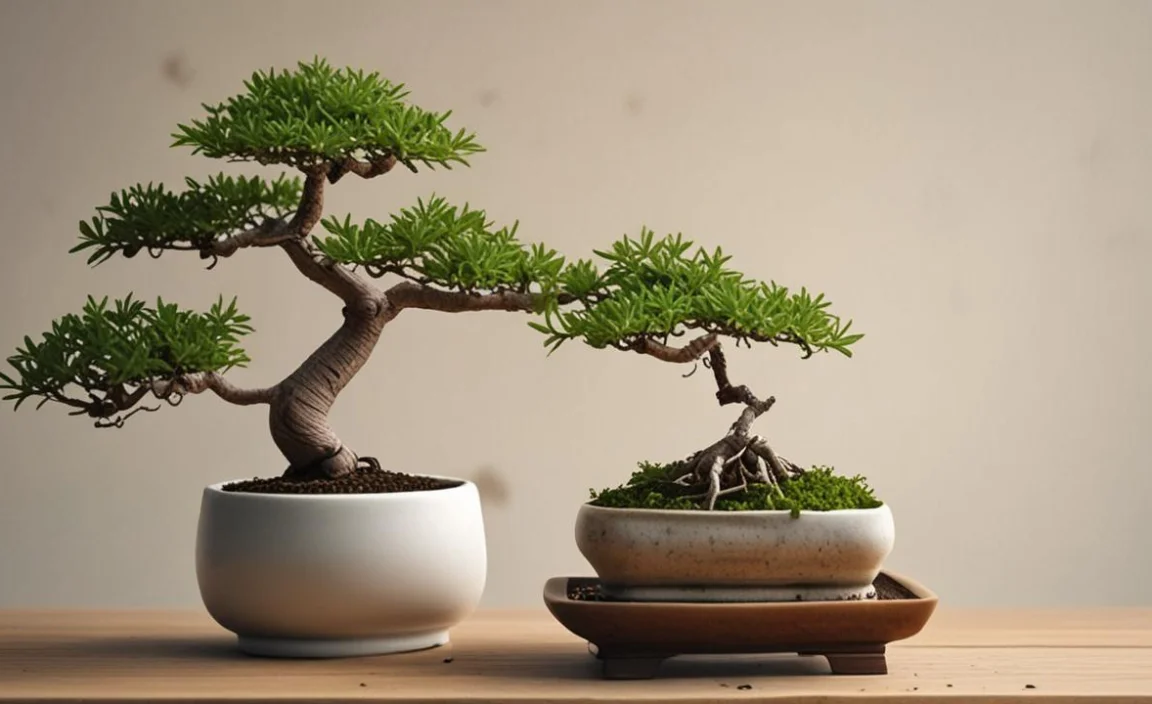
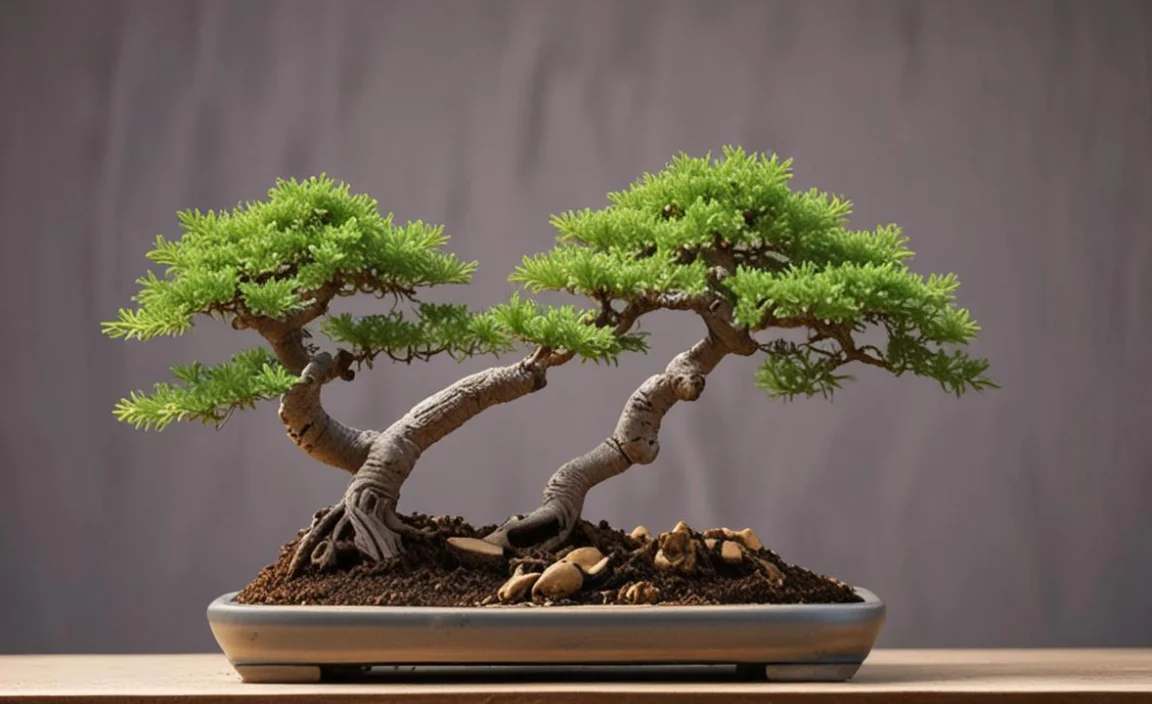
Repotting your bonsai seedlings and trees is an essential part of their care. It allows them to have more room for their roots to grow, which in turn helps them to grow stronger and healthier.
The best time to repot your Bonsai depends on the species and its growth cycle, but generally, it should be done every two to three years. When repotting, using the right soil mix and container size for your Bonsai is important.
The soil should provide good drainage while retaining enough moisture for the plant’s needs. It would be best to appropriately sized the container to allow for growth without it being too big or too small. With proper repotting techniques, you can help your bonsai seedlings and trees thrive for years.
We’ll outline the steps necessary for repotting bonsai seedlings and trees. We will also provide tips on when to repot bonsai seedlings and trees based on their growth stage. Finally, we will list the tools and supplies needed for the repotting process.
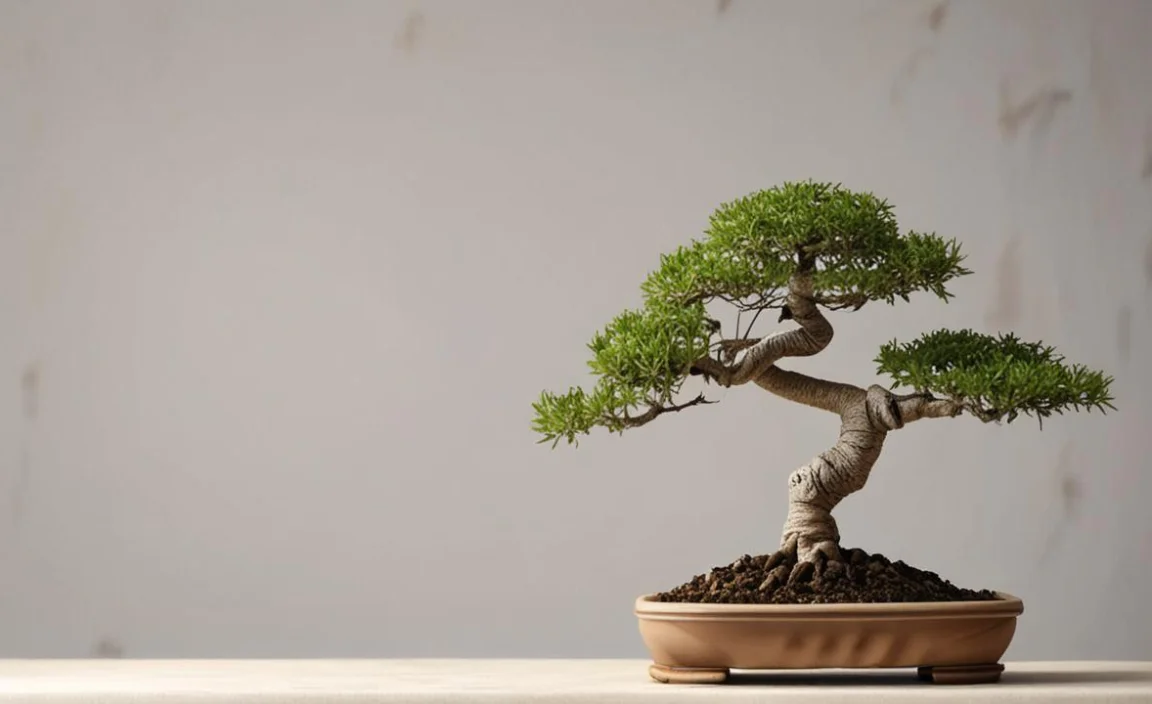
When To Repot Bonsai Seedlings And Trees?
Repotting bonsai seedlings and trees is an important part of their care, allowing for proper root development and growth. The best time to repot varies depending on the specific tree species and its growth patterns.
Generally, it is recommended to report young bonsai seedlings every one to two years, while more mature trees may only need to be repotted every three to five years. Trees by species Signs that a bonsai may need to be repotted include roots growing through the drainage holes or becoming densely packed in the container.
Using the right soil mix and pot size when repotting a bonsai is important, as this can greatly impact its overall health and growth. As with any aspect of bonsai care, it is important to research and consults with experts before attempting any major changes to your tree’s environment.
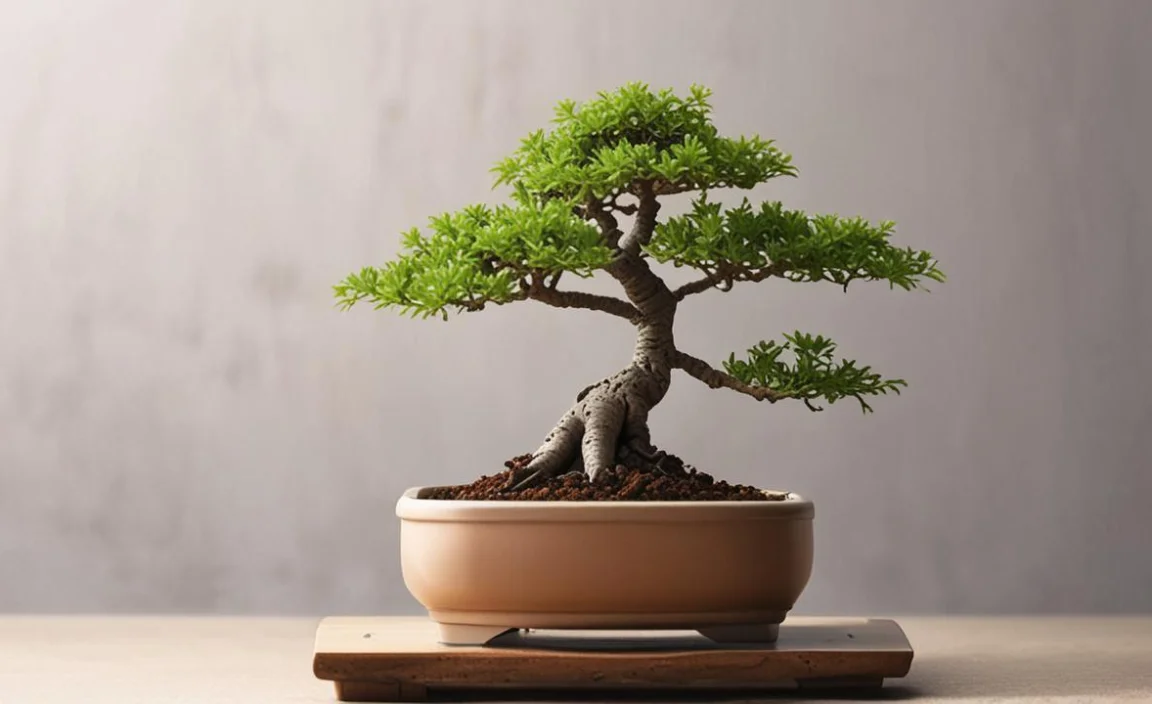
How To Tell When A Bonsai Seedling Or Tree Is Ready For Repotting
When repotting your Bonsai, use a well-draining soil mix and prune any damaged or excessively long roots before placing it in its new container. With proper repotting and care, your Bonsai will continue to thrive and bring beauty into your home or garden.
Repotting is an important part of bonsai care, but it can be difficult to determine when a seedling or tree is ready for this process. Here are some signs to look out for:
- The roots are circling the edge of the pot: This indicates that the roots have outgrown their current container and need more space to grow.
- The soil is compacted and doesn’t drain well: Over time, the soil in a bonsai pot can become compacted, preventing water from draining properly. If you notice that the soil isn’t draining well, it may be time to repot.
- The tree is growing slowly or appears stunted: If your bonsai tree isn’t thriving despite proper care, it could be a sign that it needs a larger container with fresh soil.
Steps For Repotting Bonsai Seedlings And Trees
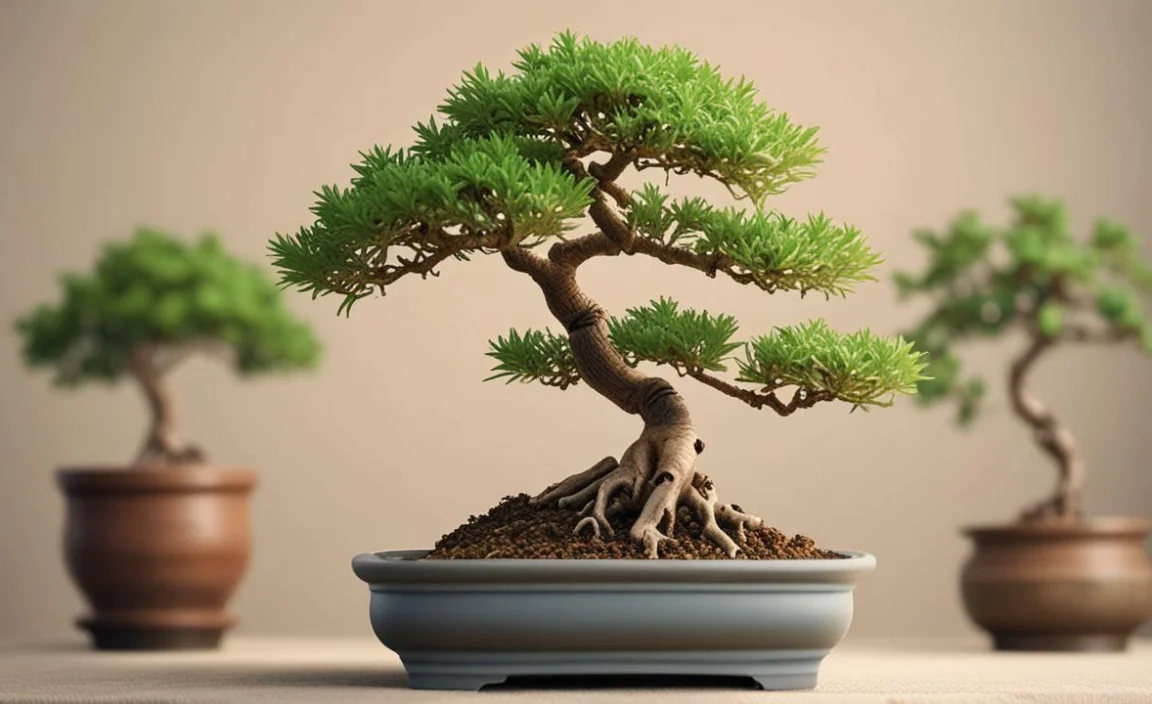
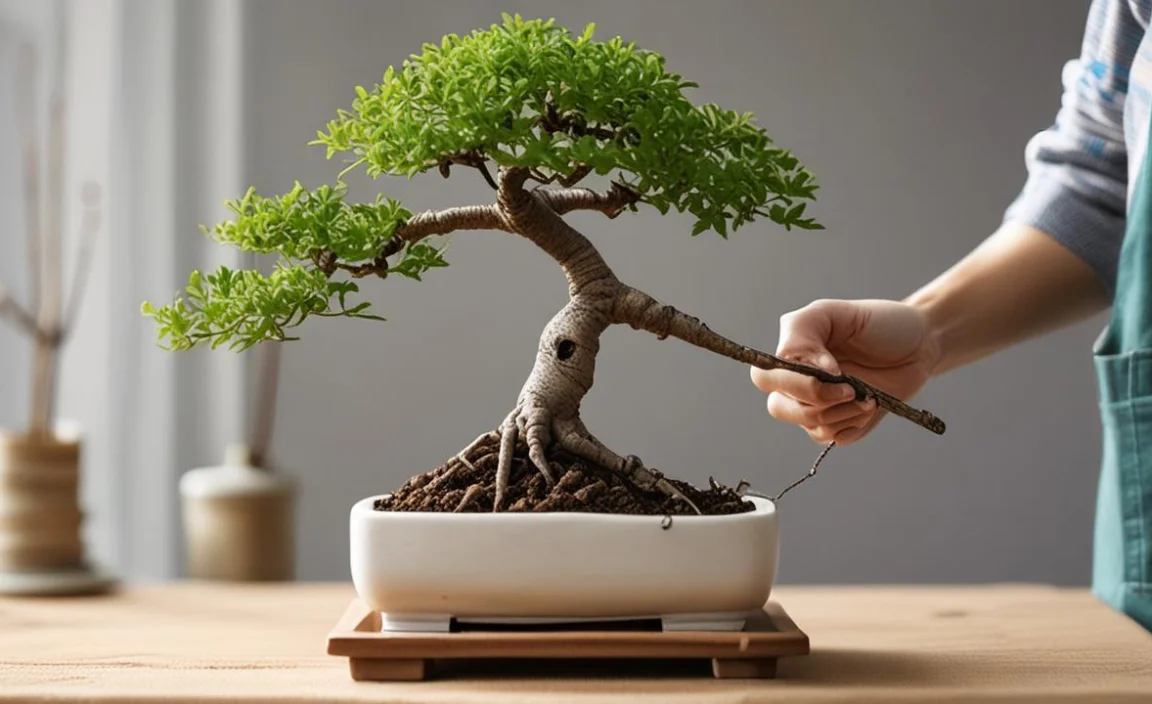
Bonsai trees are unique and captivating plants that require proper care and attention to thrive. When repotting bonsai seedlings and trees, following the necessary steps is crucial to ensure their health and longevity. It’s time to pot bonsai seedlings and trees. Repotting is a necessary process that helps your bonsai root system develop properly and establishes new roots in the new soil.
- Remove any diseased or dead branches before repotting. This will help to avoid transplant shock.
- Always water your bonsai seedlings and trees regularly – DO NOT let the soil dry out.
- Gently loosen the soil around the roots with your fingers, careful not to damage them – then place in a new potting mix.
- Repot every two years or when a tree becomes too large for its old pot.
1. Choose The Right Season To Repot Your Bonsai

Whenever your Bonsai needs a new pot, it is important to choose the right season. Depending on the species and tree, repotting can do in spring (for deciduous trees), summer, or fall (for evergreens) to ensure that the root ball is well-packed with soil and watered well, water the plant until it’s abundantly wet.
Check for any developing problems, such as wilting leaves or brown patches – address them early if they occur. Finally, wait till all foliage has stopped growing before watering again deeply since over-watering can cause root rot.
2. Prepare The Soil
Before repotting a tree, or outdoor plants, it is important to prepare the soil properly. Ensure the root ball is well-mixed and free of excess soil before adding fresh compost or sphagnum moss. Next, water the tree thoroughly and fertilize it with a high-qua portion of high-quality plant foods for two months during the growing season.
Remove any dead or unhealthy roots before repotting by pruning them at least 2 inches below the ground level. Choose a pot twice as large as the root ball and deep enough to accommodate new root growth – this will help prevent transplanting stress from occurring later on down the road.
Place your tree in its new pot so that its bottom touches the drainage hole and fill in around it with fresh soil mix, ensuring there are no air pockets left inside of the container
3. Gather The Necessary Supplies
Before repotting your bonsai seedlings or trees, gathering all the necessary supplies is important. This will ensure you have everything you need and can complete the repotting process smoothly. Here are some of the supplies you may need:
Bonsai Soil: Choose a soil mix appropriate for your specific bonsai tree species.
Bonsai Pot: The pot should be the appropriate size for your bonsai tree and have drainage holes.
Pruning Shears: These will be used to trim any roots or branches that must be removed during repotting.
Root Hook: A root hook can help you gently tease out any tangled or compacted roots before repotting.
Watering Can: You must regularly water your newly repotted bonsai tree, so make sure you have a watering can on hand.
Gathering all of these supplies can ensure a successful repotting process for your beloved bonsai seedlings and trees.
4. Decide On The Type Of Tree Or Bonsai
When repotting bonsai seedlings and trees, it is important to first decide on the type of tree or Bonsai you will be working with. Some trees may require a specific type of soil or potting mix, while others may need to be repotted at different times of the year. Additionally, certain types of Bonsai may have unique pruning or training requirements that must be considered before repotting.
Before starting, research your specific type of tree or Bonsai to ensure you have the necessary knowledge and tools for a successful repotting process. By taking the time to properly prepare for repotting, you can help ensure the health and longevity of your beloved Bonsai.
5. Remove Any Dead Or Damaged Leaves
When repotting bonsai seedlings or trees, it is important to start by removing any dead or damaged leaves. This will not only improve the overall appearance of the plant, but it will also help to promote healthy growth. Dead or damaged leaves can be a sign of an underlying issue, such as pests or disease, so removing them can prevent further damage to the plant.
Be sure to use sharp and sterile pruning shears to avoid causing additional harm to the plant. Once you have removed any dead or damaged leaves, you can repot your bonsai seedling or tree following the appropriate techniques for your species.
6. Fill A Bucket With Half Potting Mix And Half Water And Soak The Roots For A Few Minutes
Follow the necessary steps when repotting bonsai seedlings and trees. Taking the necessary steps to ensure the roots are properly cared for. One technique that can be helpful is to fill a bucket with half potting mix and half water and soak the roots for a few minutes before transplanting.
This will help hydrate the roots and make them more pliable, making it easier to untangle any knots or kinks. Handling the roots gently and avoiding damaging them during this process is important.
Then, thoroughly place the tree in its new pot with fresh soil and water. Your bonsai seedling or tree will thrive in its new home with proper care and attention.
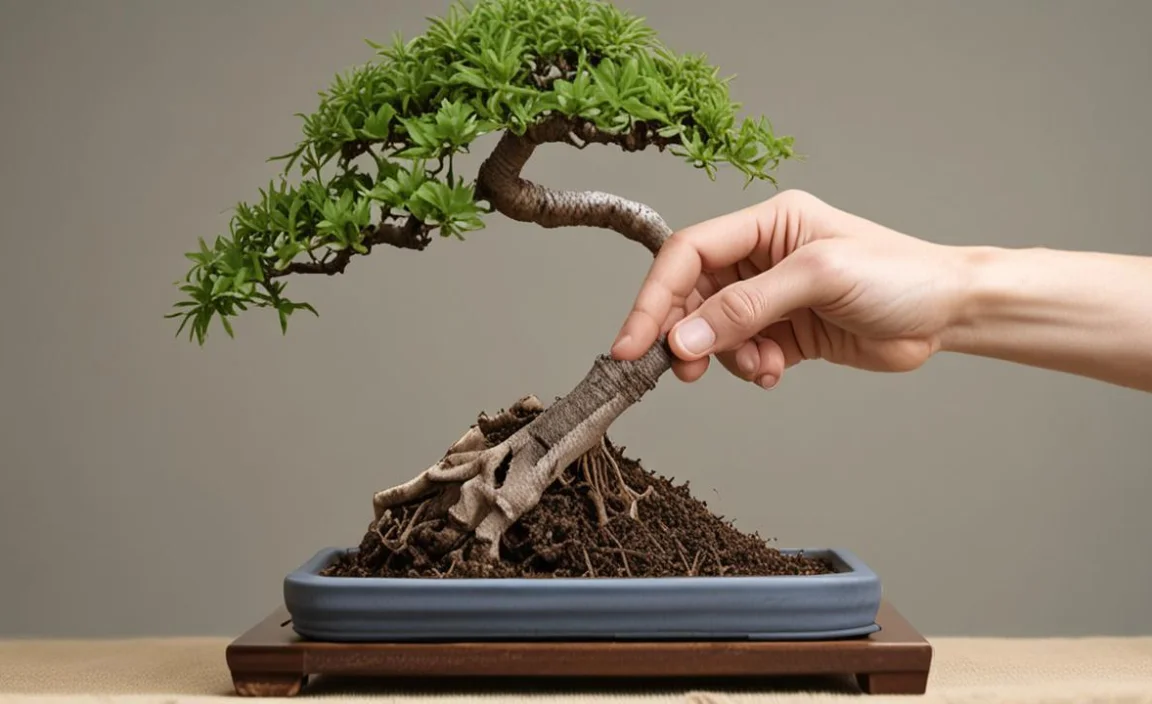
7. Remove Old Roots And Debris
Removing old roots and debris before placing them in a new pot is important. This will help ensure the plant has enough space to grow and thrive. To remove old roots, gently loosen the soil around the root ball using a chopstick or similar tool. Then, carefully comb through the roots with your fingers, removing any dead or damaged ones. Be sure not to disturb too many healthy roots in the process.
Once you have removed any old roots, removing debris or excess soil from the root ball is also important. This will help prevent potential drainage issues and allow for proper water absorption. By taking these steps, you can help ensure that your bonsai seedling or tree has a strong foundation for growth in its new pot.
8. Place Your Bonsai Seedling Or Tree In Its New Pot
Once you have prepared the new pot and soil, it’s time to place your bonsai seedling. Or place the tree in its new home. Begin by gently removing the tree from its old pot and teasing out any tangles or knots in the roots. Be sure to handle the roots delicately, as they are sensitive and can easily break.
Next, place the tree in the centre of the new pot and add soil around it. Use your fingers to press down the soil and ensure no air pockets gently. As you add soil, periodically water your tree to help settle the soil and prevent any dry spots.
Once you have added enough soil to fill the pot, use a chopstick or similar tool to poke holes in the soil. This will help with drainage and aeration for your bonsai plant. Finally, give your newly repotted Bonsai a thorough watering and place it back in its spot with bright but indirect sunlight. With proper care, your Bonsai will thrive in its new home!
9. Fill In With Fresh Soil And Water Well
One of the most important steps is to fill in fresh soil and water well when repotting Bonsai. This will help ensure the plant has enough nutrients and moisture to thrive in its new pot. When adding fresh soil, use a high-quality bonsai soil mix that is well-draining and nutrient-rich. Avoid using regular potting soil, which can retain too much water and lead to root rot.
After filling in with soil, be sure to give the plant a thorough watering. This will help to settle the soil and provide the plant with the moisture it needs to establish itself in its new home.
It is important not to overwater, as this can lead to root rot. Your repotted bonsai seedling or tree will continue to thrive with proper care and attention.
10. Bonsai Repotting Aftercare
After repotting your bonsai seedlings or trees, give them proper aftercare. It’ll ensure their health and growth. Here are some tips for Bonsai repotting aftercare:
Watering: After repotting, the Bonsai should be watered thoroughly to encourage root growth. However, be careful not to overwater, as this can cause root rot.
Location: Keep the Bonsai in a shaded area for a few weeks after repotting to allow it to adjust to its new environment. Avoid placing it in direct sunlight or high heat.
Fertilizing: Wait a few weeks before fertilizing the Bonsai to avoid damaging the roots. Use a balanced fertilizer and follow the instructions carefully.
Pruning: Remove any dead or damaged branches or leaves after repotting. This will help Bonsai focus its energy on healthy growth.
By following these tips, you can ensure that your bonsai seedlings and trees have a smooth transition after being repotted and continue to thrive in their new pot.
Conclusion
repotting bonsai seedlings and trees is essential for their healthy growth and development. The process involves careful attention to the root system, soil composition, and pot size. Following the proper steps and techniques ensures that your Bonsai will thrive and continue bringing joy and beauty to your home or garden for years.
Remember to be patient and attentive to your Bonsai’s needs, which will reward you with its graceful and timeless beauty. Remember to choose the right soil, pot size, and timing for repotting, and don’t damage the roots or trunk during the process, with a little patience and attention to detail. You can successfully repot your Bonsai and enjoy its beauty and tranquillity in your home or garden.

Your point of view caught my eye and was very interesting. Thanks. I have a question for you.