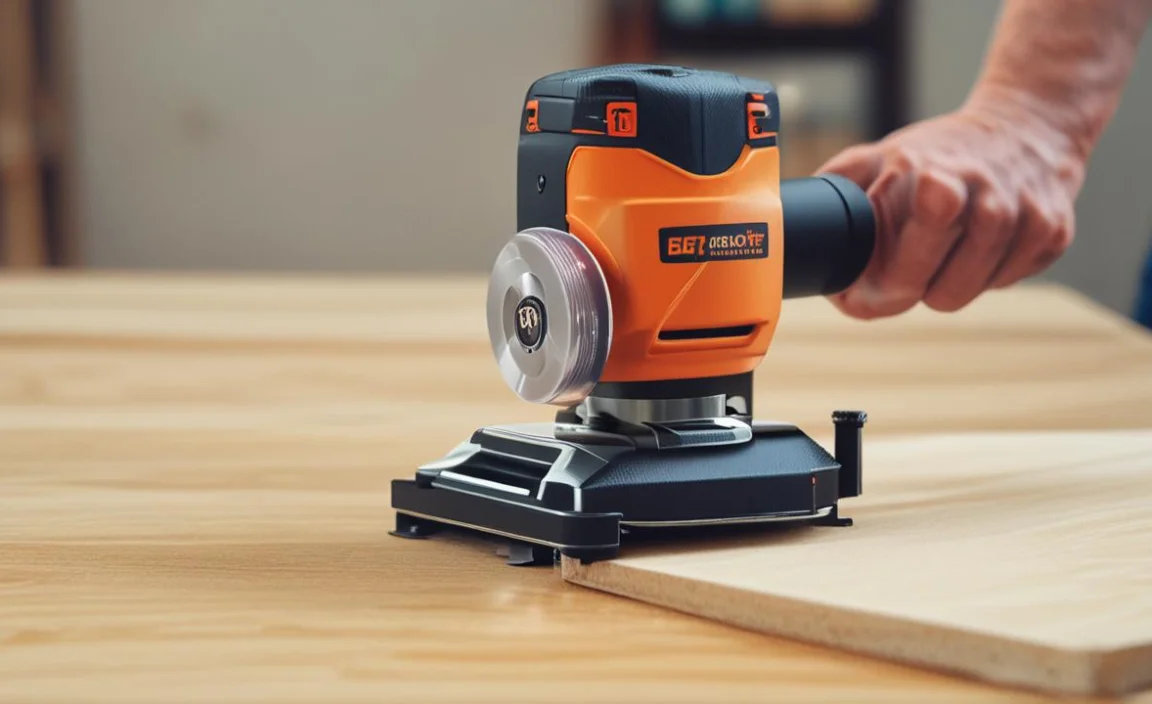
Using a belt sander can be fun. It helps smooth out wood quickly. But what happens when your belt sander belt keeps sliding off? This can be frustrating. You might wonder what went wrong. Many people face this problem, and it can be solved.
Have you ever been working on a project? Suddenly, the belt on your sander shifts and slips off. This can ruin your work and waste time. It’s important to know why this happens and how to fix it. Let’s explore the reasons behind a slipping belt and how to keep it in place.
Want to learn how to keep your sander working well? Keep reading to discover tips and tricks. You’ll be sanding like a pro in no time!
Key Takeaways
- Check the belt size for proper fit.
- Ensure the rollers are clean and free of debris.
- Adjust the tension of the belt correctly.
- The belt sander belt keeps sliding off often due to wear.
- Regular maintenance prevents future problems.
Understanding Why Your Belt Sander Belt Keeps Sliding Off
When you use a belt sander, it has a belt that wraps around two rollers. This belt helps sand surfaces evenly. But sometimes, the belt can slide off the rollers. There are many reasons for this. It could be the wrong size, worn out, or simply not adjusted right. Knowing these reasons can help you avoid losing time. You can fix the problem quickly!
- The belt might be too loose.
- The rollers may not be aligned correctly.
- Debris can build up on the rollers.
- The belt could be worn or damaged.
- Improper tension settings might be the cause.
Understanding these issues helps you keep your sander in top shape. When the belt stays on, you can complete your projects without interruptions. Make sure to inspect your tools regularly. This way, you’ll know what to look for. Fixing small issues now can save time later.
Fun Fact or Stat: A loose belt can reduce sander efficiency by up to 50%!
Common Causes of Belt Slippage
Do you ever wonder why the belt slips off? It can be a mystery! The most common causes include the size of the belt and the cleanliness of the rollers. If the belt is too big or too small, it won’t fit well. Also, dirt and dust can stop the belt from gripping properly. Keeping the workspace clean helps too.
Everyone wants a smooth sanding experience. If your tools are dirty, it makes things harder. Regular cleaning can make a big difference. You’ll be amazed at how much better your sander works when it’s clean!
The Importance of Proper Tension
Tension is key for a stable belt. If it is too loose, the belt will slide off. If it is too tight, it can wear out quickly. Finding the right balance is important. You should adjust the tension according to the manual instructions. Doing this helps your sander work effectively.
Have you ever tightened a belt too much? You might have noticed it wears down faster. This can cost money in the long run. Always check the manufacturer’s guidelines for the best results.
When to Replace the Belt
It’s essential to know when to replace the belt. Look for signs of wear and tear. If you see cracks, frays, or worn spots, it’s time for a new one. A worn belt is likely to slip off. Buying a new belt can save you from many problems.
Think about how much money you spend on tools. Investing in good-quality belts is worth it. You’ll get better performance and fewer headaches. Always check your belt regularly for the best results!
How to Properly Adjust Your Belt Sander
Adjusting your belt sander is crucial for keeping the belt in place. Start by unplugging the sander for safety. Then, check the alignment of the rollers. Make sure they are parallel to one another. A misaligned roller can cause the belt to slide. Adjust them gently until they fit properly.
- Check the user manual for specific adjustments.
- Look at the roller alignment closely.
- Adjust the tension according to the manual.
- Inspect for any dirt on the rollers.
- Make sure the belt is the correct size.
Adjusting your sander may seem tricky at first. But with practice, it gets easier. You will soon learn to spot problems quickly. By making these adjustments, you keep your projects running smoothly. Following simple steps ensures your sander works like new.
Fun Fact or Stat: Regular adjustments can extend the life of your sander by years!
Steps for Proper Belt Installation
Installing a new belt can be simple. First, make sure the sander is unplugged. Then, loosen the tension to remove the old belt. After that, place the new belt over the rollers. Ensure it fits snugly and is aligned correctly. Finally, tighten the tension until it feels just right.
Have you ever struggled with putting a belt on? It can be frustrating! But once you understand the steps, it becomes easier. Practice makes perfect, so don’t give up if it’s tricky at first. Soon, you’ll be installing belts like a pro!
Best Practices for Belt Maintenance
Good maintenance keeps your sander in top shape. Always clean the rollers before using the sander. Dust and debris can make the belt slip. Check the belt regularly for damage. Keeping the sander dry will also help. Moisture causes belts to wear out faster.
Do you enjoy taking care of your tools? It can be rewarding! When you maintain your belt sander, you save time and money. Plus, you’ll get better results on your projects. So make it a habit to check your tools often!
Understanding Different Belt Types
Did you know that there are different types of sanding belts? Each type has its own purpose. Some are for rough sanding, while others are for finishing. Using the right belt helps you achieve the best results. If you use the wrong belt, it can slip or wear out quickly.
Consider how many different projects you do. Having a few types of belts can help you with different tasks. Always check the belt type before starting a job. This way, you’ll have a smoother experience with less trouble!
Maintaining Your Belt Sander to Prevent Slipping
To stop the belt sander belt keeps sliding off issue, maintenance is key. Regularly check the tension and alignment of the belt. Keep the sander clean by dusting it off after every use. A clean sander works better and lasts longer. Don’t forget to inspect the belt for any signs of wear.
- Dust the sander after every use.
- Store the sander in a dry place.
- Use the correct type of sandpaper.
- Inspect gears and rollers regularly.
- Follow the manufacturer’s maintenance guidelines.
Taking these steps helps you avoid problems later. When you keep your sander well-maintained, you can focus on your work. You will spend less time fixing issues and more time sanding. Regular maintenance is a smart choice for any woodworking project!
Fun Fact or Stat: Regular maintenance can double the lifespan of your sander!
Cleaning the Belt and Rollers
Cleaning is vital for proper operation. Dust and debris can cause the belt to slip. Use a brush to clean the rollers and remove dirt. You can also use compressed air for hard-to-reach areas. Make sure everything is dry before using the sander again.
Have you ever tried to use a dirty tool? It never works as well! Keeping your tools clean is essential for high-quality results. A little cleaning can go a long way in tool performance.
Checking for Wear and Tear
Always check the belt for signs of wear. Look for frays, cracks, or uneven surfaces. If you notice any of these, it’s time to replace the belt. A worn belt is more likely to slip off. Don’t wait until it breaks during use!
Think about how important your projects are. Using a worn-out belt can ruin everything you worked on. Keep your tools sharp and ready for action. You’ll be glad you did!
Choosing the Right Sanding Belt
Choosing the correct sanding belt is crucial. Different tasks need different types of belts. For heavy sanding, use a coarser grit. For finishing, use a finer grit. Make sure to match the right grit to your project.
Have you ever used the wrong belt for a job? It can lead to a mess and frustration. Choosing the right materials can make your projects go smoothly. Always check the specifications of the belts you buy.
Signs That Your Belt Needs Replacement
How do you know when to replace your belt? There are several signs to look for. If the belt shows visible wear or tear, it’s time to change it. If the belt frequently slips off, it might be too worn to hold. Checking regularly helps you avoid problems.
- Visible cracks or tears in the belt.
- Frequent slipping during use.
- Unusual sounds while the sander is running.
- Loss of sanding efficiency.
- Burn marks on the belt surface.
Being aware of these signs can save you time. Replacing the belt early can prevent bigger issues. You will keep your sander working well for longer. Always be proactive with your maintenance routine!
Fun Fact or Stat: A worn belt can reduce sanding accuracy significantly!
How Often Should You Replace Your Belt?
Replacing your belt depends on how often you use it. If you sand every day, you may need a new belt every month. For occasional use, it might last for several months. Keep an eye on its condition. Regular checks can help you know when to replace it.
Have you noticed that your projects take longer? A worn belt can slow you down. Replacing it in time ensures you stay on track. Make it a habit to look at your tools often!
Where to Buy Replacement Belts
Finding the right replacement belt is easy. You can visit a hardware store or shop online. Always check the specifications to make sure it fits. Buying from trusted brands is wise. They often provide better quality belts.
Have you ever bought something that didn’t fit? It can be frustrating! Always double-check the size and type before buying. You’ll save time and money in the end!
Tips to Ensure Your Belt Stays in Place

To keep your belt in place, start with the right size. Make sure it’s not too loose or too tight. Regularly checking the rollers is essential. Clean them often to avoid slipping. Adjust the tension according to the manual. This will help keep your belt secure.
- Always check the belt size before use.
- Keep the rollers clean and aligned.
- Adjust tension properly for best results.
- Inspect the belt regularly for wear.
- Store your sander in a dry area.
Following these tips can help prevent the belt from slipping. You’ll have fewer interruptions while working. A smooth sanding experience makes all the difference. Enjoy your projects without worrying about tool problems!
Fun Fact or Stat: Correct storage can extend the life of your sanding belt!
Using the Right Sanding Techniques
Using proper sanding techniques can help too. Always sand in the direction of the grain. This helps achieve a smooth finish. Avoid pressing down hard, as it can cause the belt to slip. Let the sander do the work instead.
Have you ever gotten a rough finish because you pressed too hard? Using gentle pressure gives better results. Your tools will last longer, and your projects will look great!
Understanding Sander Specifications
Every sander has specific settings. Knowing these helps you use it correctly. Check the manual for proper use. This information will guide you on the right tension and belt size. Following the instructions can prevent many common issues.
Have you ever ignored the manual? It’s easy to do, but it can lead to problems! Always take a moment to read and understand how to use your tools. You’ll be glad you did!
Practicing Safe Sanding
Safety should always come first. Always wear protective eyewear and a mask when sanding. This helps prevent injuries from dust and debris. Ensure your workspace is clean and free of hazards. A safe area lets you work efficiently and confidently.
Have you ever had a close call while working? It can be scary! Taking safety precautions helps keep you safe. Be aware of your surroundings and make good choices!
Summary
The belt sander belt keeps sliding off is a common issue. Many factors can cause this problem. It could be the wrong size belt, dirty rollers, or improper tension. Regular maintenance and checking for wear can prevent slipping. By understanding these issues, you can improve your sanding experience.
Using the right techniques and tools makes a big difference. Proper care will keep your projects on track. Always stay proactive with your belt sander!
Conclusion
In conclusion, knowing why your belt sander belt keeps sliding off is important. Regular maintenance, cleaning, and the right parts can solve this issue. With proper care, your sander will work well. Enjoy your woodworking projects and keep sanding smoothly!
Frequently Asked Questions
Question No 1: Why does my belt sander belt keep sliding off?
Answer: Your belt sander belt keeps sliding off due to several reasons. It could be the wrong size, worn edges, or improper tension. Always check these factors before using your sander. Keeping everything clean and well-adjusted helps prevent slipping. Regular maintenance is key!
Question No 2: How can I keep my sander belt from slipping?
Answer: To keep your sander belt from slipping, check the tension regularly. Make sure the rollers are clean and properly aligned. Use the correct size and type of belt, too. Following the manufacturer’s guidelines ensures better performance. Regular checks can help avoid slipping issues!
Question No 3: When should I replace my sander belt?
Answer: You should replace your sander belt when you notice signs of wear. Look for cracks, fraying, or slipping during use. If the sander isn’t working efficiently, it may be time for a new belt. Keeping a close eye on the condition can save you time and effort!
Question No 4: What type of sanding belt should I use?
Answer: The type of sanding belt you use depends on your project. For heavy sanding, a coarser grit works best. For finishing, a finer grit is ideal. Always check the specifications to match the task. Using the right belt helps avoid slipping and improves results!
Question No 5: How often should I clean my belt sander?
Answer: You should clean your belt sander after every use. Dust and debris can cause the belt to slip. Regular cleaning keeps the sander in good shape. It improves performance and extends the life of your tools. Make cleaning a routine to avoid slipping issues!
Question No 6: What other problems can cause a belt sander belt to slip?
Answer: Other problems can include misaligned rollers or incorrect tension. If the sander is not stored properly, it can also affect performance. Always ensure everything is in good shape before use. Keeping these factors in check helps prevent the belt from slipping off!
