Replacing the hook and loop pad on your orbital sander is important. This simple task can improve your sanding jobs. Do you know how to do it? Many people don’t. They may struggle with worn-out pads. These pads can affect how well your sander works. If you want to learn how to replace them, you’re in the right place!
When you use an orbital sander, you need the right pad. Pads wear out over time. A worn pad can lead to uneven surfaces. This can frustrate any DIY enthusiast. Replacing the hook and loop pad on your orbital sander can help you get better results. It’s an easy task that anyone can do with a little guidance.
Don’t worry if you’ve never done it before. In this article, you’ll learn everything you need to know. Let’s dive into the details about replacing your hook and loop pad.
Key Takeaways
- Replacing hook and loop pad on orbital sander is easy.
- Worn pads cause poor sanding results.
- Choose the right pad for your sander.
- Regularly check your sanding equipment.
- Improved pads lead to better finishes.
Why Replacing Hook and Loop Pad on Orbital Sander is Important
Have you ever noticed how a worn pad affects sanding? It can make a smooth surface feel rough. This happens because the sandpaper loses its grip. If you want smooth results, you need to replace the pad. It’s a simple fix. A new pad helps your sander work better.
- Worn pads lead to uneven surfaces.
- New pads make sanding easier.
- They improve your project’s overall look.
- Replacing pads can extend tool life.
- Regular checks are key to great results.
When you keep your tools in good shape, they can last longer. A new hook and loop pad means smoother sanding. It also saves you time. Why spend extra hours fixing mistakes? With a fresh pad, your sander can glide easily. This makes your job more enjoyable. Remember to check your sander regularly for the best results.
Fun Fact or Stat: A worn sanding pad can reduce efficiency by 30%!
How Often Should You Change the Pad?
Have you ever wondered how often to replace your pad? It’s a good question. The answer depends on how much you sand. If you sand daily, you may need to replace the pad every month. But if you only sand occasionally, changing it every few months may be enough. Always check the pad for wear. This simple check can save you time and improve your work.
Signs That It’s Time for a New Pad
What signs should you look for to know it’s time for a new pad? First, check for visible damage. If the pad has tears or is worn down, it’s time to replace it. Another sign is uneven sanding. If your sander leaves marks, a new pad could help. Lastly, if the pad doesn’t stick well, that’s a clear sign. Always pay attention to your tools.
Benefits of Regularly Replacing the Pad
Why should you regularly replace your sander pad? Regularly changing pads improves your sanding results. You’ll notice less effort is needed to achieve a smooth finish. A new pad can also extend the life of your sander. Less wear means your tools can last longer. Plus, you’ll enjoy your projects more when everything runs smoothly.
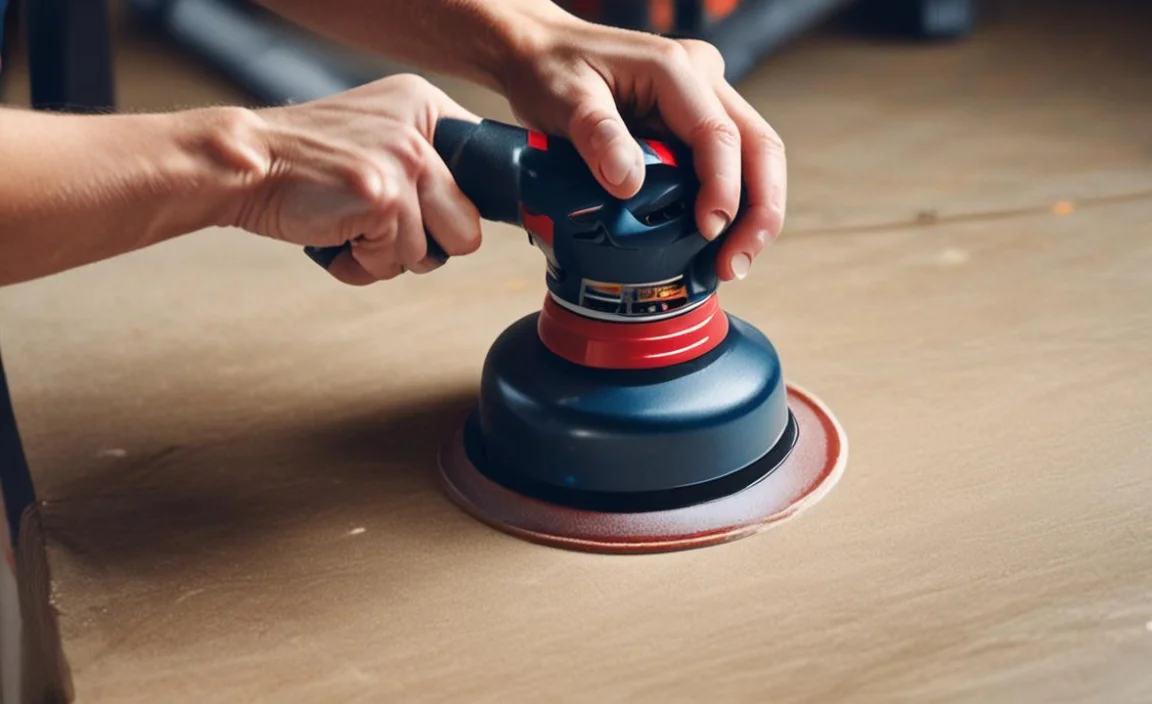
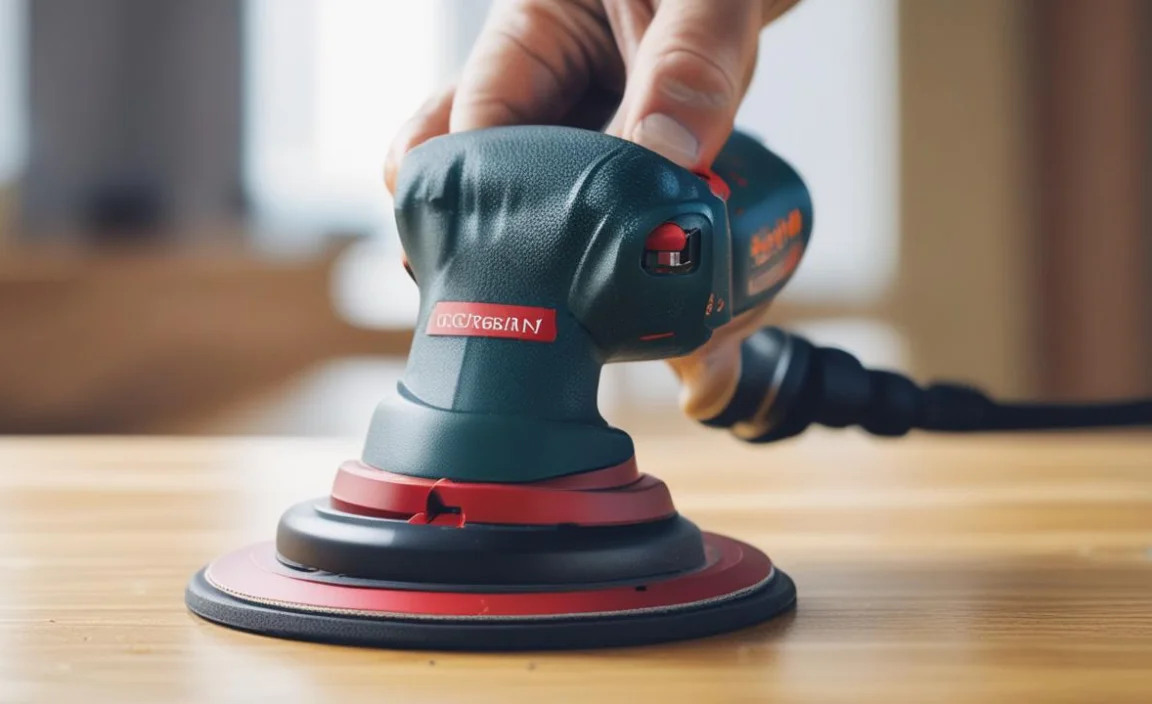
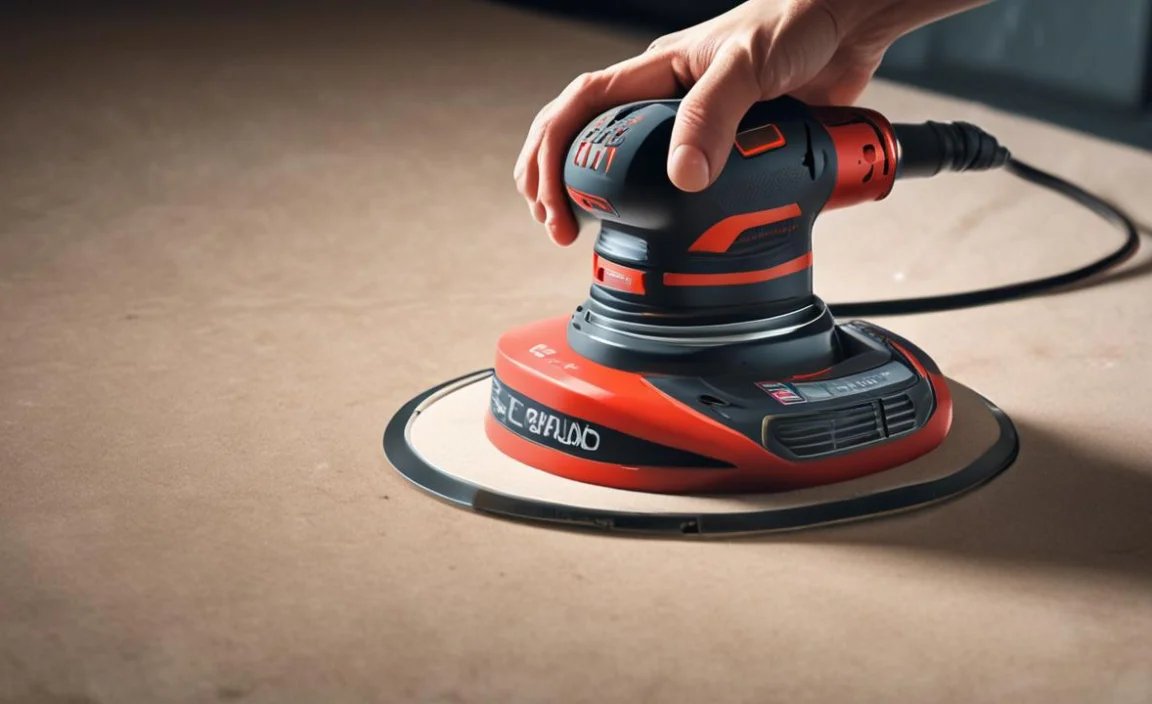
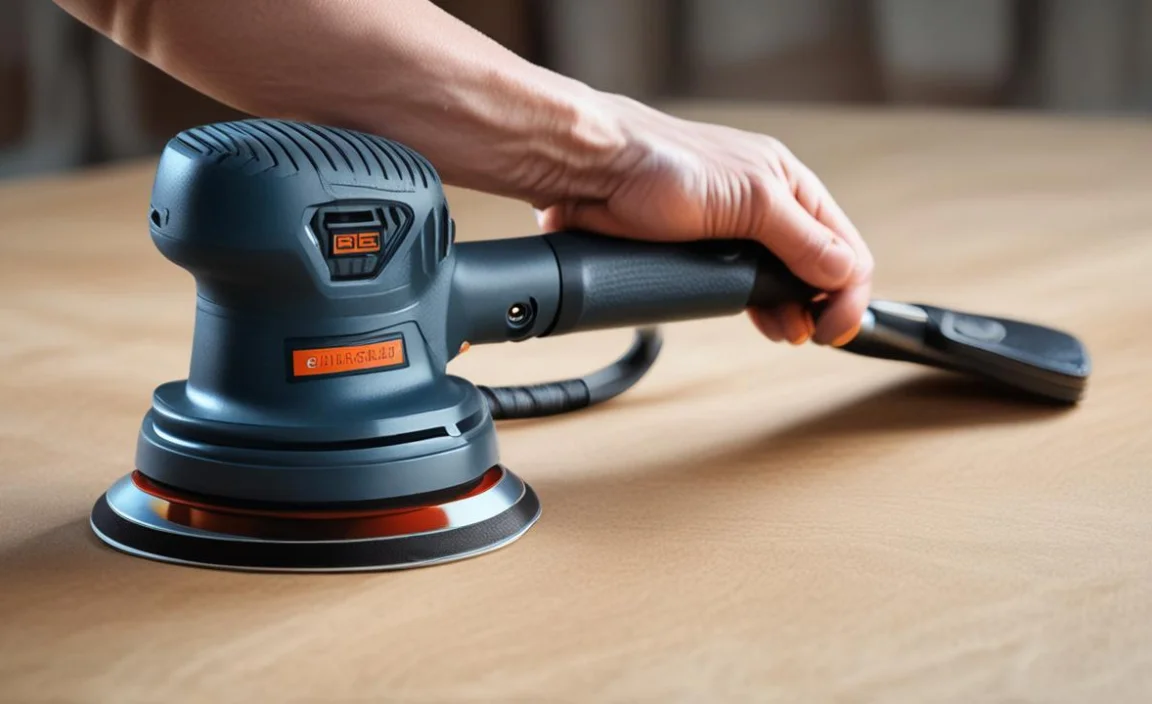
Steps for Replacing Hook and Loop Pad on Orbital Sander
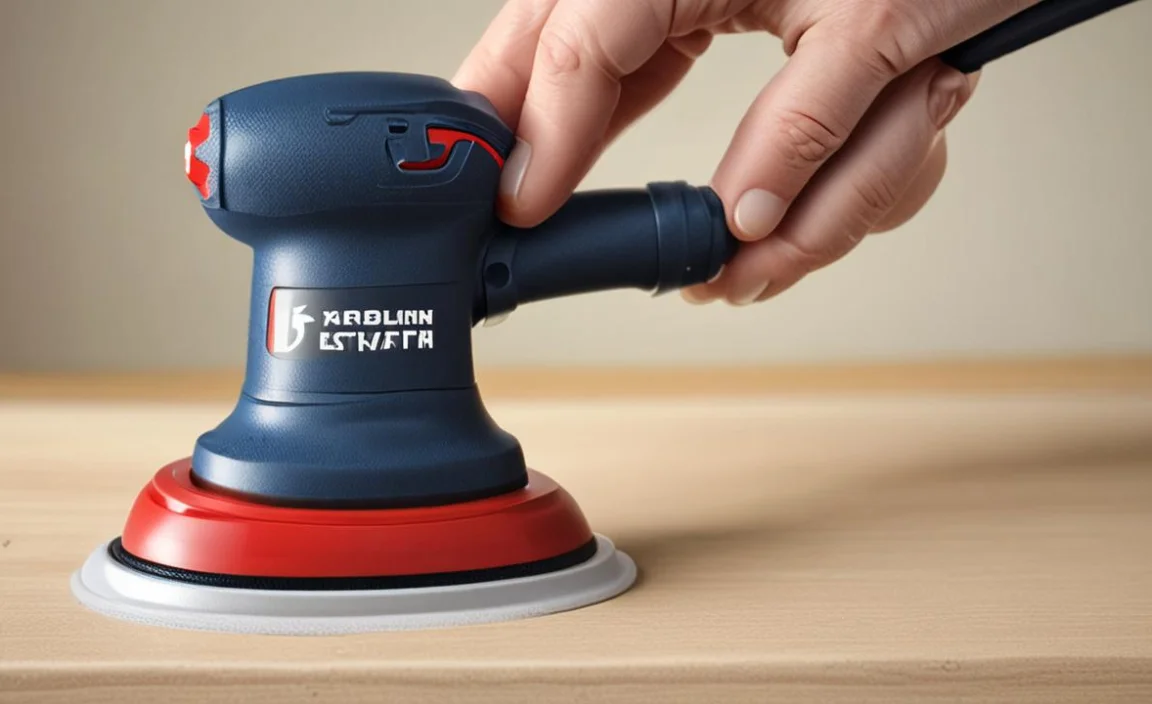
Now that we know why replacing pads is important, let’s learn how to do it. First, gather your tools. You will need a new pad and possibly a screwdriver. Start by unplugging your sander for safety. Then, remove the old pad. Most pads come off easily. Follow the steps carefully to avoid any issues.
- Gather your tools: new pad, screwdriver.
- Unplug the sander before starting.
- Remove the old pad carefully.
- Align the new pad correctly.
- Press down firmly to attach the new pad.
Once you replace the pad, check to make sure it is secure. After that, plug the sander back in. Test it on a piece of scrap wood. This way, you can ensure everything works well. Following these steps will make the process smooth. Soon, you’ll be sanding like a pro!
Fun Fact or Stat: Most orbital sanders use pads that last about 20 hours of sanding.
Tools You Need for the Replacement
Wondering what tools you need? The most important tool is the new hook and loop pad. Make sure it fits your sander model. You might also need a screwdriver. This is for removing the old pad. Having a clean workspace can help too. It’s easier to work when there is no clutter around.
Common Mistakes When Replacing the Pad
What mistakes should you avoid? One common mistake is not unplugging the sander. Always prioritize safety! Another mistake is not aligning the new pad correctly. Misalignment can cause uneven sanding. Lastly, people often forget to test the sander after replacing the pad. Don’t skip that step; it’s important to ensure everything is working properly.
Tips for Maintaining Your Orbital Sander
How can you keep your sander in good shape? First, always keep it clean. Dust can build up quickly. A clean tool works better and lasts longer. Also, check for loose screws and connections. Tighten them if needed. Lastly, store the sander in a dry place. This will help prevent rust and damage.
Choosing the Right Hook and Loop Pad
Not all pads are created equal. Choosing the right hook and loop pad is crucial. Different pads serve different purposes. Some are for rough sanding, while others are for finishing. Always look for pads made for your specific sander model. Using the correct pad ensures the best performance.
- Identify the right grit for your project.
- Check compatibility with your sander model.
- Read reviews to find quality pads.
- Consider the material of the pad.
- Choose pads based on your sanding needs.
Using the right pad can make a big difference. It can help you achieve the finish you want. If you use a rough pad for finishing, you may end up with scratches. Picking the right pad ensures you get the smooth surface you desire. Always take the time to choose wisely.
Fun Fact or Stat: Different grits can change your finish from rough to smooth.
Understanding Grit Ratings
Do you know what grit ratings mean? They tell you how rough or smooth a pad is. A lower number, like 60, means a rougher pad. A higher number, like 320, means a smoother pad. Choosing the right grit is important for your project. If you need to remove a lot of material, use a lower grit. For finishing, use a higher grit.
Types of Hook and Loop Pads
There are many types of hook and loop pads. Some are made for wood, while others are for metal. There are also pads designed for different finishes. Knowing the types helps you choose wisely. Always pick a pad that suits your project needs. This will ensure that you get the best results possible.
Where to Buy Hook and Loop Pads
Wondering where to buy new pads? You can find them at hardware stores. Many online stores also offer a variety. Check reviews to ensure quality. Some stores even allow you to see them in person. This helps you make the best choice for your sander.
Common Issues When Replacing the Hook and Loop Pad
Sometimes, problems can arise when replacing the pad. One issue is the pad not sticking properly. This can happen if the surface is dirty. Always clean both the sander and the pad before replacing. Another common issue is misalignment. Make sure to line up the new pad carefully. Taking your time will help avoid mistakes.
- Ensure the sander surface is clean.
- Align the pad carefully before pressing.
- Check for any obstructions on the sander.
- Replace other worn parts if necessary.
- Test the sander after replacement.
By addressing these issues, you can make the process smoother. A little caution goes a long way in ensuring the job is done right. Always double-check your work before using the sander. This can prevent future headaches and leads to better results.
Fun Fact or Stat: Regular pad changes can improve quality by over 50%!
How to Troubleshoot Common Problems
If you encounter problems, troubleshooting is key. Start by checking if the pad is aligned. If it isn’t, remove and reposition it. Next, look for dirt or dust. A clean surface helps the pad stick better. If the pad still doesn’t work, check if it’s the right size for the sander. Using the wrong pad can cause issues.
Long-Term Effects of Not Replacing Pads
Have you thought about what happens if you don’t replace pads? It can lead to poor sanding results. A worn pad causes uneven surfaces. This can ruin your projects. Over time, it may also damage the sander itself. Avoiding pad replacement can cost you more in the long run. Keeping your tools in good shape is essential.
When to Seek Professional Help
Sometimes, you may need help. If your sander still has issues after a pad replacement, consult a professional. They can help identify deeper problems. Maybe the motor is failing, or other parts are worn out. It’s better to get help than to risk further damage. Keeping your tools in excellent condition is important.
Comparing Different Hook and Loop Pads
| Pad Type | Grit Range | Best For | Common Brands |
|---|---|---|---|
| General Purpose | 60-220 | Wood, metal, all surfaces | 3M, Bosch |
| Finishing | 320-600 | Smooth finishes | Mirka, Norton |
| Abrasive | 40-120 | Heavy material removal | DeWalt, Makita |
| Specialty | 80-300 | Specific tasks | Festool, Klingspor |
Looking at this table helps you make informed choices. Different pads serve different needs. Always consider your project before choosing a pad. This can ensure that you get the results you want and protect your sander.
Fun Fact or Stat: The right pad can reduce sanding time by 30%!
Understanding the Importance of Quality
Quality is key when choosing sanding pads. Low-quality pads may wear out quickly or not stick well. This can lead to unsatisfactory results. Always invest in good quality pads. They may cost a bit more, but they last longer. Quality pads can save you time and improve your projects significantly.
Reading Reviews Before Purchase
Before buying pads, read reviews. Other users can provide great insights. They often share their experiences with specific brands. Look for comments about durability and performance. This will help you make better choices. Knowing what works best for others can guide your decisions.
Where to Find Reliable Recommendations
Looking for recommendations? Ask friends or family who use sanders. You can also check online forums. Many DIY enthusiasts share their experiences there. Local hardware stores can also give suggestions. Staff often have insights on the best products. Don’t hesitate to seek advice!
Summary
Replacing the hook and loop pad on your orbital sander is an essential task. It keeps your tool in good condition. Regular replacement leads to better sanding performance. It also helps you achieve smoother surfaces. By following the steps outlined above, you can easily make this change. Always remember to check for wear and use the right pad for your projects.
Conclusion
In conclusion, learning about replacing the hook and loop pad on your orbital sander is important. It can improve your sanding results. Regular maintenance makes your projects easier and more enjoyable. Take the time to replace worn pads and keep your tools in great shape!
Frequently Asked Questions
Question No 1: Why should I replace the hook and loop pad?
Answer: Replacing the hook and loop pad on orbital sander is crucial for efficient sanding. A worn pad leads to uneven surfaces and less control. When you replace it, you ensure that the sander performs at its best. This can save you time and improve your project quality. Regular checks help you avoid sanding mistakes and make your work easier.
Question No 2: How do I know when to get a new pad?
Answer: You should get a new pad when you notice wear. Look for visible damage like tears or rough edges. Also, if your sander leaves marks, that’s a sign. An easy check is to see if the pad sticks well. If it does not, it’s time for a replacement. Regularly checking your tools helps you keep them in shape.
Question No 3: Can I use any pad for my sander?
Answer: No, you should use pads that fit your specific sander model. Different sanders have different requirements. If you use the wrong pad, it may not work well. Always check compatibility before purchasing. Using the right pad ensures better performance and longevity for your sander.
Question No 4: What happens if I don’t replace the pad?
Answer: If you don’t replace the pad, you may face several issues. It can lead to uneven sanding and poor surface quality. You might also damage your sander over time. Not replacing pads can cost more in the long run due to repairs. Regular maintenance helps avoid these problems and keeps your projects looking great.
Question No 5: How can I maintain my orbital sander?
Answer: To maintain your orbital sander, keep it clean and check for wear. Regularly clean dust and debris from the pads. Make sure to check screws and connections periodically. Store your sander in a dry place to prevent rust. Following these steps helps extend the life of your tool and improves performance.
Question No 6: Are there different types of sanding pads?
Answer: Yes, there are many types of sanding pads. Some are designed for rough sanding, while others are for fine finishing. Different materials are available for various tasks. Always choose the right type for your project. Understanding the differences helps you select the best option for your needs and achieve great results.
