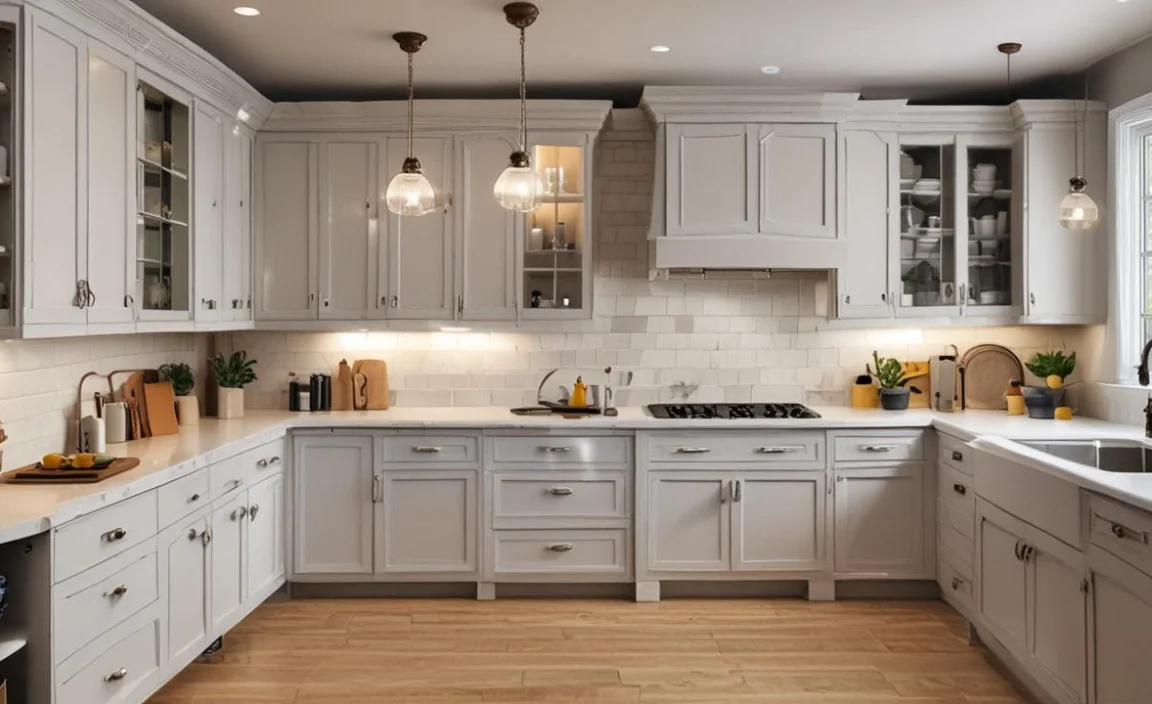
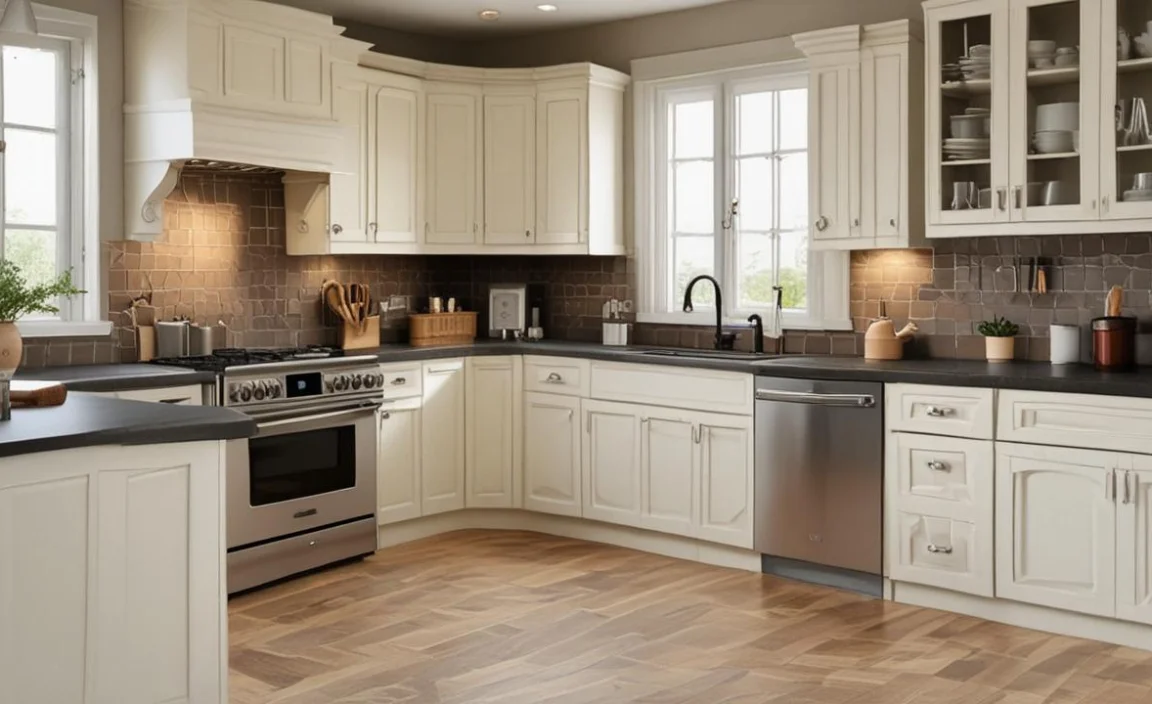
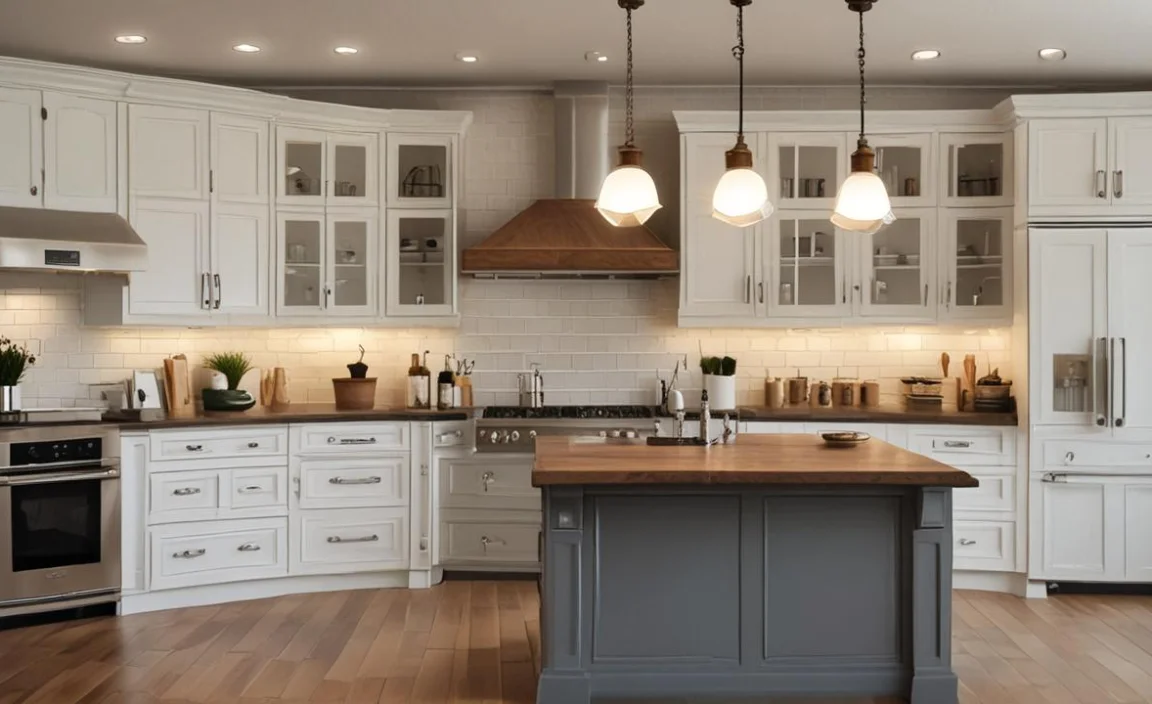
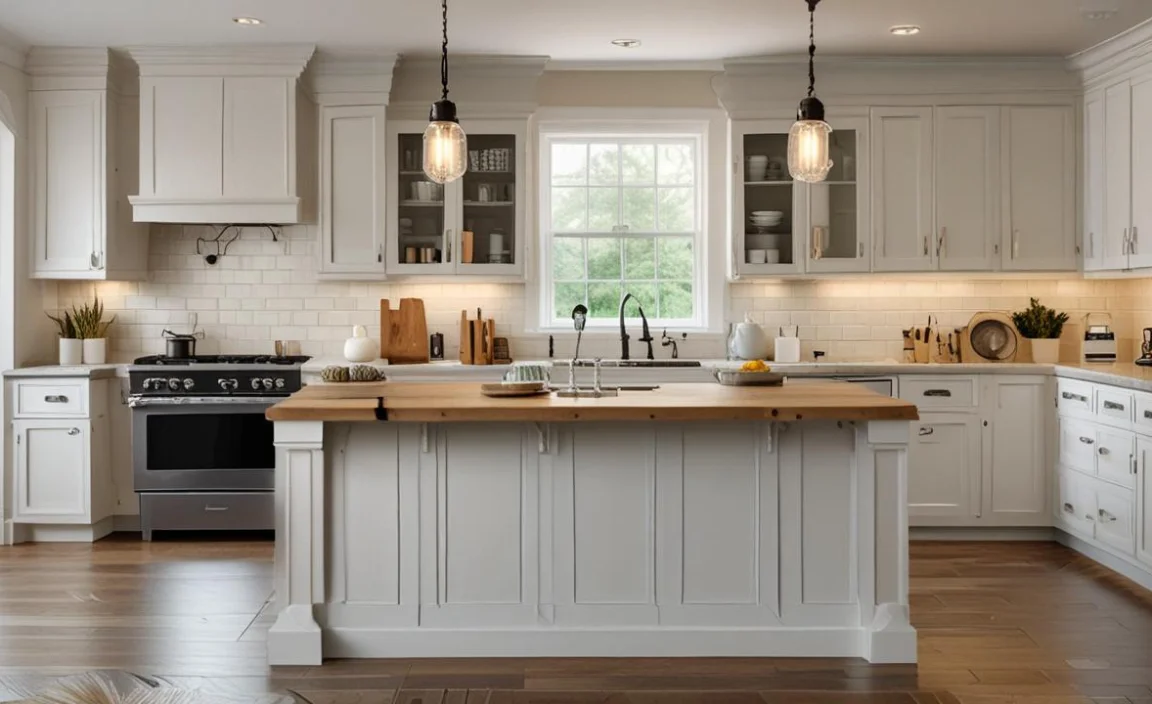
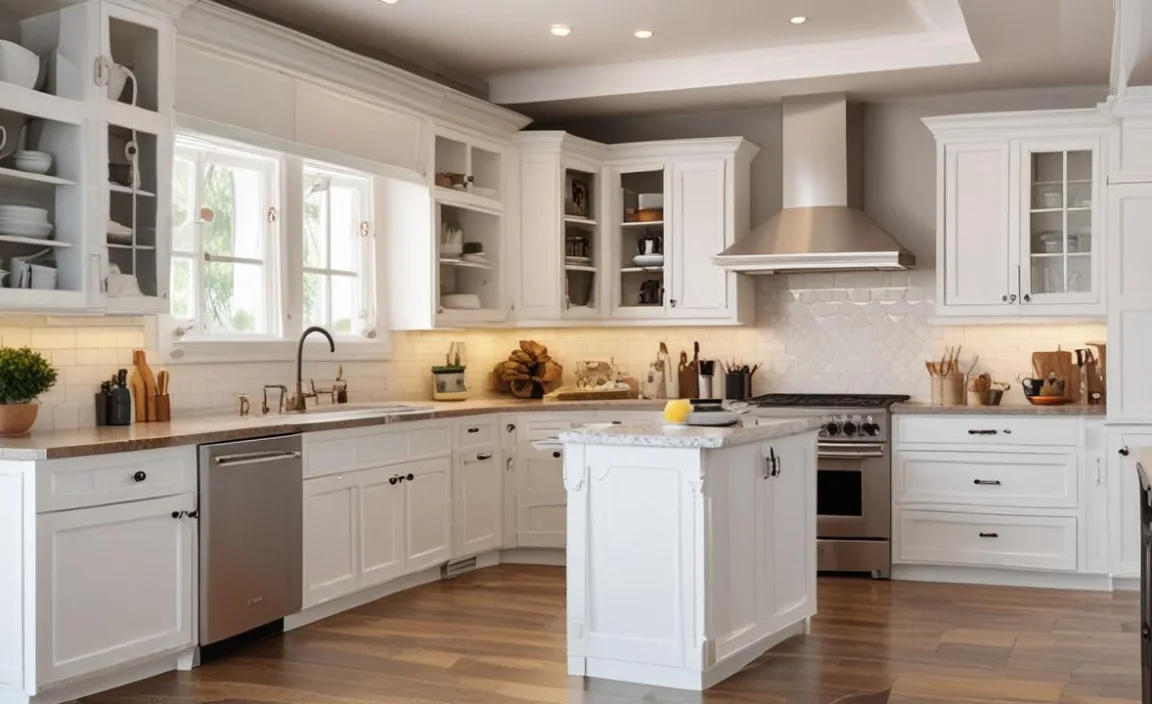
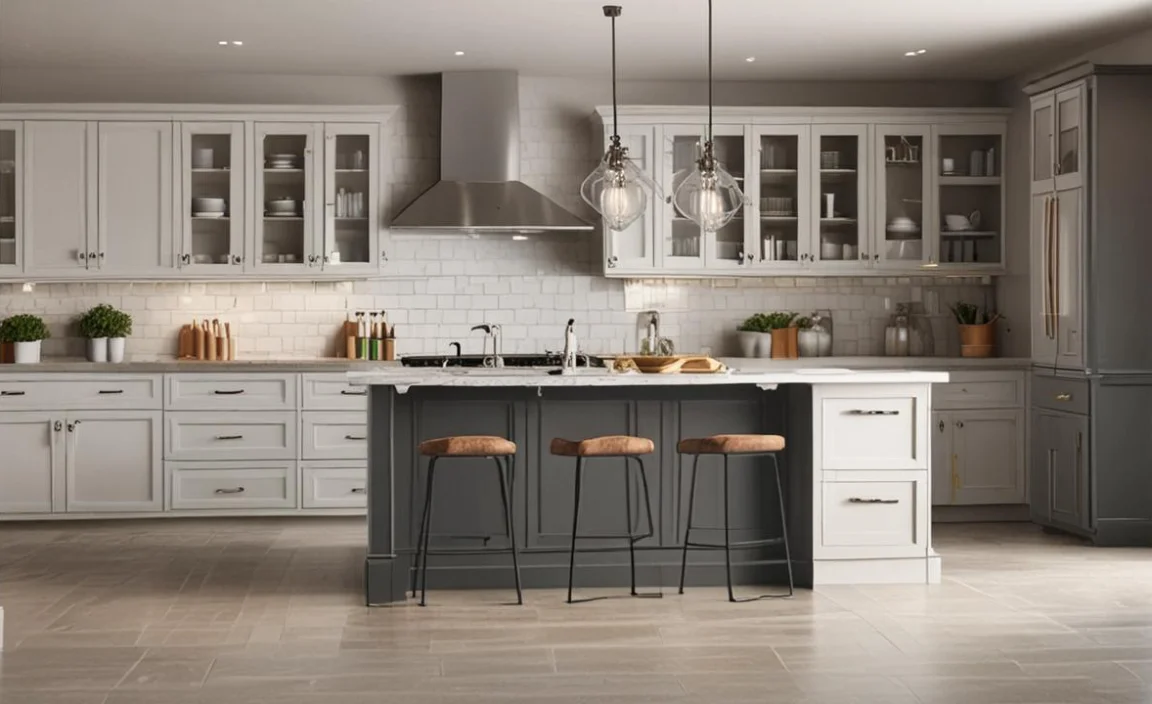
Refinishing kitchen cabinets can be a great way to give your kitchen a fresh new look without the hefty price tag of a full remodel. Plus, it’s an easy DIY project that can be done in just a few days with the right tools and materials.
Are you tired of the outdated look of your kitchen cabinets? Are you looking for a budget-friendly way to update them without replacing them entirely? Look no further than refinishing your kitchen cabinets! Refinishing your cabinets can give them a brand-new look and feel without breaking the bank. Here we will guide you through how to refinish kitchen cabinets.
We’ll cover you, from preparing the cabinets for refinishing to choosing the right finish and maintaining your newly refinished cabinets. And don’t worry if your kitchen cabinets have laminations – we will cover that too.

How To Refinish Kitchen Cabinets – Easily And Effectively
Refinishing kitchen cabinets can be a great way to give your kitchen a fresh new look without replacing the entire cabinetry. The first step is to remove all doors and hardware from the cabinets. Then, clean the surfaces thoroughly with a degreaser or mild detergent. Sanding the surfaces with fine-grit sandpaper will help remove any old finish and create a smooth surface for painting or staining. Here is the process of how to refinish kitchen cabinets.
Preparing The Cabinets For Refinishing
To properly prepare your kitchen cabinets for refinishing, you must follow some essential steps. Begin by removing all cabinet hardware, such as knobs and drawer pulls, along with the cabinet doors and drawer fronts.
Then give them a good cleaning with trisodium phosphate (TSP) mixed with warm water to remove grease and residue build-up. After cleaning the cabinet box and countertops, use sandpaper of 120-150 grit to remove dents and scratches in a well-ventilated area while wearing a respirator mask to protect yourself from fumes.
Once the cleaning process is done, fill up any imperfections, such as cracks or dents, using wood filler. Sand again using 220-grit sandpaper once the wood filler is dried up completely. You can use an orbital sander for large spaces and a bristle brush for corners. Don’t forget to clean off all dust residue created by sanding with a tack cloth before applying primer on your cabinets.
Applying The New Finish
Properly prepping your kitchen cabinet doors and cabinet box before refinishing is essential for a durable paint job. Clean with trisodium phosphate (TSP) to remove dirt, grease, and residue from countertops and appliances.
Sand all surfaces with fine-grit sandpaper, fill any imperfections with wood filler putty, and prime using a high-quality primer. Apply two coats of paint or stain with a sprayer, roller, or brush, allowing each coat to dry thoroughly before applying the next. Finish with a polyurethane sealer for added protection against wear and tear.
Choosing The Right Finish
To choose the right finish for your kitchen cabinet refinishing project, consider durability, ease of application, and color options. A modern look can be achieved with paint, while stain retains the natural wood grain. To extend their life, apply varnish to provide a protective layer. By considering these factors and choosing the type of finish that suits your needs best, your refinished cabinets can be made to look new again.
Tips For Refinishing Kitchen Cabinets
For a successful kitchen cabinet refinishing process without spending thousands of dollars on new cabinets, start by cleaning and prepping the cabinet doors and box with trisodium phosphate (TSP), then sanding with a fine-grit sandpaper. Refinishing kitchen cabinets is a great way to give your kitchen a fresh new look without breaking the bank. Here are some tips to help make the process go smoothly:
- Start by removing all cabinet doors, drawers, and hardware. This will make it easier to sand and paint each piece.
- Use a good-quality paint stripper to remove any old paint or finish from the cabinets. Be sure to wear gloves and work in a well-ventilated area.
- Once you remove the old finish, thoroughly sand each piece of wood with a fine-grit sandpaper. This will create a smooth surface for painting.
- Apply a coat of primer to each cabinet piece before painting. This will help the paint adhere better and last longer.
- Finally, apply two coats of paint in your desired color, allowing each coat to dry completely before applying the next one.
With these tips, you can easily transform your kitchen cabinets into beautiful, updated pieces that breathe new life into your home.
Maintaining Refinished Cabinets
Maintaining refinished cabinets is crucial to keeping them looking their best for years. The first step in maintaining your newly refinished cabinets is to keep them clean and debris-free. You should wipe them down regularly with a damp cloth and avoid using harsh chemicals or abrasive materials that could damage the finish. It’s also important to avoid exposing your refinished cabinets to extreme temperatures or humidity.
This can cause the wood to warp, crack, or swell, ruining the look of your cabinets. If you notice any scratches or other damage to the finish, it’s important to address it immediately. You can use a touch-up kit specifically designed for refinished cabinets or consult with a professional refinisher for more extensive repairs. By taking these steps to care for your refinished cabinets, you can enjoy their beauty and functionality for many years.
DIY Refinishing Vs Hiring A Pro
If you’re looking to refinish your kitchen cabinets but can’t decide whether to do it yourself or hire a professional, consider the pros and cons of each option. Although DIY refinishing can save money upfront, it may require more time and effort than hiring a pro.
On the other hand, hiring a professional ensures high-quality results that are well worth the investment for larger projects or cabinets in poor condition. Be sure to consider your skill level and experience before making your decision.
How To Install New Hinges On Refinished Cabinets
To install new hinges on refinished kitchen cabinets, accurately measure and mark hinge placement before installation. Select the appropriate overlay or inset hinge based on the door design. For proper installation, use a drill or screwdriver if necessary. These steps will result in high-quality cabinetry with durable finishes and polished wood grain that complements countertops, appliances, and backsplashes.
Can I Refinish My Laminated Kitchen Cabinets?
Refinishing laminated kitchen cabinets is possible, but it can be a bit more challenging than refinishing cabinets made of wood. Laminate is a synthetic material resistant to most types of paint and stain. However, it can be done successfully with the right preparation and products. The first step is to clean the cabinets thoroughly and sand them lightly to give the new finish something to adhere to.
Then, a primer specifically designed for laminate surfaces should be applied before painting or staining. It is important to choose a high-quality product specifically formulated for use on laminate surfaces to ensure a smooth and even finish. With patience and attention to detail, you can transform your outdated laminate cabinets into a fresh, modern look that will breathe new life into your kitchen.
Conclusion
Refinishing kitchen cabinets can be a rewarding and cost-effective DIY project. With the right tools, techniques, and products, you can give your kitchen cabinets a fresh new look without breaking the bank. However, it’s important to note that refinishing cabinets requires patience and attention to detail. If you’re unsure about this project, consider hiring a professional for the best results.
Regardless of whether you choose to DIY or hire a pro, maintain your newly refinished cabinets with proper cleaning and care. You don’t have to be an expert to accomplish this task; all it takes is time and effort. With these tips on how to refinish kitchen cabinets, your kitchen will look new quickly.
Frequently Asked Questions
[rank_math_rich_snippet id=”s-fdda0973-0a33-4209-bf12-d424e5a4e74d”]
