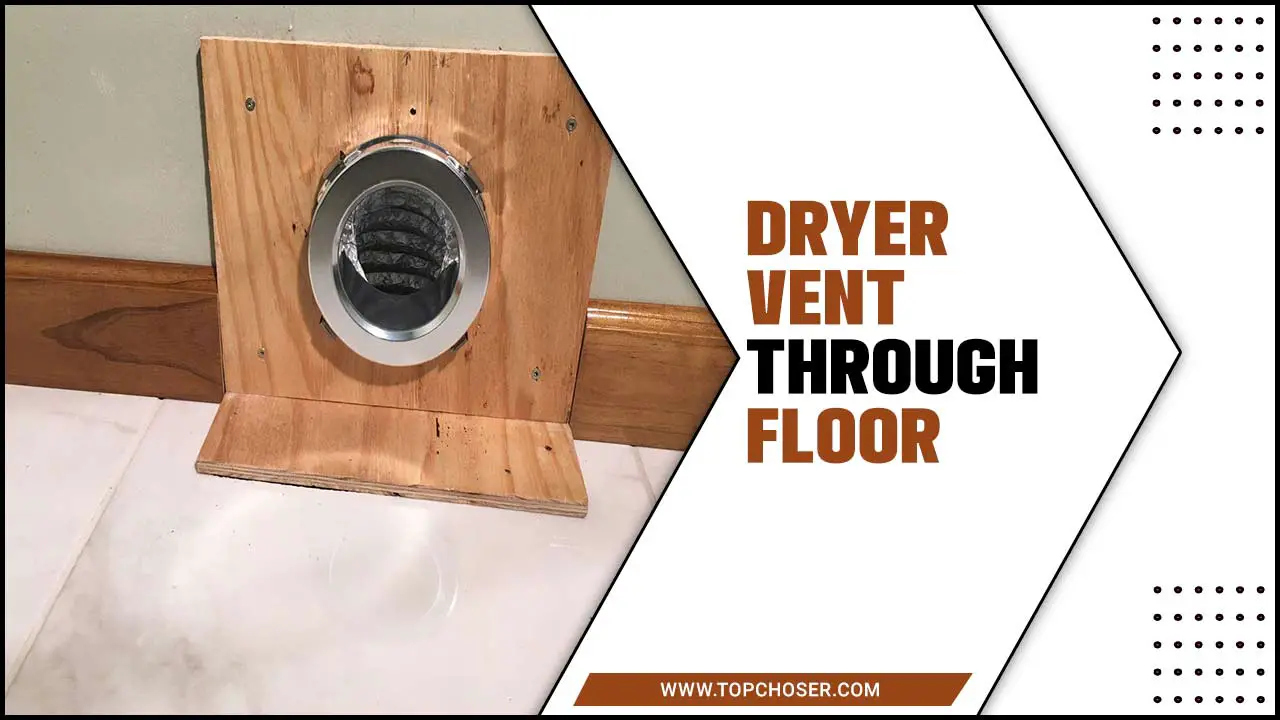
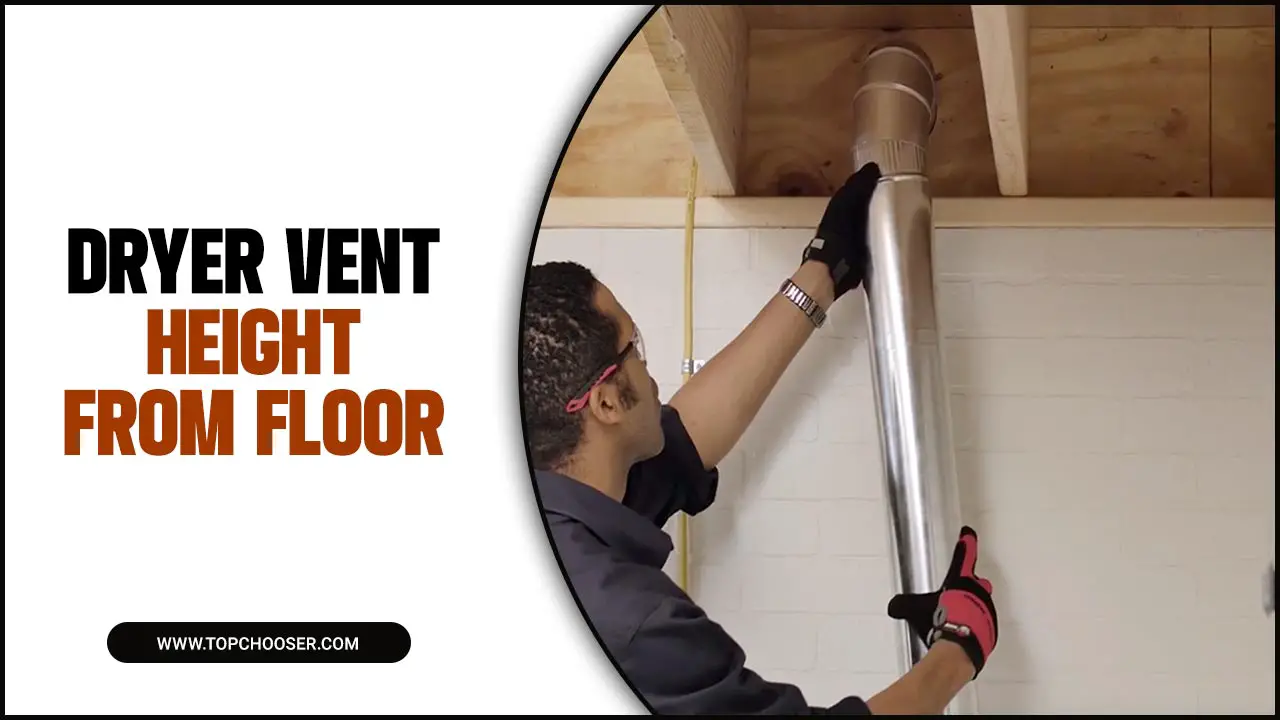
When maintaining a clean and safe home, proper ventilation is key. One area that often goes overlooked is the floor dryer. This important component of your home’s ventilation system helps to remove excess moisture and improve air quality.
By allowing wet or damp air to escape, floor dryer vents can prevent mold and mildew growth and reduce the risk of damage to your flooring. We will guide you through installing a floor dryer in just 5 easy steps. From measuring the distance of the vent to connecting it to your dryer, we’ve got you covered.
We will also provide you with a list of tools and materials you’ll need for the installation. Additionally, we’ll share some helpful steps to ensure a smooth installation process and address common problems that may arise with floor dryers and how to fix them.
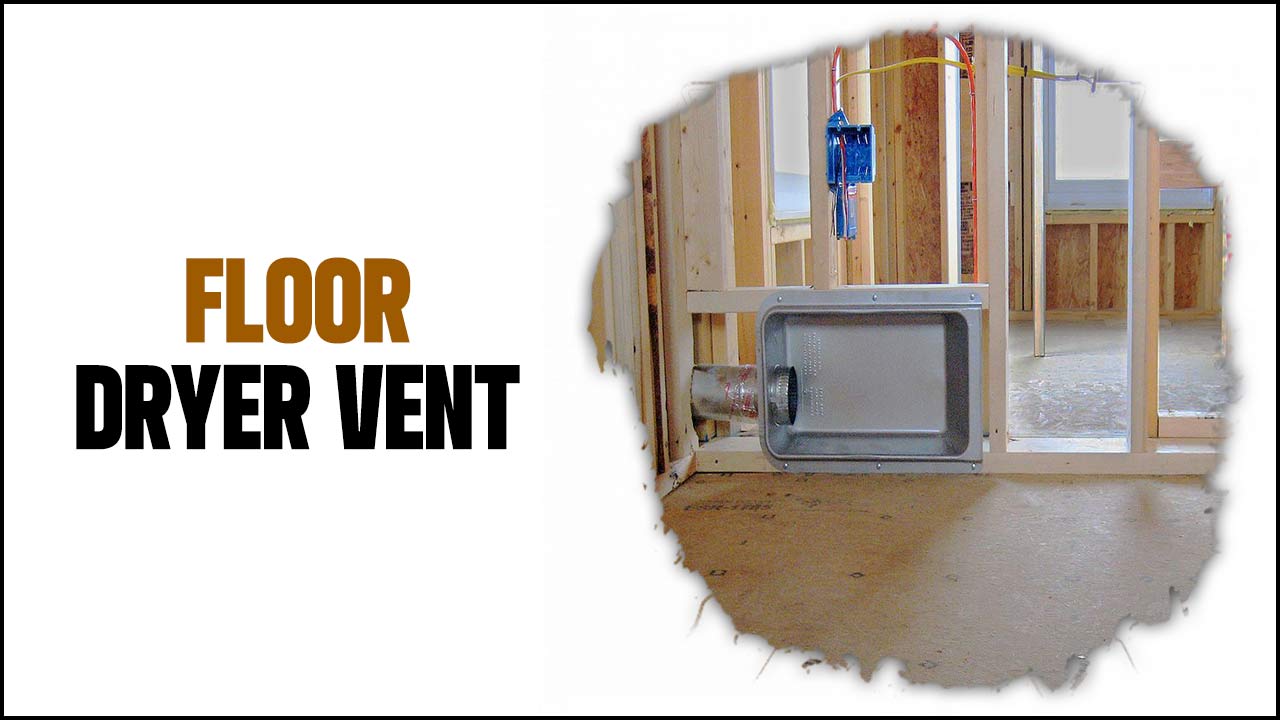
5 Easy Steps To Install Floor Dryer Vent
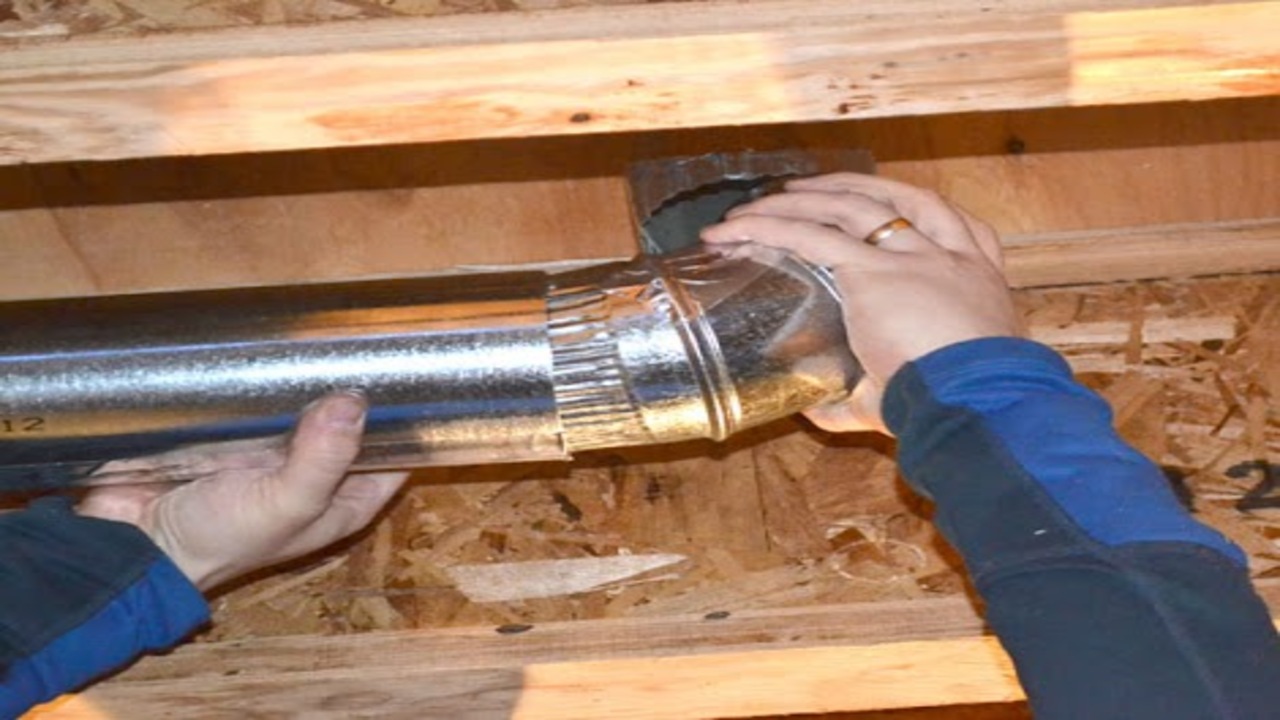
A floor dryer vent is a ventilation system that allows for the safe and efficient exhaust of air from a clothes dryer. It is designed to be installed on the floor, allowing for a more discreet and convenient placement than traditional wall-mounted vents.
By directing the hot air and moisture generated by the dryer outside of the living space, a floor dryer helps prevent lint accumulation and reduce the risk of fire hazards. Installing a floor dryer can be a simple and straightforward process.
Here are five easy steps to help you install a floor dryer. By following these steps, you can easily install a floor dryer and ensure efficient ventilation for your dryer, reducing moisture and preventing potential hazards.
Step 1:Measure The Distance Of The Vent
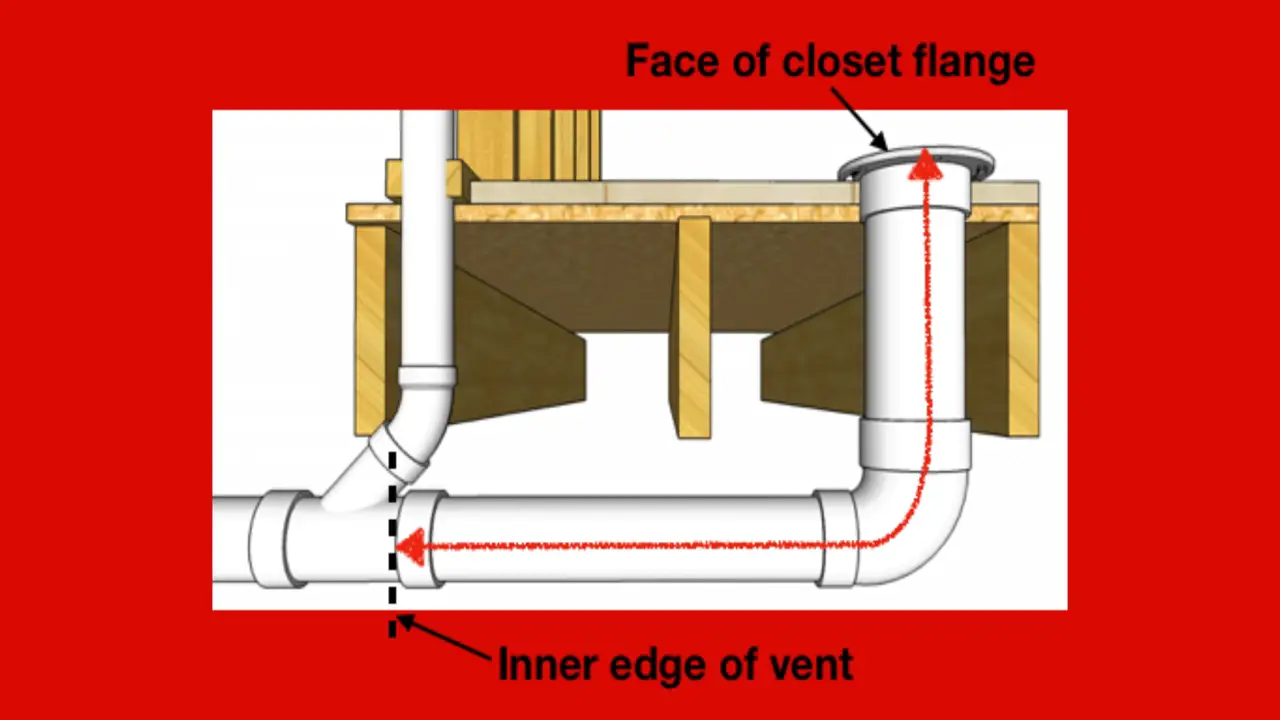
To begin installing a floor dryer, measure the distance from your dryer to the desired installation location. This measurement is crucial as it helps determine the length of ductwork and other materials needed for a successful installation.
Consider any obstacles or bends in the ductwork that may require additional materials or adjustments. Once you have measured the distance, use a saw or drill to cut a hole in the floor at the specified location for the vent. This hole will serve as the entry point for the vent, allowing proper airflow and ventilation for your dryer.
Step 2:Select The Appropriate Venting
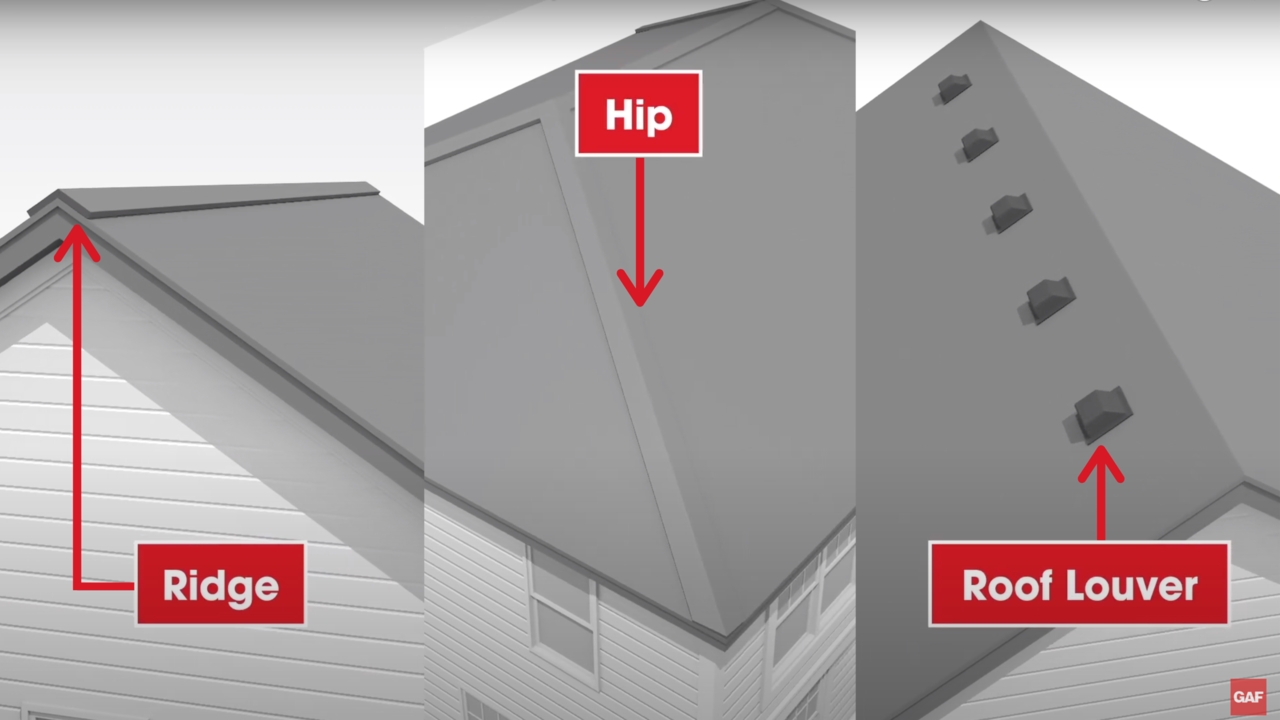
Consider a few things when selecting the appropriate venting for your floor dryer. First and foremost, consider the type of flooring you have and the location of your dryer. Different vents are available for different flooring types, such as flush-mounted vents for hardwood or tile floors and adjustable vents for carpeted or vinyl floors.
It’s also important to measure the size of your dryer hose to ensure that it will fit properly with the chosen vent. Additionally, consider the airflow requirements of your dryer and choose a vent that allows for sufficient air circulation. Once you’ve selected, follow the manufacturer’s instructions for installation, securely attaching the vent to the floor and connecting it to the dryer hose.
Step 3:Cut The Venting To Fit
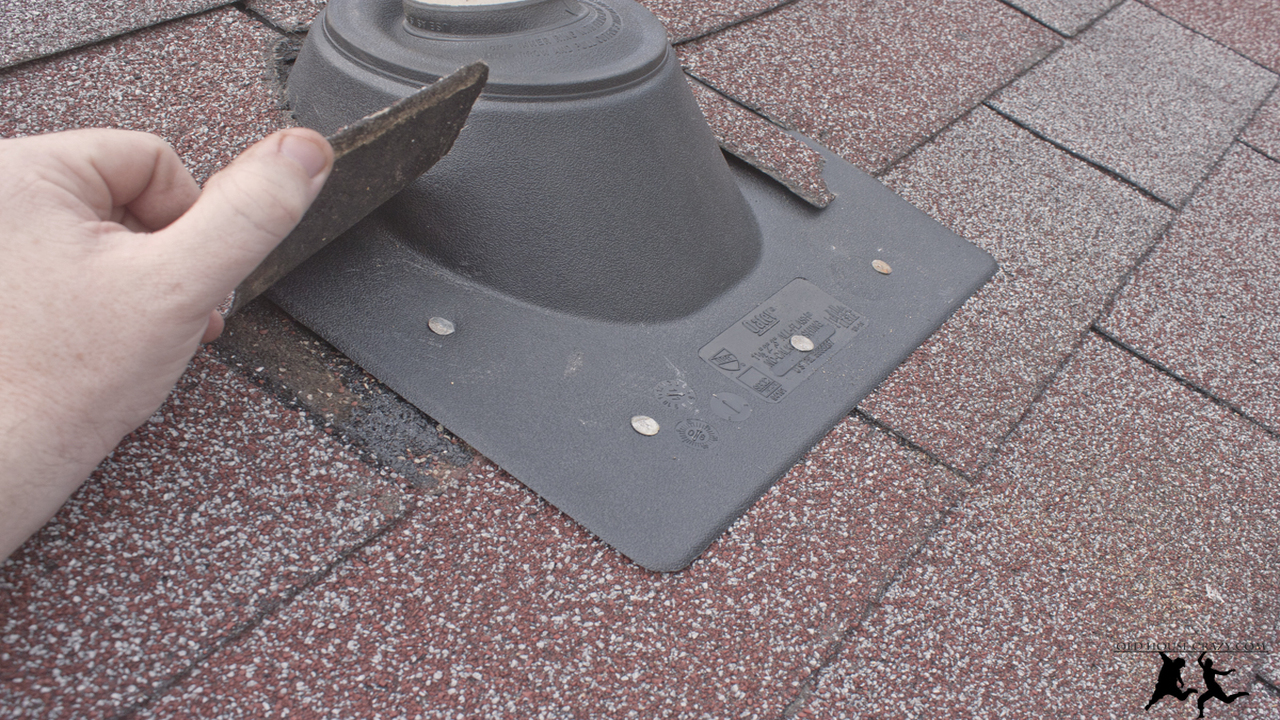
To cut the venting to fit, start by measuring the distance from your dryer to the floor vent opening. Use a straight edge and a marker to mark the measurements on the venting material. Carefully cut along the marked lines using tin snips or a hacksaw.
Ensure that the cut pieces fit securely into each other without gaps or overlaps. To prevent air leaks, secure the venting using metal duct tape or hose clamps, ensuring it is tight and secure. This step is crucial for maintaining proper airflow and preventing fire hazards associated with lint build-up.
Step 4:Secure The Venting To The Floor
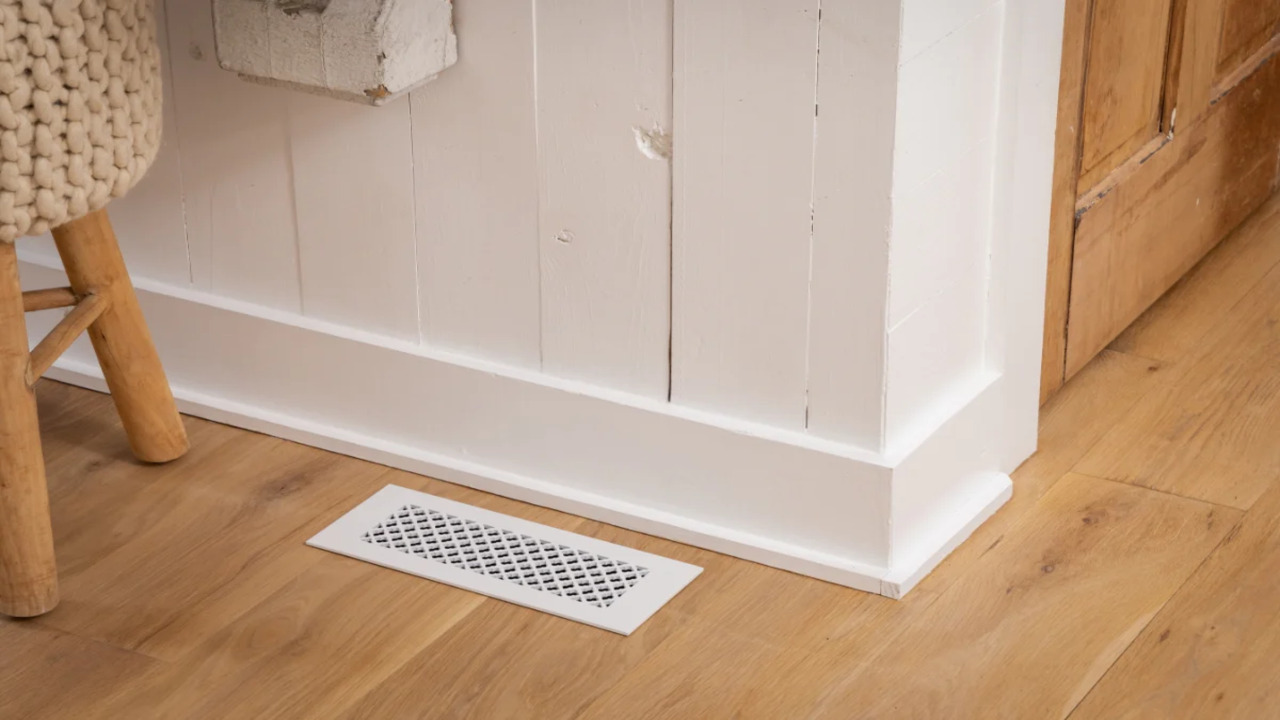
To ensure a secure installation, align the venting with the floor and dryer openings. Once aligned, use screws or nails to firmly attach the venting to the floor. For added protection against moisture, consider using a sealant or caulk to create a waterproof seal along the edges of the venting.
It’s important to double-check for any gaps or loose connections before proceeding to the next step. Once the venting is securely attached to the floor, test it by running the dryer and inspecting for leaks or airflow issues. By ensuring a tight and secure connection, you can prevent potential fire hazards and optimize the efficiency of your dryer.
Step 5:Connect The Venting To The Dryer
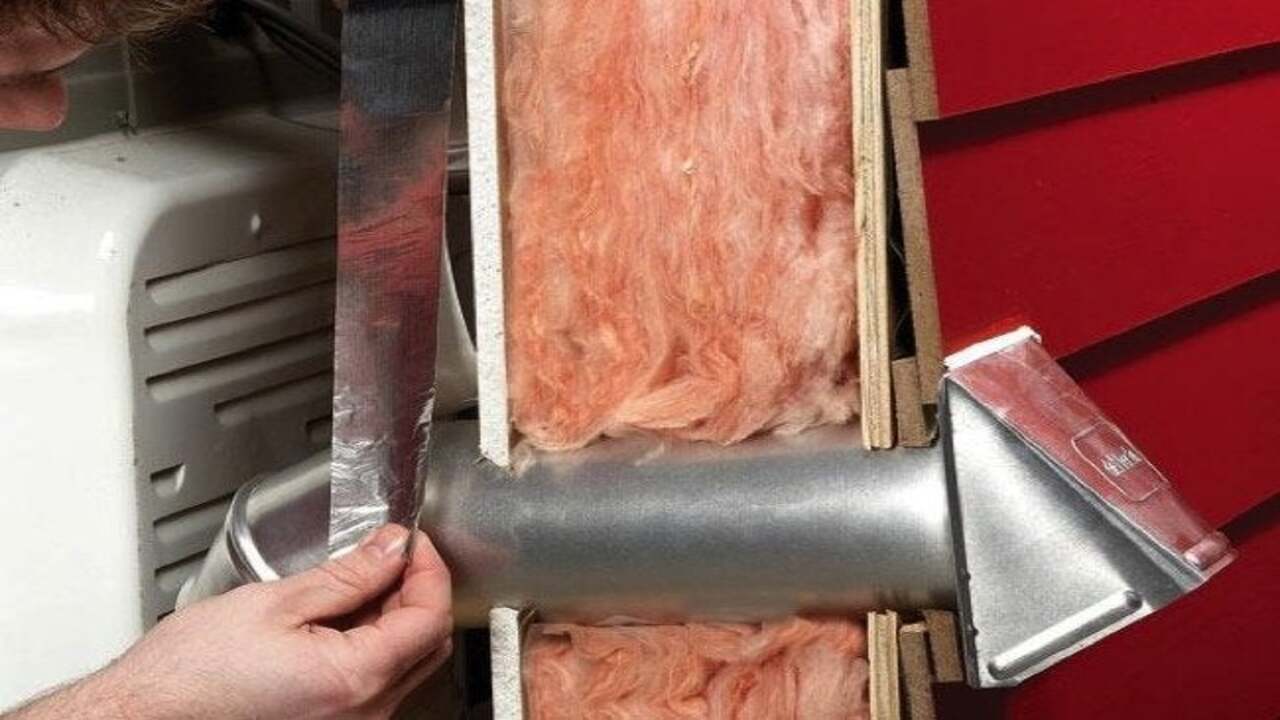
To connect the venting to the dryer, start by positioning the dryer in its designated spot. Then, make a secure connection using a clamp or duct tape to fasten the venting hose to the back of the dryer. The next step is to measure and cut the necessary length of rigid or flexible ductwork to connect the other end of the hose to the floor vent.
Ensure a secure attachment by using screws or clamps to attach the ductwork to the floor vent. Finally, double-check all connections for tightness and make any necessary adjustments before testing the dryer’s ventilation system. This will ensure efficient airflow and prevent any issues with lint build-up or potential fire hazards.
Tools And Materials You Will Need
You will need several tools and materials to install a floor dryer successfully. First, you’ll require a ventilation duct to connect the dryer to the vent opening on the floor. A dryer vent hood is also necessary to cover the vent opening and prevent debris and animals from entering.
Use a screwdriver or drill to secure the vent hood in place. Duct tape or clamps will be needed to securely fasten the ventilation duct to the dryer and the floor vent opening. Don’t forget to have a measuring tape on hand to ensure the proper length for the ventilation duct. Lastly, ensure your safety by wearing goggles and gloves while working with these tools and materials.
Vent Installation Tips
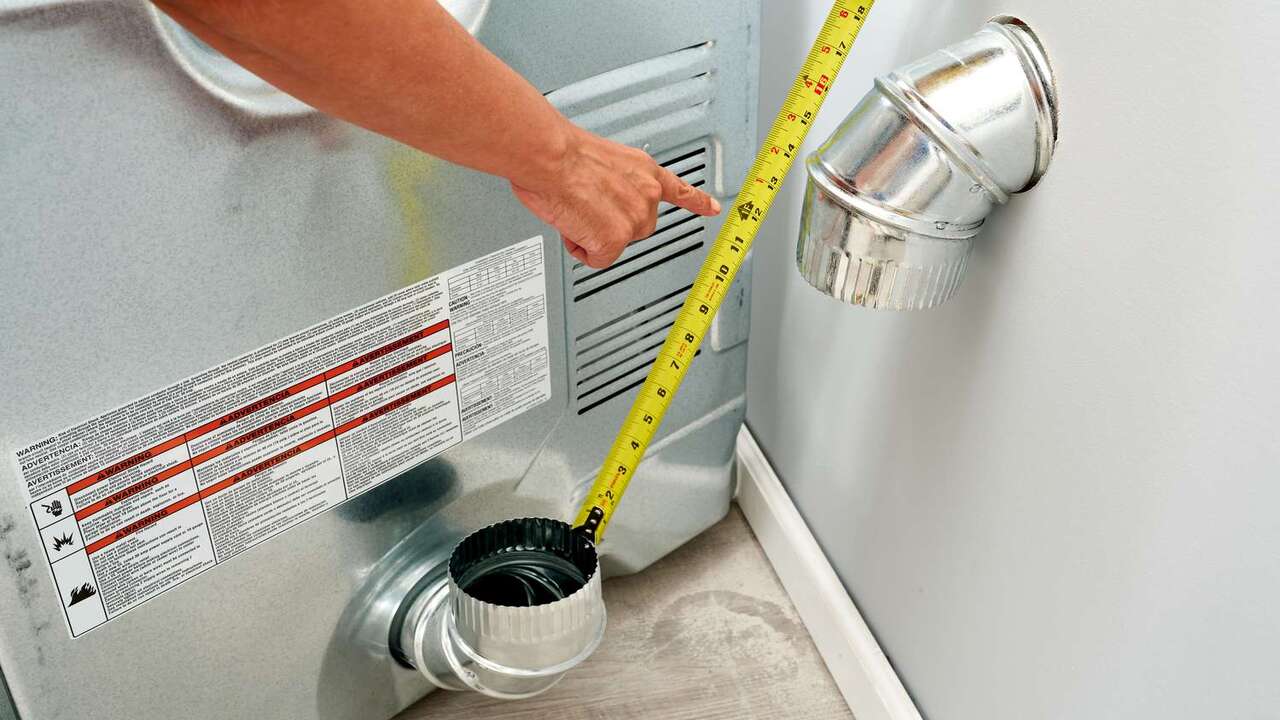
When installing a floor dryer, there are several important tips to remember. First, you’ll need to measure and mark the location of the vent on the floor. Once you’ve determined the placement, use a hole saw or jigsaw to carefully cut a hole in the floor.
Next, attach the vent pipe to the hole using screws or adhesive, ensuring a secure connection. You may need elbows or connectors to connect the vent pipe to the wall or ceiling. Seal gaps or leaks with caulk or duct tape to prevent air leakage. Finally, it’s crucial to test the dryer vent to ensure proper airflow. This will help maintain the efficiency and safety of your dryer system.
Common Problems With Floor Dryer Vents And How To Fix Them
Floor dryer vents can face various common problems that must be addressed to ensure proper functioning. One such issue is the accumulation of lint and debris, which can lead to reduced airflow and potentially cause fire hazards. Regular cleaning and inspection are necessary to prevent this buildup. Another problem arises from leaks in the floor dryer, which can damage water and promote mold growth.
To fix this, it is essential to identify the source of the leak and apply appropriate sealing techniques like caulk or duct tape. Additionally, improper installation of floor dryers can lead to inefficient drying and increased energy consumption. Hiring a professional for installation or repair can ensure safety and effectiveness. These maintenance steps will help keep your floor dryer in shape and avoid potential issues.
Conclusion
Installing a floor dryer is a straightforward process that can be done in just five easy steps. By following these steps and using the right tools and materials, you can ensure proper ventilation for your dryer and prevent any potential issues.
However, it’s important to keep in mind that there may be some common problems that can arise with floor dryers. Fortunately, most of these issues can be easily fixed with some troubleshooting. Additionally, a floor dryer can help maximise your laundry room’s space by eliminating the need for a bulky external vent. Overall, investing in a floor dryer vent is a practical and efficient solution for improving airflow and maintaining the safety of your home’s laundry system.
Frequently Asked Questions
[rank_math_rich_snippet id=”s-189181f7-6570-4e6c-8d7c-55b81e67f67f”]

I am passionate about home engineering. I specialize in designing, installing, and maintaining heating, ventilation, and air conditioning systems. My goal is to help people stay comfortable in their homes all year long.

