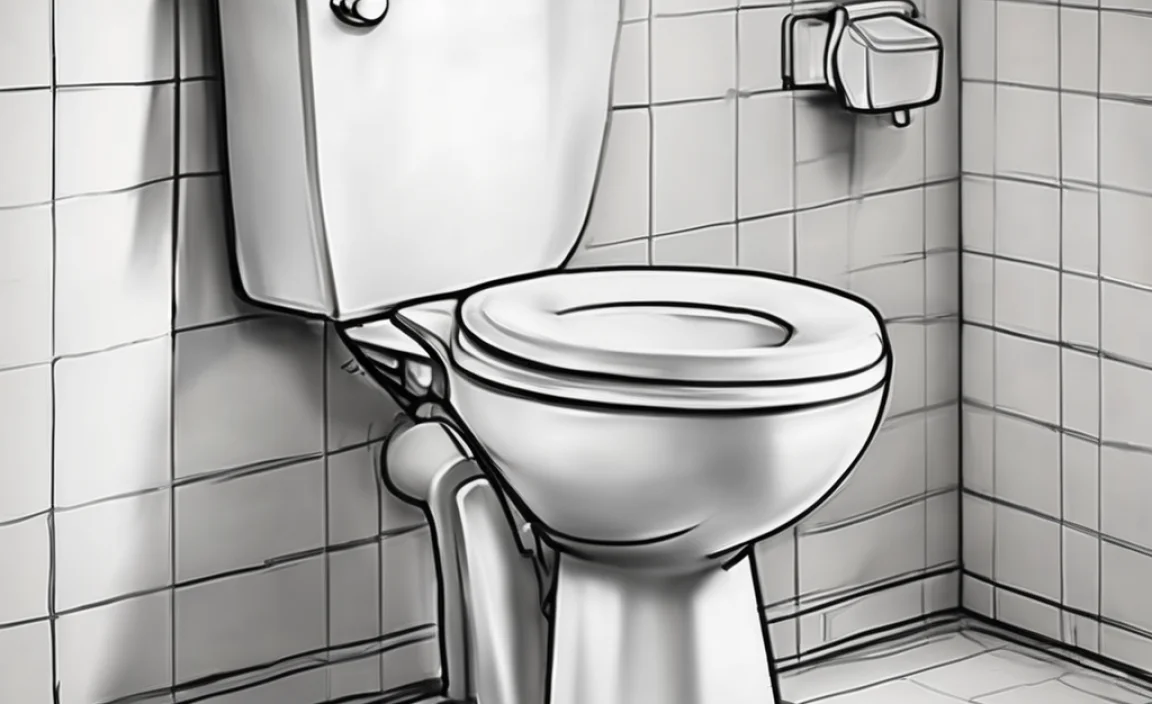
Have you ever wondered how to draw a toilet? It might seem silly. But drawing everyday things is fun. It helps us see the world in new ways. Drawing can also help you become a better artist.
Have you ever tried to draw your favorite thing? Maybe a pet or a toy? Drawing a toilet can be just as fun. It teaches you about shapes and sizes. It also helps you practice drawing things you see every day.
Let’s learn how to draw a toilet. It’s not as hard as you think! We will use simple shapes. You will be surprised at what you can create. So grab your paper and pencil. Let’s get started and have some fun!
Key Takeaways
- Learning how to draw a toilet helps you improve your drawing skills.
- Start with basic shapes like circles and rectangles for the toilet.
- Add details like the seat, lid, and water tank to your drawing.
- Practice makes perfect, so don’t worry if your first try isn’t perfect.
- Use your imagination to add fun details and make it your own.
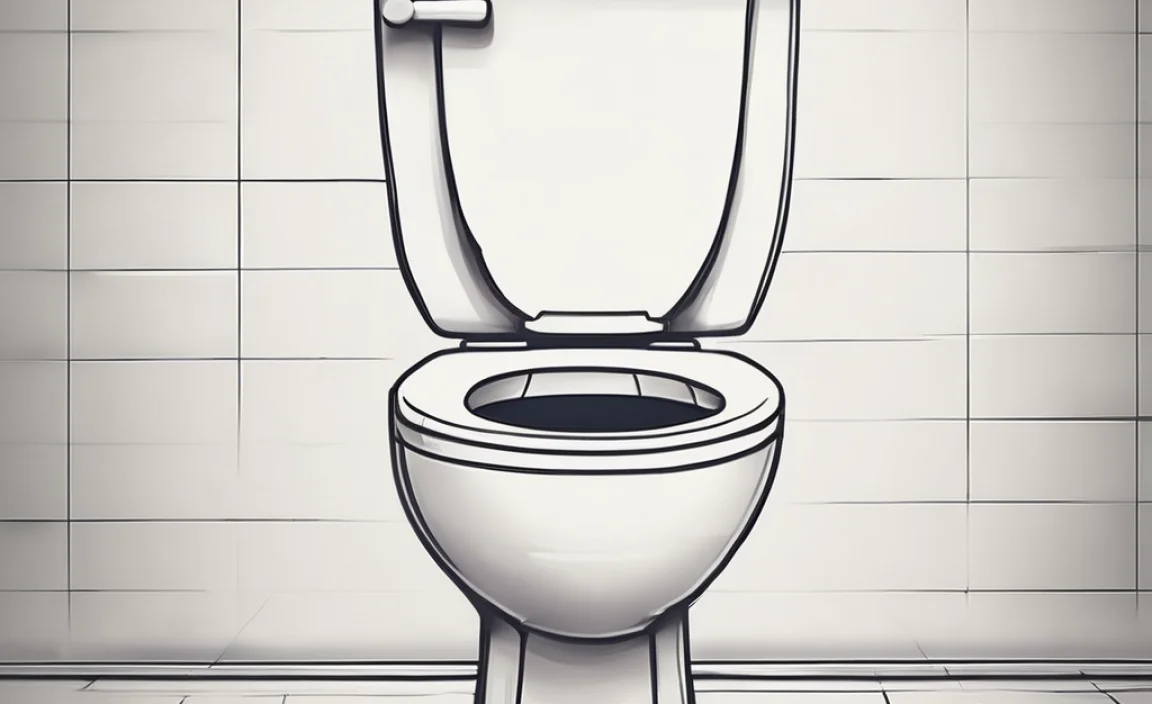
How To Draw A Toilet: Simple Steps
Let’s start with the basics. How to draw a toilet involves breaking it down. We use simple shapes. Think about the toilet’s main parts. There is a bowl. There is also a tank. These are the main shapes we will draw first. Drawing a toilet is like building something. We begin with a strong base. Then we add details to make it look real. Don’t worry about perfection. The goal is to have fun. Drawing is a way to express yourself. It lets you see things differently. Each line and shape matters. You are creating something new with your own hands. So, let’s begin this creative journey together. We will learn to draw a toilet step by step.
- Start with a large oval for the toilet bowl.
- Add a rectangle on top for the water tank.
- Draw a curved line to connect the bowl and tank.
- Sketch lightly so you can erase easily.
- Make sure your shapes are balanced.
Now, let’s talk about why this is important. Learning to draw simple objects is a great start for any artist. It teaches you to see the world around you in a different way. You begin to notice shapes and lines that you might not have seen before. When you learn how to draw a toilet, you are practicing these skills. You are learning to break down complex objects into simpler forms. This skill is useful for drawing anything. From animals to buildings, the basic principles are the same. So, keep practicing and exploring different ways to draw the same object. You will be surprised at how much you improve with each drawing.
Why Start With Simple Shapes?
Have you ever built something with blocks? You start with simple shapes. Then you put them together to make something bigger. Drawing is the same! Starting with simple shapes helps you build a good base for your drawing. It makes it easier to add details later. When you draw a toilet, think about the main shapes. The bowl is like an oval. The tank is like a rectangle. By starting with these shapes, you make sure your drawing looks right. It also helps you understand how the different parts of the toilet fit together. This makes the whole process easier and more fun. So, remember to start with simple shapes for any drawing!
How Does This Help With Other Drawings?
Learning how to draw a toilet might seem specific. But it teaches you skills you can use for other drawings. For example, drawing the oval shape of the toilet bowl can help you draw other round things. Like apples or balls! The same is true for the rectangle shape of the water tank. You can use it to draw buildings or boxes. By practicing these basic shapes, you improve your overall drawing skills. You learn to see the world in terms of shapes and lines. This makes it easier to draw anything you want. So, don’t think of drawing a toilet as just one thing. It’s a step towards becoming a better artist!
Why Is Practice So Important?
Imagine learning to ride a bike. You probably didn’t get it right away. You needed to practice. Drawing is the same! The more you practice, the better you get. When you first learn how to draw a toilet, it might not look perfect. That’s okay! Keep trying. Each time you draw it, you will get better. You will notice things you didn’t see before. You will learn to make your lines smoother. You will learn to add more detail. Practice is what makes you improve. So, don’t give up if your first drawing isn’t perfect. Keep practicing, and you will be amazed at how much you can improve!
Fun Fact or Stat: The average person uses the toilet 6-8 times a day. That means you have plenty of opportunities to observe and practice drawing one!
Adding Details: Toilet Seat and Lid

Now that we have the basic shapes, let’s add some details. Details make your drawing look more real. We will add the toilet seat and lid. These are important parts of a toilet. The seat is where you sit. The lid covers the seat. Start by drawing a curved line for the seat. Make it slightly smaller than the bowl. Then, draw another curved line for the lid. It should be on top of the seat. Remember to draw lightly. This way, you can erase any mistakes. Adding these details makes your toilet drawing look more complete. It also helps you practice drawing different shapes and lines. So, let’s add these details and make our drawing even better!
- Draw a curved line inside the bowl for the seat.
- Add another curved line above the seat for the lid.
- Make sure the lid is slightly bigger than the seat.
- Use light strokes so you can erase easily.
- Add a small handle on the lid.
- Check if the seat and lid look balanced.
Adding details is like adding the final touches to a painting. It’s what makes your drawing stand out. When you learn how to draw a toilet, you are learning to pay attention to these small things. The curve of the seat, the shape of the lid, these are all important details. They show that you are observing carefully. They also show that you are putting effort into your drawing. So, don’t rush through the details. Take your time and make sure they look right. This will make your drawing look more professional and realistic. It will also make you a better artist overall.
How Do Details Make A Difference?
Imagine you’re drawing a face. If you only draw the basic shapes, it might look like anyone. But when you add details like eyebrows, eyelashes, and a smile, it starts to look like a specific person. Details make a big difference! The same is true for drawing a toilet. Adding the seat and lid makes it look more like a real toilet. It shows that you are paying attention to the small things. These details bring your drawing to life. They make it more interesting and realistic. So, always remember to add details to your drawings. They are what make them special!
Why Is Drawing Lightly Important?
Have you ever made a mistake when writing with a pencil? It’s easy to erase if you wrote lightly. Drawing is the same! When you draw lightly, it’s easier to erase mistakes. This is especially important when you are adding details. You might need to adjust the shape of the seat or the lid. If you draw lightly, you can easily erase and try again. This makes the whole process less stressful. It also allows you to experiment and try different things. So, always remember to draw lightly when you are learning how to draw a toilet. It will make your drawing easier and more fun!
What If My Details Don’t Look Perfect?
It’s okay if your details don’t look perfect! Drawing is all about practice. No one is perfect when they first start. The important thing is to keep trying. Don’t get discouraged if your seat or lid looks a little wonky. Just erase it and try again. Each time you draw it, you will get better. You will learn to see the shapes more clearly. You will learn to control your pencil better. So, don’t worry about perfection. Just focus on practicing and having fun. That’s what really matters!
Fun Fact or Stat: The first flushing toilet was invented in 1596 by Sir John Harington for Queen Elizabeth I.
Drawing The Water Tank and Handle
The water tank is a key part. It holds the water. It is needed to flush the toilet. The handle is what you use to flush. Let’s learn how to draw these parts. The tank is usually a rectangle. It sits on top of the bowl. Draw a rectangle on top of the bowl. Make sure it looks balanced. The handle is usually on the side of the tank. Draw a small lever or button. These details make your drawing more complete. They also show how a toilet works. Now, let’s add these parts to our drawing. We are learning how to draw a toilet step by step!
- Draw a rectangle on top of the toilet bowl for the tank.
- Add a small handle on the side of the tank.
- Make the handle look like a lever or a button.
- Check if the tank and handle look proportional.
- Erase any overlapping lines.
Understanding the parts of a toilet is important. It helps you draw it more accurately. The water tank is not just a rectangle. It has a specific purpose. It holds the water that flushes the toilet. The handle is not just a small lever. It is what you use to release the water. When you understand these things, you can draw the toilet with more detail. You can also add more realism to your drawing. Learning how to draw a toilet is not just about copying shapes. It’s about understanding how things work. This knowledge will make you a better artist.
Why Is Understanding the Parts Important?
Imagine you’re building a model airplane. You need to know what each part is for. The wings help it fly. The propeller makes it go. If you don’t know these things, you can’t build the airplane correctly. Drawing is the same! Understanding the parts of a toilet helps you draw it better. You know that the tank holds water. You know that the handle flushes the toilet. This knowledge helps you draw these parts more accurately. It also makes your drawing more realistic. So, always try to understand what you are drawing. It will make you a better artist!
How Can I Make My Tank Look Realistic?
One way to make your tank look realistic is to pay attention to its shape. It’s not just a plain rectangle. It might have slightly rounded edges. It might be a little wider at the bottom than at the top. Look closely at real toilets. Notice these small details. Then, try to add them to your drawing. Another way to make your tank look realistic is to add some shading. Use light and dark lines to show how the light hits the tank. This will give it more depth and dimension. Remember, the more details you add, the more realistic your drawing will look. Even when learning how to draw a toilet.
What If I Can’t Draw a Straight Rectangle?
It’s okay if you can’t draw a perfectly straight rectangle. No one can draw perfectly straight lines freehand! The important thing is to try your best. You can use a ruler to help you draw straight lines. Or, you can practice drawing rectangles freehand. The more you practice, the better you will get. Another trick is to draw the rectangle lightly at first. Then, go over the lines you want to keep with a darker pencil. This will make your rectangle look cleaner and more defined. Remember, drawing is all about practice. So, don’t give up if you can’t draw a straight rectangle right away. Just keep trying!
Fun Fact or Stat: Toilets use about 27% of the water in your home. That’s a lot of water going down the drain!
Adding Shading and Highlights
Shading and highlights make your drawing look 3D. They show where the light is hitting the toilet. Shading is using darker lines to show shadows. Highlights are using lighter areas to show light. Look at a real toilet. Notice where the light hits it. Where are the shadows? Add these to your drawing. This will make it look more realistic. It will also give it more depth. Shading and highlights can be tricky. But they are worth the effort. They make a big difference in your drawing. Let’s learn how to draw a toilet with shading and highlights!
- Identify where the light source is in your drawing.
- Add darker shading to the areas away from the light.
- Use lighter shading for areas closer to the light.
- Leave some areas white for highlights.
- Blend your shading for a smoother look.
- Experiment with different levels of shading.
Shading and highlights are like the secret ingredients in a recipe. They add flavor and depth to your drawing. Without them, your drawing might look flat and boring. But with them, it comes to life. When you learn how to draw a toilet, you are learning to use these important techniques. You are learning to see the world in terms of light and shadow. This skill is useful for drawing anything. From landscapes to portraits, the principles are the same. So, take the time to practice shading and highlights. They will make you a much better artist.
How Do I Find The Light Source?
The light source is where the light is coming from. It could be the sun, a lamp, or even a window. Look at the object you are drawing. Where is the light hitting it? The areas that are closest to the light source will be the brightest. The areas that are furthest away will be the darkest. Once you know where the light source is, you can start adding shading and highlights. Remember, the light source is your guide. It tells you where to put the light and dark areas in your drawing. Even when learning how to draw a toilet, this is important.
What’s The Best Way To Blend Shading?
Blending shading makes it look smoother. It gets rid of harsh lines. There are a few ways to blend shading. One way is to use your finger. Gently rub the shading with your finger. This will soften the lines. Another way is to use a blending stump. A blending stump is a tool made of paper. You can use it to blend the shading without using your finger. You can also use a cotton swab. Whichever method you choose, make sure to blend the shading gently. You don’t want to smudge it too much. Blending takes practice. Keep trying and you will get better at it!
Why Is Shading So Important?
Imagine a world without shadows. Everything would look flat and two-dimensional. Shading is what gives objects depth and dimension. It makes them look real. When you add shading to your drawing, you are creating the illusion of light and shadow. This makes your drawing look more realistic and interesting. Shading can also be used to create mood and atmosphere. Dark shading can make a drawing look mysterious or dramatic. Light shading can make it look bright and cheerful. So, shading is not just about making things look real. It’s also about expressing your creativity!
Fun Fact or Stat: The average toilet is flushed about 5 times a day in a household.
Adding The Final Touches: Cleaning Up Lines
The final touches are important. They make your drawing look polished. This means cleaning up any messy lines. Erase any extra lines. Make sure the shapes are clear. Add any small details you might have missed. This is your chance to make your drawing perfect. Take your time and be careful. The final touches can make a big difference. They can turn a good drawing into a great drawing. Now, let’s add the final touches to our toilet drawing. We are almost done learning how to draw a toilet!
- Erase any extra lines or smudges.
- Darken the lines you want to stand out.
- Add any small details you missed.
- Check if your drawing is balanced.
- Sign your name on your drawing.
Cleaning up your lines is like tidying up your room. It makes everything look neater and more organized. When you clean up your lines, you are making your drawing easier to see. You are also making it look more professional. This shows that you care about your work. It shows that you are paying attention to detail. Cleaning up your lines is not just about making your drawing look good. It’s also about showing respect for your art. So, take the time to clean up your lines. It will make a big difference.
How Do I Know Which Lines To Erase?
Look at your drawing carefully. Which lines are messy? Which lines are unnecessary? Erase those lines. You should also erase any lines that are overlapping in a confusing way. The goal is to make your drawing as clear and easy to understand as possible. If you are not sure which lines to erase, try stepping back from your drawing. Look at it from a distance. This can help you see which lines are distracting. Remember, the goal is to make your drawing look clean and polished. Even after you learn how to draw a toilet.
Why Is It Important To Sign My Drawing?
Signing your drawing is like putting your name on a great book you wrote. It shows that you are proud of your work. It also gives you credit for your creation. When you sign your drawing, you are saying, “I made this!” It’s a way of taking ownership of your art. Signing your drawing can also help you track your progress. You can look back at your old drawings and see how much you have improved. So, always remember to sign your name on your drawings. It’s a simple way to show your pride and creativity!
What If I Still Don’t Like My Drawing?
It’s okay if you still don’t like your drawing. Not every drawing is going to be a masterpiece. The important thing is that you tried your best. You learned something new. You practiced your skills. Even if you don’t like the final result, you can still be proud of the effort you put in. You can also use this as an opportunity to learn. What could you have done differently? What can you improve next time? Remember, every drawing is a learning experience. So, don’t get discouraged if you don’t like your drawing. Just keep practicing and you will get better!
Fun Fact or Stat: Some toilets use as little as 1.28 gallons of water per flush, saving a lot of water compared to older models.
Creative Ideas: Drawing Different Toilets
Now that you know the basics, let’s get creative! There are many types of toilets. You can draw a modern toilet. Or you can draw an old-fashioned one. You can even draw a funny toilet. Add some silly details. Maybe a hat on the lid? Or some googly eyes? The possibilities are endless! Use your imagination. Have fun with it. The goal is to express yourself. Drawing is a great way to do that. Let’s explore some creative ideas. You can draw different kinds of toilets. See how to draw a toilet in your own way!
- Draw a futuristic toilet with lots of buttons.
- Create a toilet that looks like a throne for a king.
- Draw a toilet in outer space.
- Design a toilet that is also a robot.
- Make a toilet that is covered in flowers.
Being creative is like adding your own personal touch to a recipe. It’s what makes your art unique. When you learn how to draw a toilet, you are learning the basic recipe. But you can add your own ingredients to make it your own. You can change the shape, the color, the details. You can add your own personality to the drawing. This is what makes art so fun and rewarding. It’s a way of expressing yourself and sharing your vision with the world. So, don’t be afraid to get creative. Let your imagination run wild. You might be surprised at what you come up with.
What Makes A Drawing “Creative?”
A drawing is creative when it shows your unique ideas and imagination. It’s not just about copying what you see. It’s about adding your own personal touch. A creative drawing might be funny, strange, or beautiful. It might be something that no one has ever seen before. The most important thing is that it comes from your heart. So, don’t be afraid to experiment. Try new things. Let your imagination guide you. That’s what makes a drawing truly creative.
How Can I Come Up With New Ideas?
Sometimes it’s hard to come up with new ideas. That’s okay! There are a few things you can do to get your creativity flowing. One thing is to look at other people’s art. See what they are doing. Get inspired by their ideas. Another thing is to try brainstorming. Write down all the ideas that come to your mind, no matter how silly they seem. Then, pick the best ones and develop them further. You can also try asking yourself “what if” questions. What if the toilet was made of chocolate? What if the toilet could fly? These questions can spark new and interesting ideas.
Why Is It Important To Have Fun?
Drawing should be fun! If you are not having fun, you are not going to be creative. When you are having fun, you are more likely to take risks. You are more likely to experiment. You are more likely to come up with new and original ideas. So, don’t take drawing too seriously. Relax and enjoy the process. Let your imagination run wild. The more fun you have, the better your drawings will be. And the more you will enjoy learning how to draw a toilet!
Fun Fact or Stat: There are toilets in space! Astronauts use special toilets that use suction to keep everything in place.
| Type of Toilet | Description | Pros | Cons |
|---|---|---|---|
| Traditional Toilet | Standard toilet with a tank and bowl. | Easy to find, affordable. | Can use a lot of water. |
| Dual Flush Toilet | Toilet with two flush options: full and half. | Saves water. | Can be more expensive. |
| Composting Toilet | Toilet that uses composting to break down waste. | Eco-friendly, doesn’t use water. | Requires maintenance. |
| Smart Toilet | Toilet with advanced features like heated seats and automatic flushing. | Comfortable, convenient. | Expensive, requires electricity. |
Summary
We learned how to draw a toilet. We started with simple shapes. Then, we added details like the seat, lid, and water tank. We also learned about shading and highlights. These make your drawing look more realistic. Finally, we talked about creative ideas. You can draw different types of toilets. Use your imagination and have fun! Drawing is a great way to express yourself. It helps you see the world in new ways. Keep practicing and you will become a better artist. Remember, every drawing is a learning experience.
Drawing is not just about copying what you see. It’s about understanding how things work. When you learn how to draw a toilet, you are learning about shapes, lines, and perspective. You are also learning about the different parts of a toilet and how they fit together. This knowledge will help you draw anything you want. So, keep exploring. Keep experimenting. Keep drawing!
Conclusion
Drawing a toilet might seem like a small thing. But it can teach you a lot. You learned about shapes and details. You also practiced shading and creativity. These skills can help you draw anything. Keep practicing and have fun. Now you know how to draw a toilet. You can use this knowledge to create your own amazing art. So grab your pencil and start drawing!
Frequently Asked Questions
Question No 1: What supplies do I need to draw a toilet?
Answer: You don’t need much! All you need is a pencil, paper, and an eraser. A ruler can be helpful for drawing straight lines. But it’s not essential. You can also use colored pencils or markers to add color to your drawing. But that’s optional. The most important thing is to have fun and be creative. So, gather your supplies and get ready to start drawing. Remember, even learning how to draw a toilet can be fun with the right tools!
Question No 2: Is it okay if my drawing doesn’t look perfect?
Answer: Absolutely! Drawing is all about practice. No one is perfect when they first start. The important thing is to keep trying and have fun. Don’t get discouraged if your drawing doesn’t look exactly like a real toilet. Just keep practicing and you will get better. Remember, every drawing is a learning experience. So, don’t worry about perfection. Just focus on improving your skills and enjoying the process. Whether it’s how to draw a toilet or any other object, practice makes perfect!
Question No 3: Can I use a reference photo to help me draw?
Answer: Yes, definitely! Using a reference photo is a great way to improve your drawing skills. A reference photo can help you see the shapes, lines, and details of the toilet more clearly. It can also help you understand how the light and shadow fall on the toilet. Just make sure you don’t copy the photo exactly. Use it as a guide to help you create your own original drawing. Learning how to draw a toilet with a reference image can be very useful, especially when you are first learning.
Question No 4: How can I make my toilet drawing look more realistic?
Answer: There are a few things you can do to make your toilet drawing look more realistic. One thing is to pay attention to the details. Add small details like the handle, the seat, and the lid. Another thing is to use shading and highlights to create the illusion of light and shadow. This will give your drawing more depth and dimension. You can also try using different drawing techniques, such as cross-hatching or stippling, to add texture to your drawing. By practicing these techniques, you can learn how to draw a toilet so it looks real!
Question No 5: What if I want to draw a different type of toilet?
Answer: That’s great! There are many different types of toilets. You can draw a modern toilet, an old-fashioned toilet, or even a futuristic toilet. The possibilities are endless! Just remember to start with the basic shapes and then add the details. You can also use reference photos to help you see the unique features of each type of toilet. Don’t be afraid to experiment and try new things. The most important thing is to have fun and be creative. Whether you are learning how to draw a toilet or designing your own, the key is to explore!
Question No 6: Can I draw a toilet in a cartoon style?
Answer: Absolutely! Drawing in a cartoon style is a great way to express your creativity. Cartoon drawings are often exaggerated and humorous. You can make the toilet look funny or silly by adding large eyes, a big smile, or other silly details. Don’t be afraid to break the rules of realism and have fun with it. The most important thing is to create something that makes you smile. Learning how to draw a toilet in a cartoon style can be a fun and easy way to express your creativity and bring a smile to people’s faces.
Related Posts

How To Make Toilet Paper: Easy Diy Guide!
What Does Coyote Urine Smell Like? Discover Its Secrets!
Why Is My Toilet Wobbly? Here’S The Fix You Need!- Composting for Urban Areas Problems: Essential Solutions
- Boost Your Farm: Best Compost Bin for Rural Areas

Are Hot Showers Good When Sick? Discover The Benefits!- Composting for Beginners Guide: Proven Essential

What Does Trace Of Ketones In Urine Mean? Find Out!