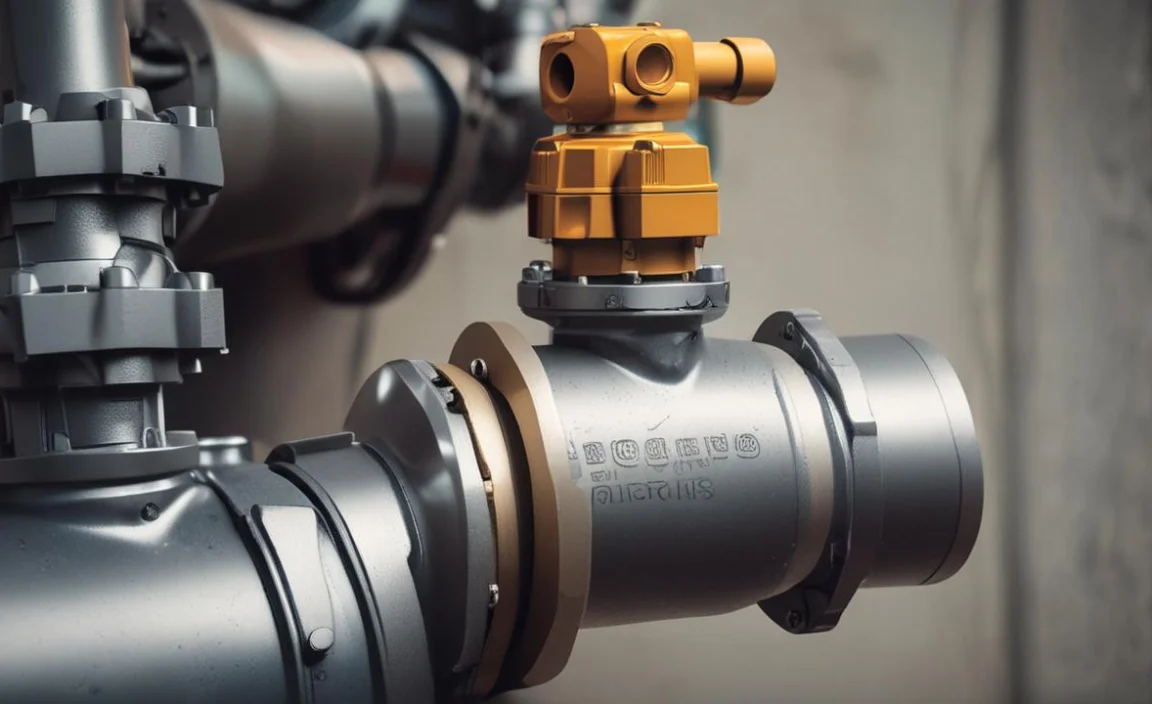
Many people use air compressors. They help us inflate tires, power tools, and more. But what happens when something goes wrong? A common issue is a stuck check valve. Have you ever wondered how to fix a stuck check valve on air compressor? Knowing how to do this can save time and money.
A stuck check valve can stop the air compressor from working. You might hear strange sounds or see low pressure. Learning how to fix a stuck check valve on air compressor helps you solve the problem quickly. It can be easy with the right steps.
In this article, we will explore how to fix this common problem. We’ll give you tips, tricks, and steps to follow.
Key Takeaways
- Fixing a stuck check valve is important for your air compressor.
- Clean the valve regularly to prevent issues.
- Learn how to fix a stuck check valve on air compressor.
- Use proper tools for an effective repair.
- Always check for air leaks after repairs.
Signs of a Stuck Check Valve on Air Compressor
Sometimes, it’s hard to tell when a check valve is stuck. Many people ignore small signs. But knowing the signs can help you act fast. One big sign is low air pressure. If your compressor does not reach the right pressure, the check valve might be the issue.
Other signs include strange noises. You might hear hissing or rattling sounds. These noises can mean air is leaking. You may also feel vibrations. If your air compressor shakes, something may be wrong.
- Low air pressure in your tools.
- Strange noises from the compressor.
- Hissing or leaking air sounds.
- Vibrations while using the compressor.
- Frequent cycling on and off.
If you notice these signs, it’s time to check the check valve. Ignoring them can lead to bigger problems. Fixing a stuck check valve on air compressor is essential. Regular checks can help keep your compressor running smoothly.
Fun Fact or Stat: Did you know that air compressors are used in many industries, from car repairs to construction?
Why Does a Check Valve Get Stuck?
A check valve can get stuck for many reasons. One common reason is dirt and dust. Over time, these little particles can build up. They can block the valve from closing correctly. If the valve does not close, air can leak out.
Another reason can be wear and tear. Just like toys and tools, check valves can wear out. They may not work as well as they used to. Sometimes, they can get stuck due to rust. Rust forms from moisture in the air.
How often do you clean your tools? Regular cleaning can help prevent these issues.
How to Identify a Stuck Check Valve
You may wonder how to tell if your check valve is stuck. First, check for air leaks. Listen for hissing sounds. Next, look at the pressure gauge. If it stays low, that’s a sign.
You can also try using your tools. If they do not work right, the valve may be the problem. Sometimes, a visual inspection can help. Open the compressor and look at the valve.
Have you ever had a toy that stopped working? It might have been stuck. A check valve can have the same problem.
When to Call a Professional
Sometimes, you may need help. If you cannot fix a stuck check valve on air compressor, call a pro. Professionals have the skills and tools to help. They can fix the problem quickly.
If you hear loud noises or see a lot of air leaks, don’t wait. Call a pro if you feel unsure. They can also help with regular maintenance. This can keep your air compressor in good shape.
Fun Fact or Stat: Many professionals recommend yearly maintenance for air compressors to prevent problems.
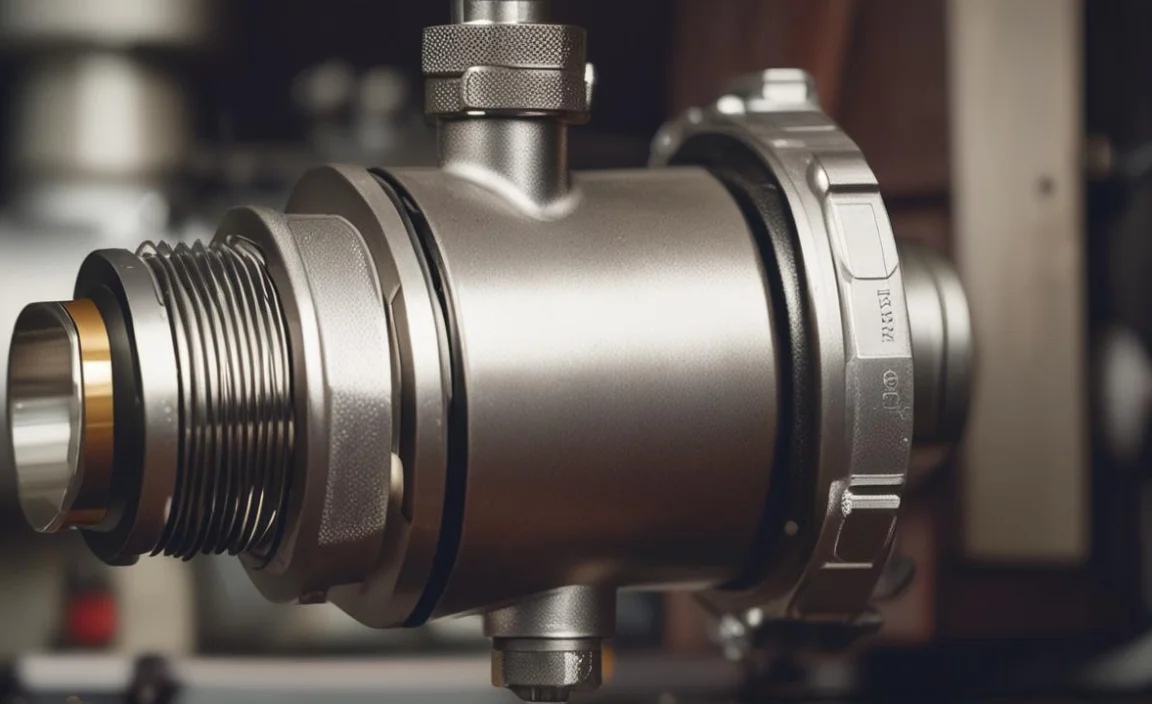
Steps to Fix a Stuck Check Valve on Air Compressor
Are you ready to fix that stuck check valve? It can be a simple process. Follow these steps for a successful repair.
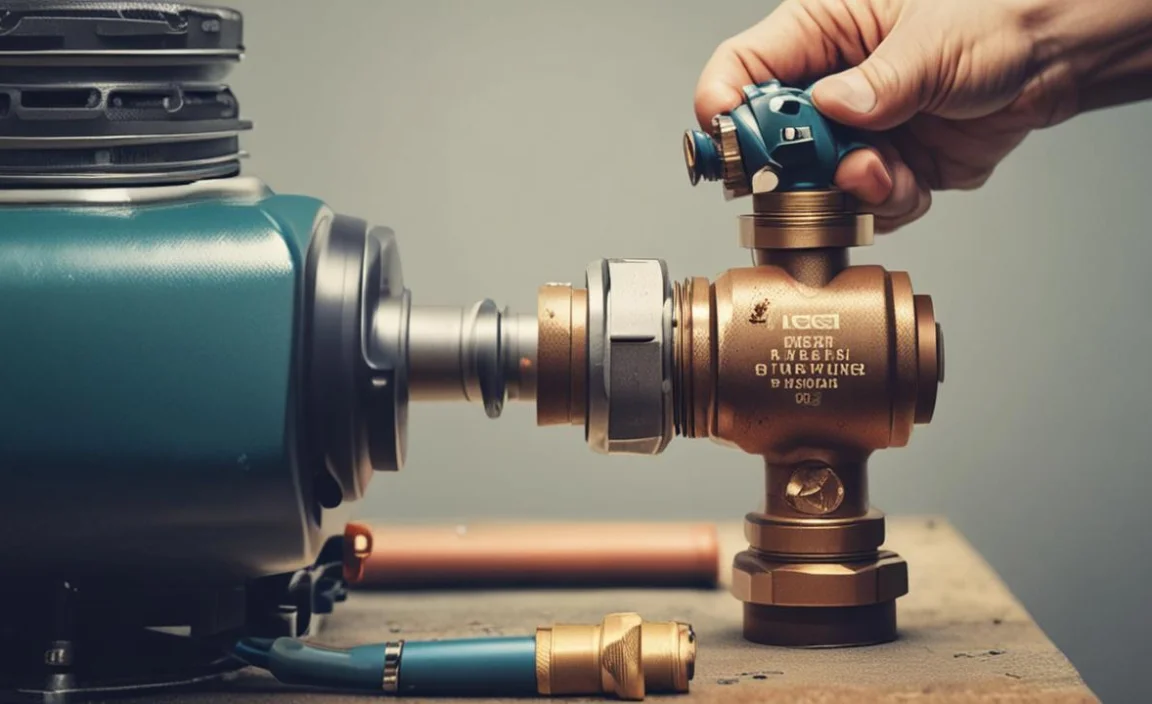
First, turn off the air compressor. Always unplug it for safety. Next, release the air pressure. Do this by pressing the safety valve. Once it’s safe, remove the check valve from the compressor.
Then, clean it well. Use a brush to remove dirt. Rinse it with water and let it dry. If you see rust, you might need to replace the valve.
Here’s a quick table of tools you might need:
| Tool | Use | Notes | Cost |
|---|---|---|---|
| Wrench | Remove the valve | Need a proper size | $5 |
| Brush | Clean the valve | Use a soft brush | $3 |
| Water | Rinse the valve | Make sure it dries | Free |
| Replacement Valve | Replace if damaged | Check the size | $10 |
Once everything is clean, reattach the valve. Make sure it is tight. Finally, turn the air compressor back on. Check for any leaks and listen for noises.
If all goes well, you have fixed your stuck check valve!
Fun Fact or Stat: Most everyday air compressors can last for many years with proper care.
The Right Cleaning Techniques
Cleaning a check valve is essential. You want to remove dirt but not damage it. Use a soft brush instead of harsh tools. A toothbrush works well for this.
After cleaning, rinse it with water. Be sure to remove all dirt. Let it dry completely before reinstalling. If you see rust, you might need sandpaper. Softly sand the rusted areas.
Are you careful when cleaning your toys? You should be just as careful with your tools.
Testing the Repair
After fixing the check valve, testing is key. Once everything is back together, plug the compressor in. Turn it on and let it build pressure.
Watch the pressure gauge closely. If you see it rising steadily, that’s good. Listen for any strange noises. If you hear hissing or rattling, something may be wrong.
If everything seems fine, try using your tools. If they work well, the repair is a success.
Have you ever tested a new toy? It’s exciting to see if it works! Testing your air compressor is just as important.
Preventive Measures for Future Issues
You can avoid future problems with a few simple steps. Regular cleaning helps keep your check valve in good shape. Aim to clean it every few months.
Also, check for leaks often. If you notice air escaping, fix it right away. Taking care of your air compressor makes it last longer.
Finally, store it properly. Keep your compressor in a dry area. Moisture can cause rust. Remember, prevention is easier than repair!
Fun Fact or Stat: Regular maintenance can extend the life of your air compressor by up to five years!
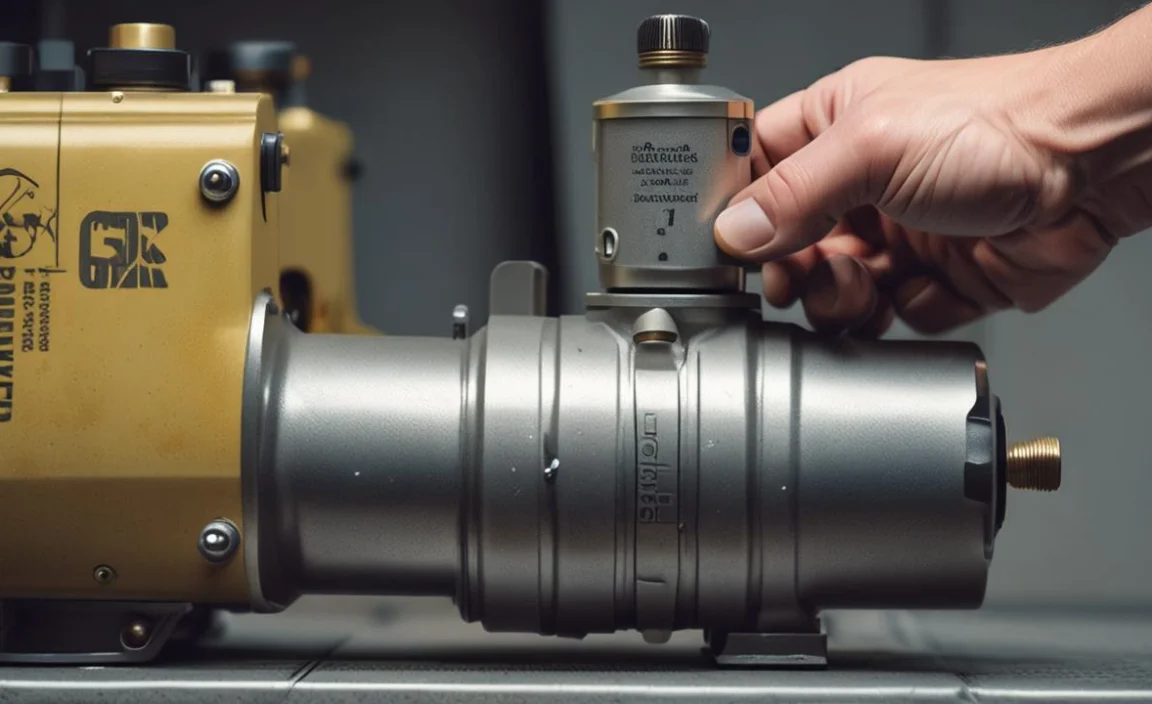
Tools Needed to Fix a Stuck Check Valve
Knowing which tools to use is important. A wrench helps you remove the check valve easily. A soft brush is perfect for cleaning. It won’t scratch or damage the valve.
You may also need water to rinse the valve. For replacements, check if you can find the correct size. Having the right tools makes the job simpler.
Here are a few tools you may need:
- Wrench for removing parts.
- Soft brush for cleaning dirt.
- Water for rinsing.
- Replacement check valve if needed.
- Screwdriver for extra assistance.
Make sure to gather everything before you start. This way, you won’t waste time looking for tools.
Fun Fact or Stat: Some air compressors have built-in features to prevent common issues!
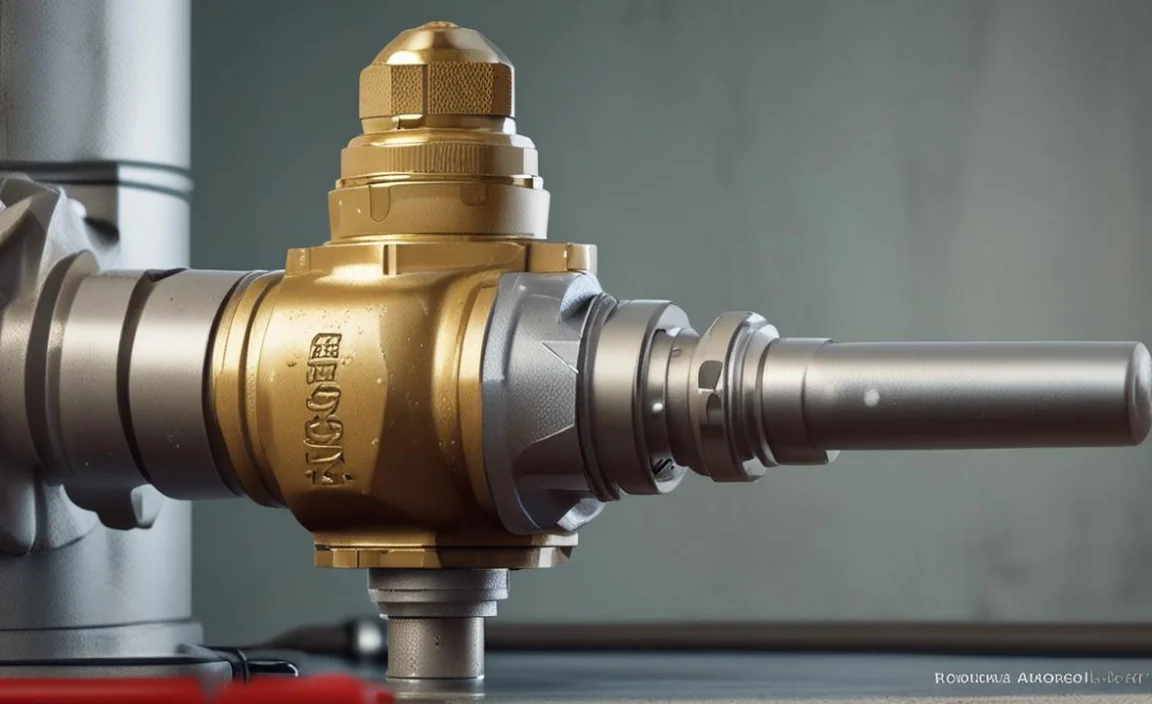
How to Choose the Right Replacement Valve
If you need a new check valve, choose wisely. First, check the size of your old valve. It needs to fit perfectly.
Next, consider the brand of your air compressor. Some brands require specific valves. Always read the instructions to avoid mistakes.
You can also ask a store employee for help. They can guide you to the right choice.
Buying the wrong valve can lead to more problems. It’s better to spend a little time choosing the right one.
Where to Buy Replacement Parts
You can find replacement parts in several places. Many hardware stores carry air compressor parts. Online shops also offer a wide selection.
Make sure to check reviews. This can help you choose quality parts. Sometimes, the cheapest option is not the best.
Local repair shops might also have what you need. They can be a great resource for advice and parts.
Fun Fact or Stat: Many air compressor parts are universal and can fit different brands!
Common Mistakes When Fixing a Stuck Check Valve
Fixing a stuck check valve can be tricky. Many people make common mistakes. One big mistake is not cleaning the valve properly. Dirt can keep it stuck.
Another mistake is not checking for air leaks. Always look for signs after you fix it. Ignoring leaks can cause more damage.
People also forget to check their tools. Using the wrong size wrench can strip screws. Always make sure your tools are ready before starting.
Here are some mistakes to avoid:
- Not cleaning the valve thoroughly.
- Ignoring air leaks after repairs.
- Using the wrong tools for the job.
- Forget to release air pressure before fixing.
- Not turning off the power first.
Avoiding these mistakes can lead to successful repairs. Taking your time will help you get it right.
Fun Fact or Stat: Many repairs can be done at home with just a few tools!
How to Avoid Future Valve Issues
After fixing a stuck check valve, you want to prevent future problems. Regular cleaning is a great first step. Set a schedule to check and clean it.
Also, store your compressor safely. Keep it in a dry place away from moisture. This can help prevent rust from forming.
Another way is to monitor usage. If you use it often, check it more regularly.
Have you ever had a toy that broke because you did not take care of it? The same goes for your air compressor.
When to Seek Help from Professionals
Sometimes, you might need help with repairs. If you feel unsure about fixing the check valve, call a professional.
They have the right tools and experience. A pro can solve problems fast. They can also advise you on regular maintenance.
If you notice loud noises or strong air leaks, don’t wait. Getting help early can save you time and money.
Fun Fact or Stat: Many people find that hiring a pro can save them from bigger issues later!
Regular Maintenance for Air Compressors
Keeping your air compressor in good shape is important. Regular maintenance makes it last longer. Simple tasks can help prevent future issues.
Start by cleaning the check valve often. This will help keep it working properly. You should also check the air filter. A clean filter helps improve air pressure.
Another important step is to look for leaks. Regularly inspect for any signs of air escaping. If you find leaks, fix them right away.
- Clean the check valve every few months.
- Inspect the air filter regularly.
- Check for air leaks often.
- Store your compressor in a dry place.
- Follow manufacturer’s maintenance guidelines.
Taking care of your air compressor helps it run well. Regular checks can prevent issues.
Fun Fact or Stat: Proper maintenance can save you money on repairs over time!
Benefits of Regular Maintenance
Regular maintenance has many benefits. First, it helps your air compressor run better. A well-maintained compressor works more efficiently.
Second, it can save you money. If you catch small issues early, you avoid expensive repairs. Regular checks can help you spot problems before they start.
Finally, maintenance can extend the life of your compressor. With proper care, it can last for many years.
Think of it like taking care of a pet. The better you care for it, the longer it will be with you!
When to Schedule Regular Checks
Scheduling regular checks is key. You should inspect your air compressor every few months. If you use it often, check it more regularly.
Before busy seasons, like summer, is a good time to check. This way, you can be sure it’s ready for use.
Also, look at the manufacturer’s guidelines. They often provide a schedule for maintenance. Following these recommendations can help you keep your equipment in top shape.
Have you ever waited too long to check something? It can lead to big problems later!
Importance of Following Manufacturer Guidelines
Following manufacturer guidelines is vital. Each compressor has specific needs. These guidelines help you understand how to care for your unit.
They also show you how often to perform maintenance. Ignoring these instructions can lead to issues. You might miss important steps for proper care.
Always read the manual when you buy a new compressor. It contains valuable information.
Fun Fact or Stat: Many people find that following guidelines can prevent 80% of common issues!
Summary
A stuck check valve on your air compressor can cause issues. Knowing how to fix a stuck check valve on air compressor is very important. Regular maintenance, cleaning, and checking for leaks helps keep your compressor running smoothly.
Remember to use the right tools for repairs and replacements. It’s always best to follow the manufacturer’s guidelines. This way, you can avoid future problems.
By knowing the signs of a stuck check valve, you can act quickly. Taking care of your air compressor will help it last longer.
Conclusion
Fixing a stuck check valve on air compressor can be simple. With the right tools and steps, you can do it yourself. Regular maintenance is key to preventing future issues. Always check your compressor for signs of problems.
Taking care of your air compressor helps it run well. Don’t forget to seek professional help if needed. Your compressor is an important tool, so treat it with care!
Frequently Asked Questions
Question No 1: How do I know my check valve is stuck?
Answer: You might notice low air pressure and hear strange noises. If your air pressure gauge stays low, that can mean the check valve is stuck. Also, listen for hissing sounds, which indicate air is leaking. These signs help you understand how to fix a stuck check valve on air compressor.
Question No 2: Can I fix a stuck check valve myself?
Answer: Yes, you can fix a stuck check valve yourself. First, make sure to turn off the compressor and release air pressure. Then, clean the valve and check for any dirt or rust. If needed, replace it. Knowing how to fix a stuck check valve on air compressor can save you money!
Question No 3: What tools do I need to fix the valve?
Answer: You will need a wrench to remove the valve and a soft brush for cleaning. Water can help rinse it. If the valve is damaged, you will need a replacement. Having the right tools is crucial to know how to fix a stuck check valve on air compressor effectively.
Question No 4: How often should I clean the check valve?
Answer: It’s best to clean the check valve every few months. Regular cleaning helps prevent dirt buildup and keeps it working well. If you use your air compressor often, check it more frequently. This is essential for knowing how to fix a stuck check valve on air compressor.
Question No 5: When should I call a professional?
Answer: Call a professional if you notice loud noises or strong air leaks. If you can’t fix the valve yourself, it’s wise to get expert help. They can fix it quickly and safely. Knowing how to fix a stuck check valve on air compressor is great, but sometimes you need a pro!
Question No 6: What happens if I ignore a stuck check valve?
Answer: Ignoring a stuck check valve can lead to bigger problems. Your air compressor may not work properly, and you could face expensive repairs. Regular checks help prevent these issues. Always pay attention to signs and know how to fix a stuck check valve on air compressor.
