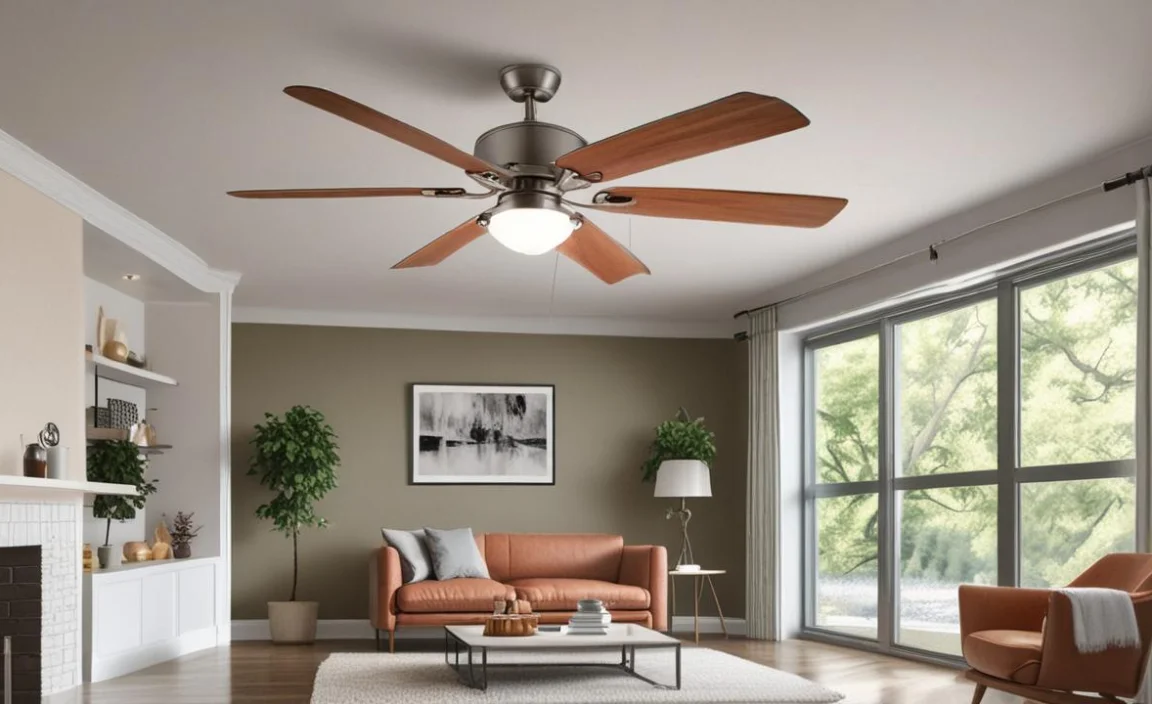
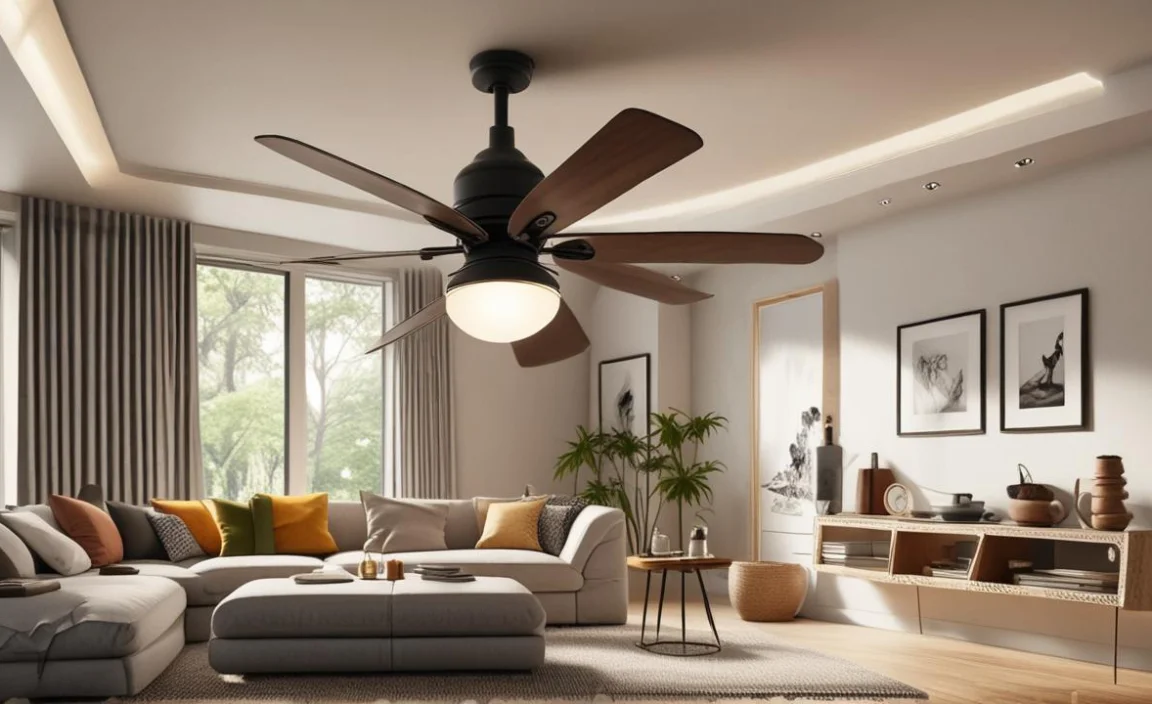
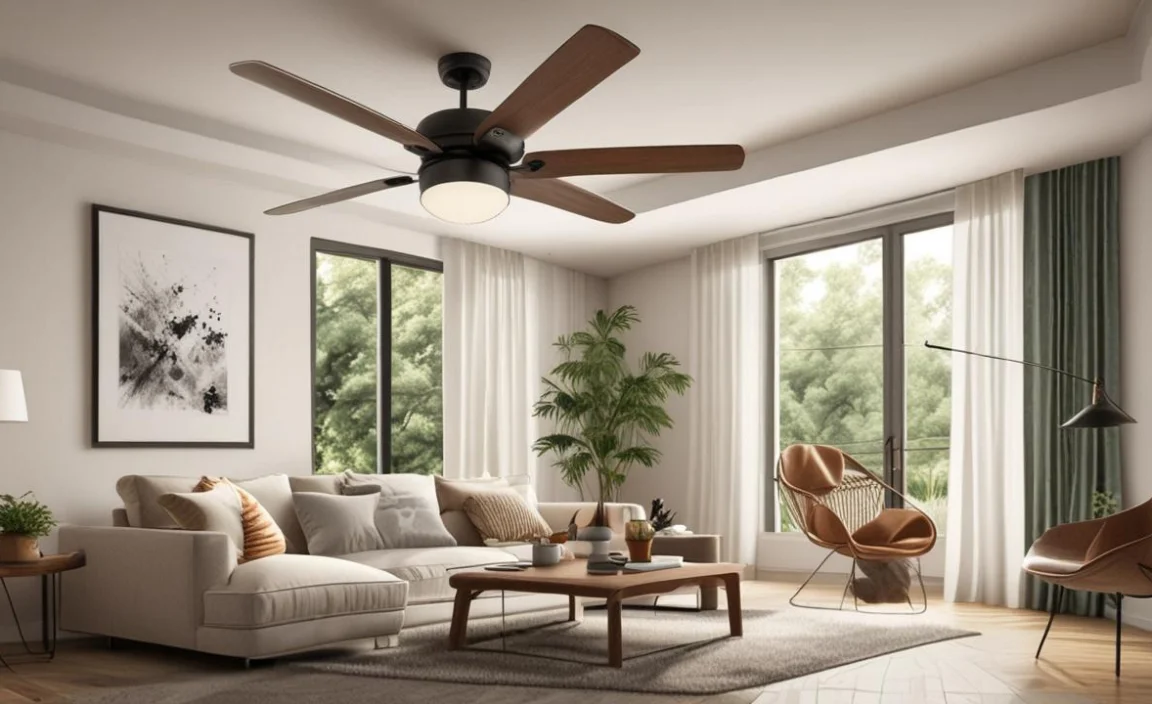
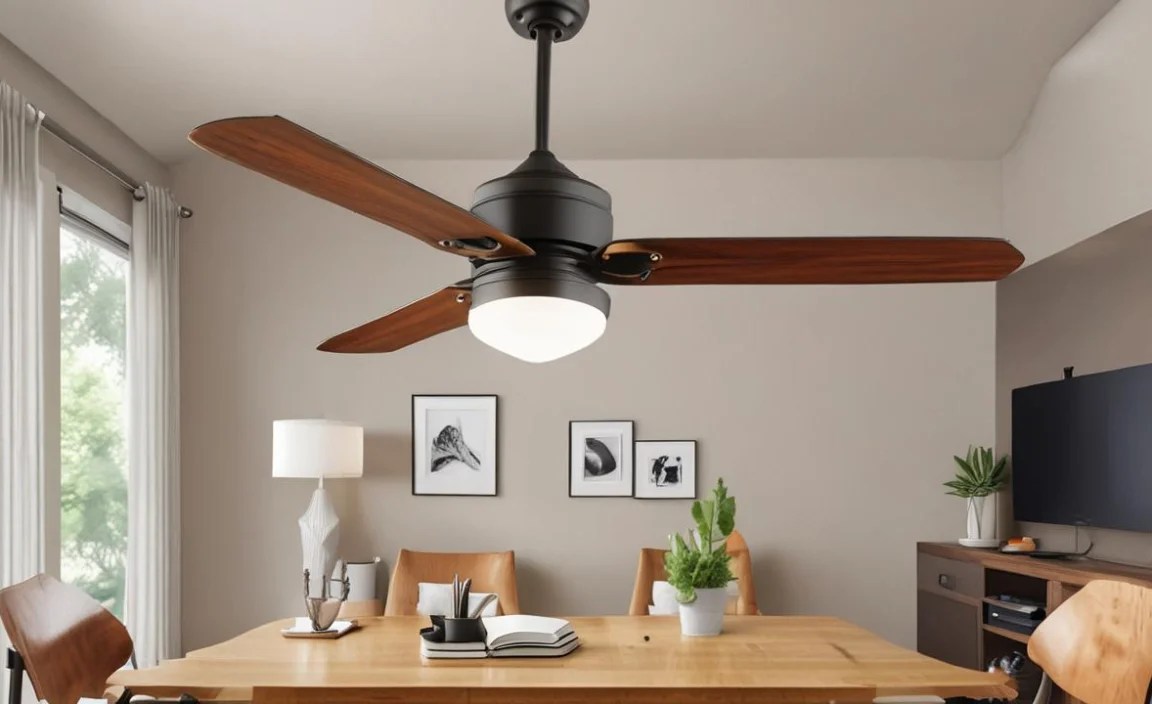
Ceiling fans are great for keeping cool. They spin fast and make the air feel nice. But what happens when the ceiling fan works but the light kit does not? This can be frustrating! You wonder why the light does not turn on. Knowing the reasons can help you fix the issue.
Sometimes, a ceiling fan may spin just fine, but the light kit does not work. This can leave you in the dark. Have you ever tried to turn on a light, but nothing happened? It can be surprising. You may think, “Is something wrong?” Don’t worry! There are many reasons why this might happen.
It is important to know what to check first. It can save you time and effort. Let’s explore the reasons why your ceiling fan works but the light kit does not. Then, we can look at how to fix it.
Key Takeaways
- If the ceiling fan works but light kit does not, check the bulb.
- Wiring issues may cause the light kit to fail.
- Turn off power before inspecting the fan and light.
- Check if the switch is broken or loose.
- Regular maintenance keeps your ceiling fan working well.
Reasons Why Ceiling Fan Works But Light Kit Does Not
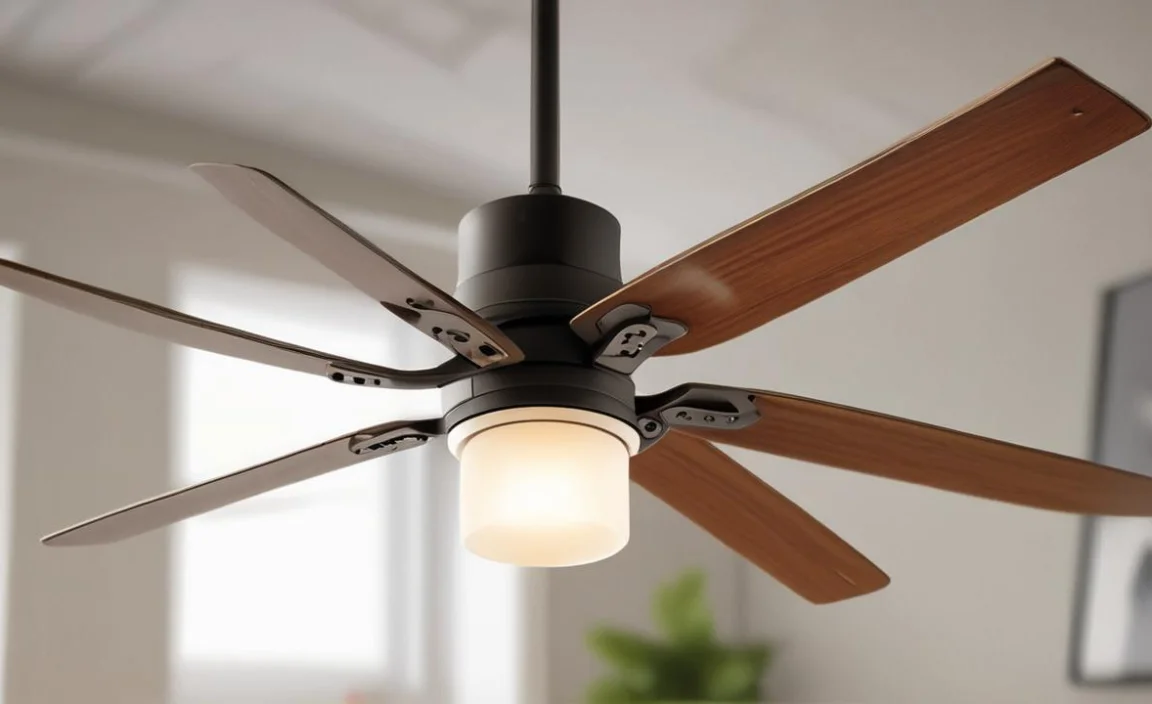
Many people ask, “Why does my ceiling fan work but the light kit does not?” There are several reasons for this. First, the bulb might be burnt out. If the light bulb is old, it may not light up anymore. You can usually tell if a bulb is burnt out by looking for blackened glass or a broken filament inside.
Another reason could be loose wiring. Inside your ceiling fan, wires connect the light kit to the power supply. If these wires become loose, the light will not work. Sometimes the switch may also be faulty. A faulty switch can stop power from reaching the light.
Lastly, there may be a problem with the light kit itself. It could be poorly made or damaged. Knowing these reasons helps you identify the problem.
- Check the light bulb for any signs of damage.
- Look for loose wires inside the fan.
- Test the switch to see if it works.
- Inspect the light kit for damages.
- Consider calling an electrician for help.
Understanding why the ceiling fan works but the light kit does not helps you fix the issue. Start with simple checks. If you find a burnt bulb or a loose wire, you can fix it easily. If you cannot find the problem, ask for help. It is okay to ask an expert. They can help you get back to enjoying your ceiling fan and light.
Fun Fact or Stat: Did you know that some ceiling fans can save energy? They can lower your electricity bill!
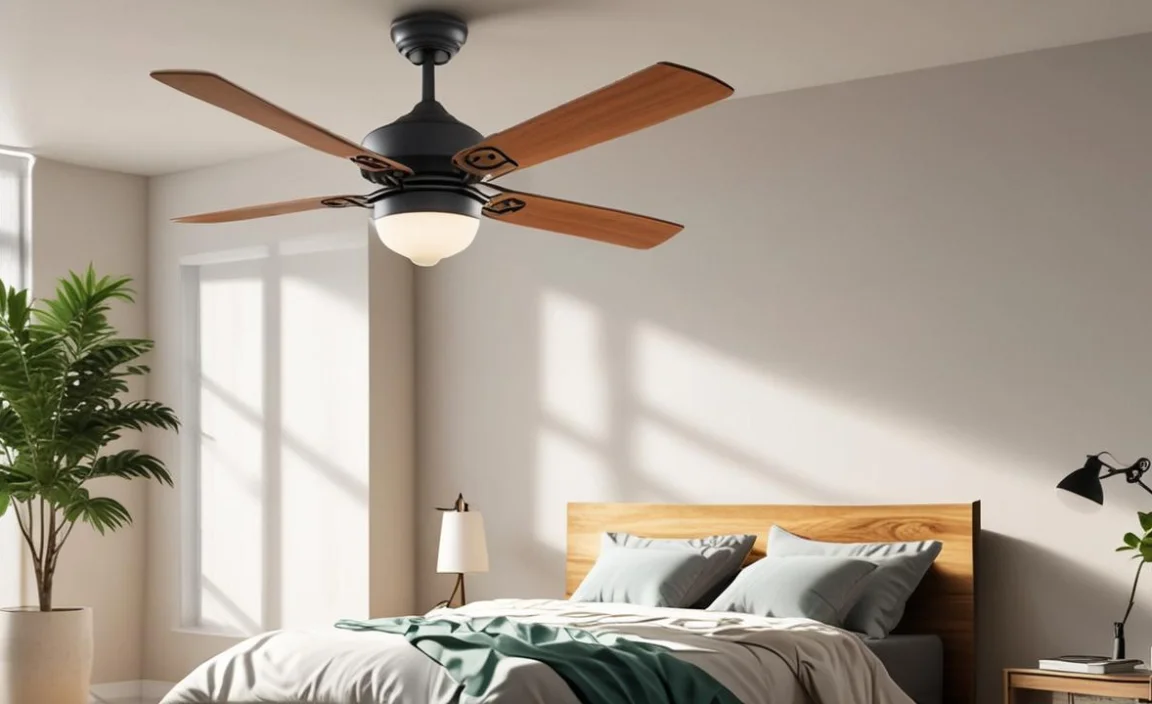
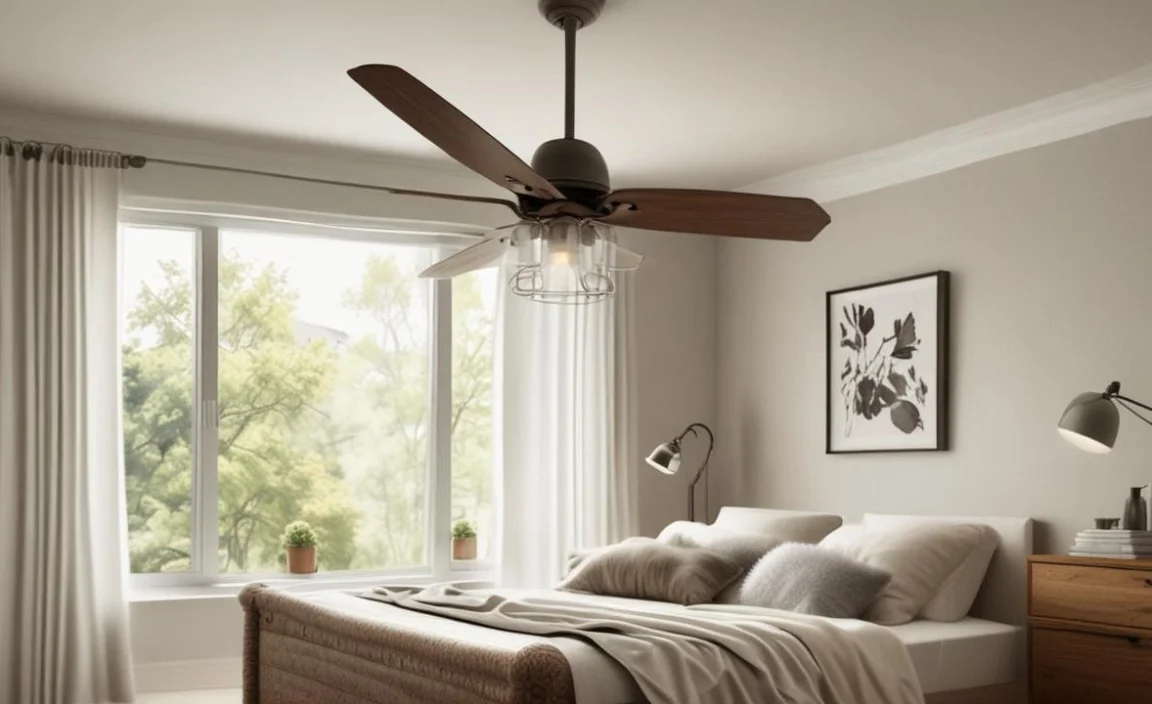
How to Check the Light Bulb
Have you ever checked a light bulb? It’s quite easy! Start by turning off the power to the ceiling fan. This makes it safe to work on. Next, carefully remove the light bulb. Look for signs of damage. If it is burnt out, replace it with a new one.
When replacing the bulb, make sure it is the right type. Some fans need special bulbs. If you don’t have the right type, the light won’t work. After replacing the bulb, turn the power back on. Try to switch on the light again. If it works, you are done!
If the light still does not turn on, keep checking other parts of the fan. It might be something else.
Fun Fact or Stat: The world’s first electric ceiling fan was made in 1882!
How to Inspect Wiring
Wiring is very important for your ceiling fan and light kit. If the wiring is loose or damaged, the light may not work. To check the wiring, turn off the power to the fan. Use a screwdriver to open the cover of the fan.
Look inside for any loose wires. A loose connection can stop the light from working. If you see any wires that are not connected, reconnect them. Make sure they are tight. If you see any damaged wires, consider getting help. It is important to fix damaged wires for safety.
Once you are done, put the cover back on and turn the power on. Check the light again. If it works, great! If not, you may need to investigate further.
Fun Fact or Stat: Ceiling fans can help reduce cooling costs by 20%!
How to Test the Switch
Have you ever wondered if the switch is working? A broken switch means your light won’t turn on. To test the switch, turn off the power to your ceiling fan. Next, remove the switch cover. You might need a screwdriver for this.
Check the connections to see if they are tight. If they are loose, the switch may not work. Make sure to reconnect them properly. Then, test the switch with a multimeter. A multimeter can help you see if the switch works.
If you find that the switch is broken, consider replacing it. This is a job for an adult. After replacing the switch, turn the power back on. Try the light again.
Fun Fact or Stat: In the U.S., ceiling fans were first used in homes around 1902!
Common Signs of a Faulty Light Kit
You may wonder, “What are the signs of a faulty light kit?” There are several clues to look for. First, if the light flickers, it might mean something is wrong. Flickering lights can be caused by loose connections.
Another sign is if the light works sometimes but not always. This can mean the light kit is failing. If the light does not turn on at all, the problem could be more serious.
Sometimes, strange sounds come from the light kit. Buzzing or humming noises can mean a wiring issue. If you notice any of these signs, be sure to check your light kit.
- Flickering lights mean loose connections.
- Light works sometimes but not always.
- Strange sounds coming from the light kit.
- The light bulb may not fit correctly.
- Light kit could be damaged or poorly made.
Recognizing these signs helps you fix the issue quickly. If you see any of these problems, don’t ignore them. You can either fix them yourself or get help from someone. Keeping your ceiling fan and light kit in good shape is important for safety and comfort.
Fun Fact or Stat: Ceiling fans can create a wind chill effect, making you feel cooler!
How to Spot Flickering Lights
Have you noticed flickering lights? They can be distracting and annoying. When your ceiling fan light flickers, it may mean there is a problem. Start by checking the bulb. A loose or burnt bulb can cause flickering.
Next, check the wiring. Look for any loose connections inside the fan. If the wires are tight and the bulb is new, the issue might be deeper. It could be in the switch or the light kit.
If flickering continues, it’s best to ask for help. An electrician can find the problem quickly. They have the tools and knowledge to fix it.
Fun Fact or Stat: Some ceiling fans can be used in winter to help heat rooms!
How to Identify Strange Noises
Do you hear strange noises from your ceiling fan? Buzzing or humming can be a sign of trouble. These noises might mean that the light kit is not installed correctly. Sometimes, loose wires can cause strange sounds.
To check, turn off the power and listen carefully. If the sounds come from the light kit, there might be a problem. Inspect the wiring and connections to make sure everything is tight.
If the noises do not stop, it might be a good idea to call an expert. They can check the fan and light kit safely. It’s always better to be safe than sorry!
Fun Fact or Stat: Ceiling fans can help reduce humidity levels in a room!
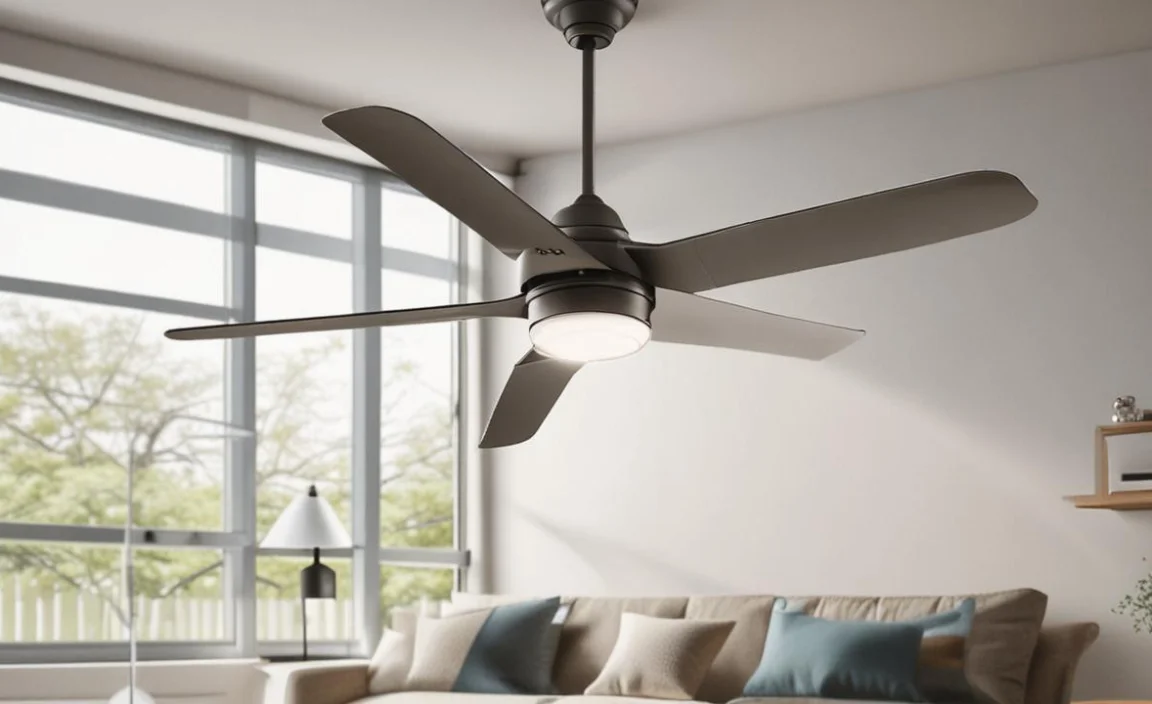
How to Fix a Ceiling Fan Light Kit
Fixing a ceiling fan light kit can be simple! Start by turning off the power to the fan. This is very important for your safety. Once the power is off, you can start checking the light kit.
If the bulb is burnt out, replace it with a new one. If it’s not the bulb, check the wiring. Make sure all connections are tight and secure. If you find any loose or damaged wires, fix them right away.
If the light switch is broken, you may need to replace it. If you are unsure how to do this, ask an adult for help. After making these repairs, turn the power back on. Test the light to see if it works. If it does, great! If not, it might be time to call a professional.
- Always turn off the power before working.
- Check the bulb and replace if needed.
- Inspect wiring for loose or damaged connections.
- Test and replace a faulty switch if needed.
- Consider getting help if problems persist.
Knowing how to fix a ceiling fan light kit can save you time and money. You can do many repairs with a little help. It feels good to have a working light again!
Fun Fact or Stat: Many ceiling fans today are made with energy-efficient designs!
Step-by-Step Repair Guide
Are you ready to repair your ceiling fan light kit? Follow these easy steps. First, turn off the power to your ceiling fan. This is very important for safety.
Next, remove the light kit cover. Look for any loose wires or connections. If you see a loose wire, reconnect it. If the bulb is burnt out, replace it with a new one.
After checking everything, put the cover back on. Turn the power back on and test the light. If it works, you did a great job! If it does not work, you may need to seek help from an electrician.
Fun Fact or Stat: The average ceiling fan uses about 50 watts of power!
When to Call a Professional
Sometimes, you might not be able to fix the problem alone. If you try repairing the light kit and it still does not work, consider calling a professional. Electricians can help with tricky problems.
If you see damaged wiring or hear strange sounds, it’s smart to get help. Working with electricity can be dangerous. A professional will know how to handle the situation safely.
Don’t feel bad about asking for help! It’s always better to be safe.
Fun Fact or Stat: Electricians have to complete special training and education!
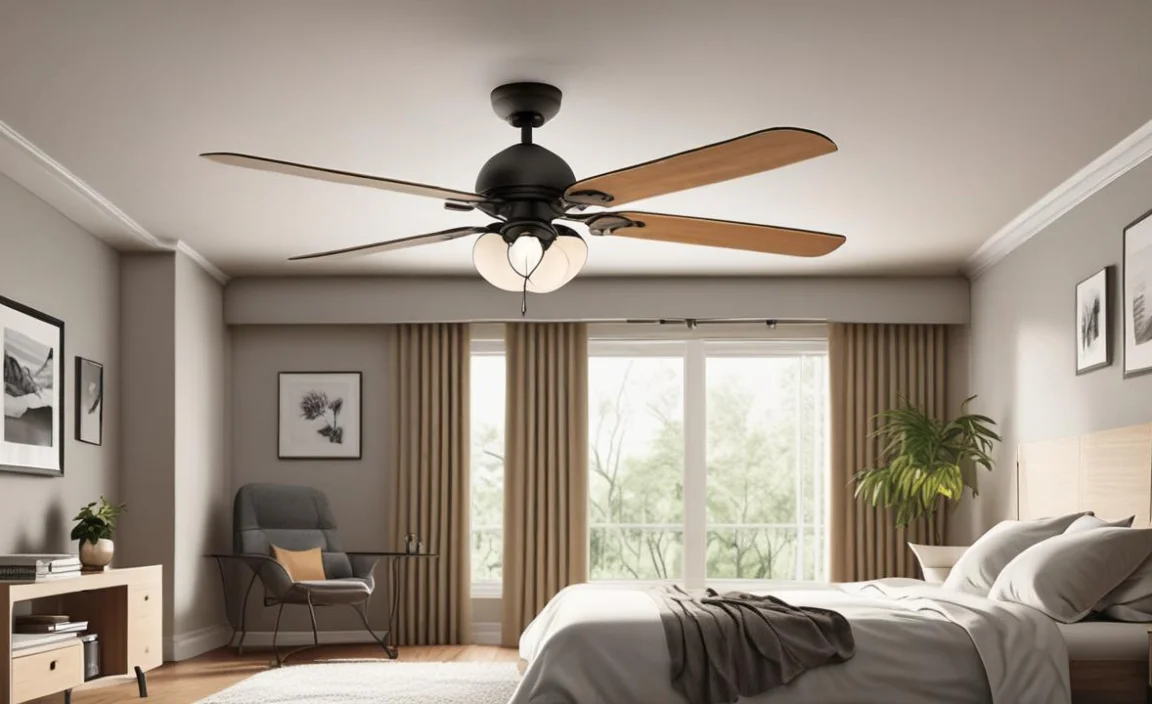
Maintenance Tips for Ceiling Fans
How can you keep your ceiling fan and light kit working well? Regular maintenance is key! Start by cleaning the fan blades. Dust can build up over time.
Use a soft cloth or a duster to wipe the blades. Cleaning helps the fan spin more efficiently. You should also check the light bulbs. Make sure they are working properly.
Inspect the wiring and connections once a year. This can help you find any loose or damaged parts before they become a problem.
- Clean the fan blades regularly to prevent dust build-up.
- Check light bulbs for any signs of damage.
- Inspect wiring and connections at least once a year.
- Test the switch to see if it works properly.
- Replace worn-out parts as needed to maintain efficiency.
Regular maintenance makes a big difference. It keeps your ceiling fan and light kit working well. This way, you can enjoy cool air and bright light together!
Fun Fact or Stat: Regular maintenance can extend the life of your ceiling fan!
Cleaning Tips for Ceiling Fans
Cleaning your ceiling fan is easy! Start by turning off the power. This keeps you safe while you clean. Use a step stool if needed to reach the blades.
Take a soft cloth or duster and wipe the blades. You can use a mixture of soap and water for tough dirt. Be sure to dry the blades afterward so no water drips onto the light kit.
Cleaning your ceiling fan helps it work better. It also makes your room look nicer. Try to clean it every month.
Fun Fact or Stat: Regular cleaning can help your fan operate quietly!
Checking for Loose Connections
Loose connections can cause big problems. It’s important to check them regularly. To do this, turn off the power to the fan.
Carefully remove the light kit cover. Look for any loose wires or connections. If you notice anything loose, reconnect it. Make sure the connections are tight and secure.
Checking for loose connections helps prevent future problems. It can also keep you safe from electrical issues.
Fun Fact or Stat: Keeping wires tight can help your ceiling fan last longer!
Summary
In summary, a ceiling fan works but the light kit does not for many reasons. It can be a burnt bulb, loose wiring, or a faulty switch. Knowing how to check these things can help you solve the problem. Regular maintenance can also keep everything in working order. So, if your light does not turn on, remember to troubleshoot the problem step by step.
Conclusion
In conclusion, if your ceiling fan works but the light kit does not, inspect several areas. Check the bulb, wiring, and switch. Regular maintenance is essential for both the fan and light kit. By staying on top of these tasks, you can enjoy your ceiling fan for years to come.
Frequently Asked Questions
Question No 1: Why is my ceiling fan light not working?
Answer: Your ceiling fan works but the light kit does not for many reasons. The light bulb could be burnt out or the wiring might be loose. Check these parts first. If everything looks good and it still does not work, consider calling an electrician for help.
Question No 2: How can I fix my ceiling fan light?
Answer: Start by turning off the power to the fan. Check the light bulb first. If it’s burnt out, replace it. Next, check the wiring for loose connections. If the light kit is still not working, you may need to replace the switch or ask a professional for help.
Question No 3: What if my ceiling fan light flickers?
Answer: Flickering lights often mean there’s a problem. It might be a loose wire or a faulty light bulb. First, check the bulb and wiring. If the flickering continues, an electrician can help you find the issue.
Question No 4: How often should I maintain my ceiling fan?
Answer: You should clean your ceiling fan at least once a month. This keeps dust from building up. Inspect wiring connections at least once a year. Regular maintenance helps prevent problems with the light kit and fan.
Question No 5: Can I replace the light bulb myself?
Answer: Yes, you can! Just make sure to turn off the power first. Remove the old bulb and replace it with a new one. It’s a simple task that can save you time and money.
Question No 6: When should I call an electrician?
Answer: Call an electrician if you see damaged wiring or if your ceiling fan works but the light kit does not. If you cannot find the problem, or if you feel unsafe, asking for help is always a good idea.
