Quick Summary: Removing a Price Pfister Kitchen Faucet
Removing a Price Pfister kitchen faucet might seem tricky, but it’s totally doable! First, shut off the water supply. Then, disconnect the water lines. Loosen the mounting nuts holding the faucet in place—you might need a basin wrench for this. Gently wiggle the faucet to free it, and lift it out. You’ve got this!
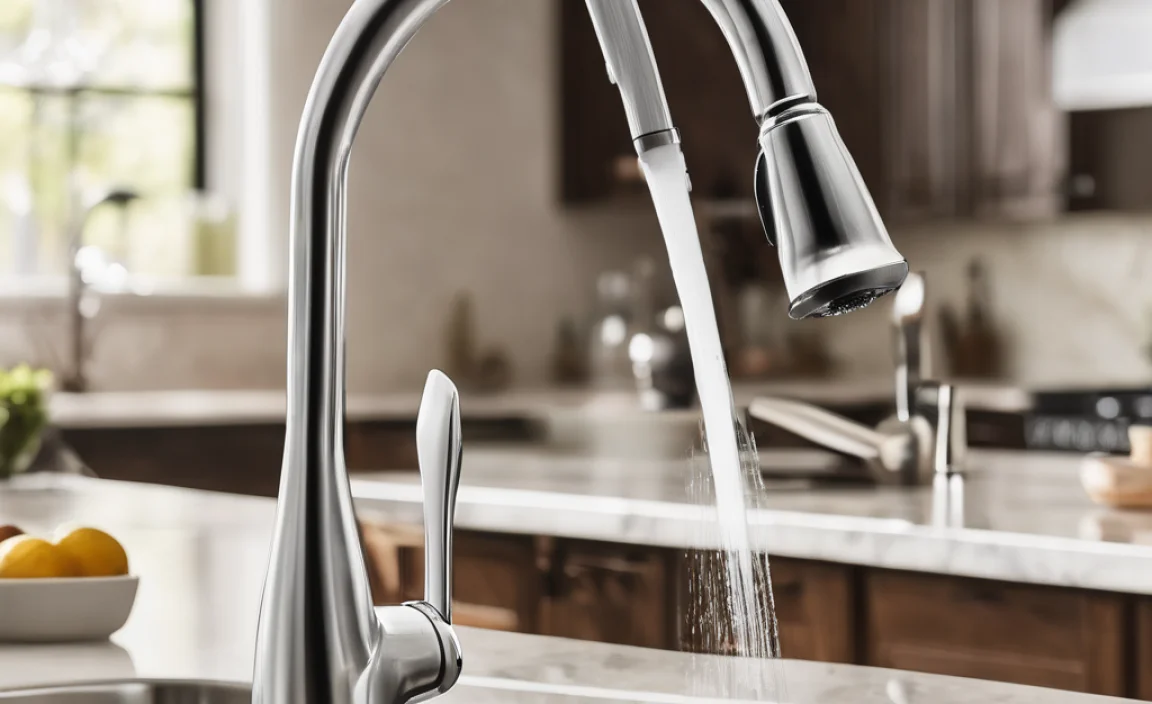
Is your old Price Pfister kitchen faucet leaking or just plain outdated? Don’t worry; you don’t need to call a plumber. Removing it yourself is easier than you think. With a few basic tools and some simple steps, you can have that old faucet out in no time.
This guide will walk you through each step, from turning off the water to lifting out the old faucet. Let’s get started and make your kitchen look great!
Tools You’ll Need
Before you begin, gather these essential tools. Having everything ready will make the job smoother and faster.
- Basin Wrench: This is a must-have for reaching those hard-to-get-to nuts.
- Adjustable Wrench: For disconnecting water lines.
- Phillips and Flathead Screwdrivers: To handle various screws.
- Plumber’s Putty or Silicone Sealant: For resealing the new faucet.
- Old Towels or a Bucket: To catch any water drips.
- Gloves: To protect your hands.
- Safety Glasses: To keep your eyes safe.
- Penetrating Oil (like WD-40): To loosen stubborn nuts and bolts.
- Flashlight or Headlamp: To improve visibility under the sink.
Safety First
Safety is always the top priority. Follow these precautions to protect yourself and your home:
- Turn Off the Water: Always shut off the hot and cold water supply valves under the sink. If you can’t find them, turn off the main water supply to your house.
- Wear Safety Glasses: Protect your eyes from debris and splashes.
- Wear Gloves: Protect your hands from dirt and sharp edges.
- Clear the Area: Remove any items stored under the sink to give yourself plenty of room to work.
- Have a Bucket and Towels Ready: To catch any residual water and prevent a mess.
Step-by-Step Guide to Removing Your Price Pfister Kitchen Faucet
Follow these steps carefully to safely and effectively remove your old Price Pfister kitchen faucet.
Step 1: Shut Off the Water Supply
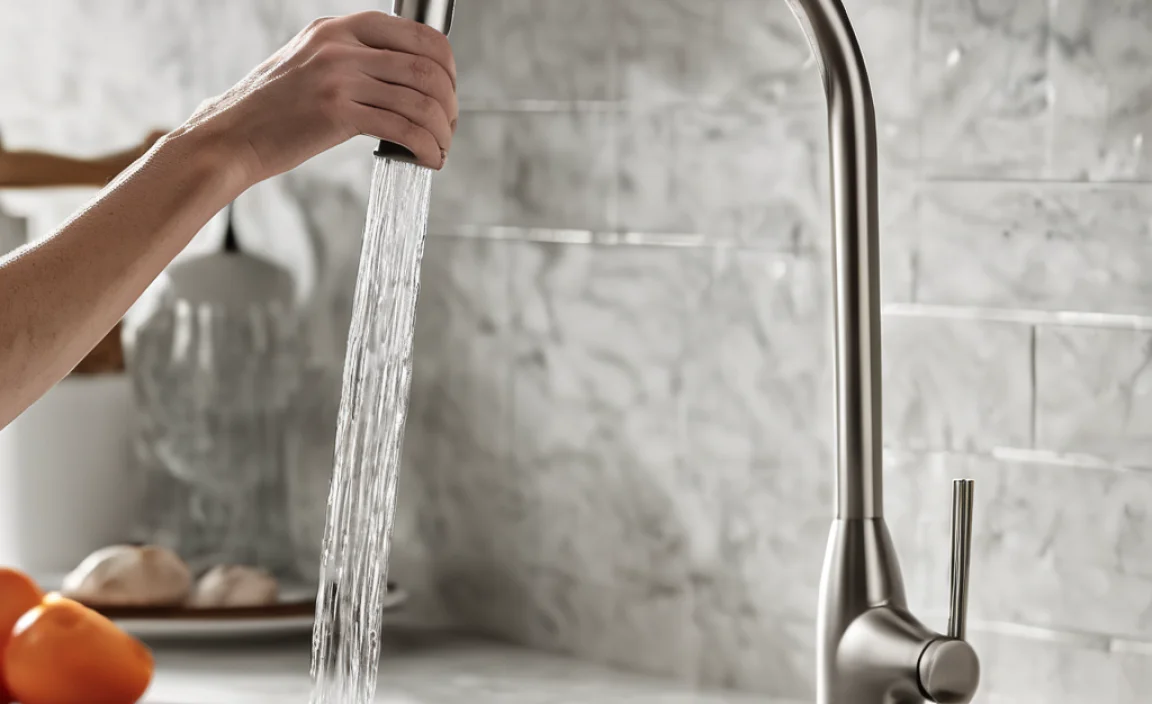
The very first thing you need to do is turn off the water. Locate the shut-off valves under your sink. There should be one for hot water and one for cold water. Turn them clockwise until they are completely closed.
If you can’t find shut-off valves under the sink or if they don’t work, you’ll need to turn off the main water supply to your house. This is usually located in the basement or near the water meter. Once the water is off, turn on the kitchen faucet to relieve any remaining pressure in the lines.
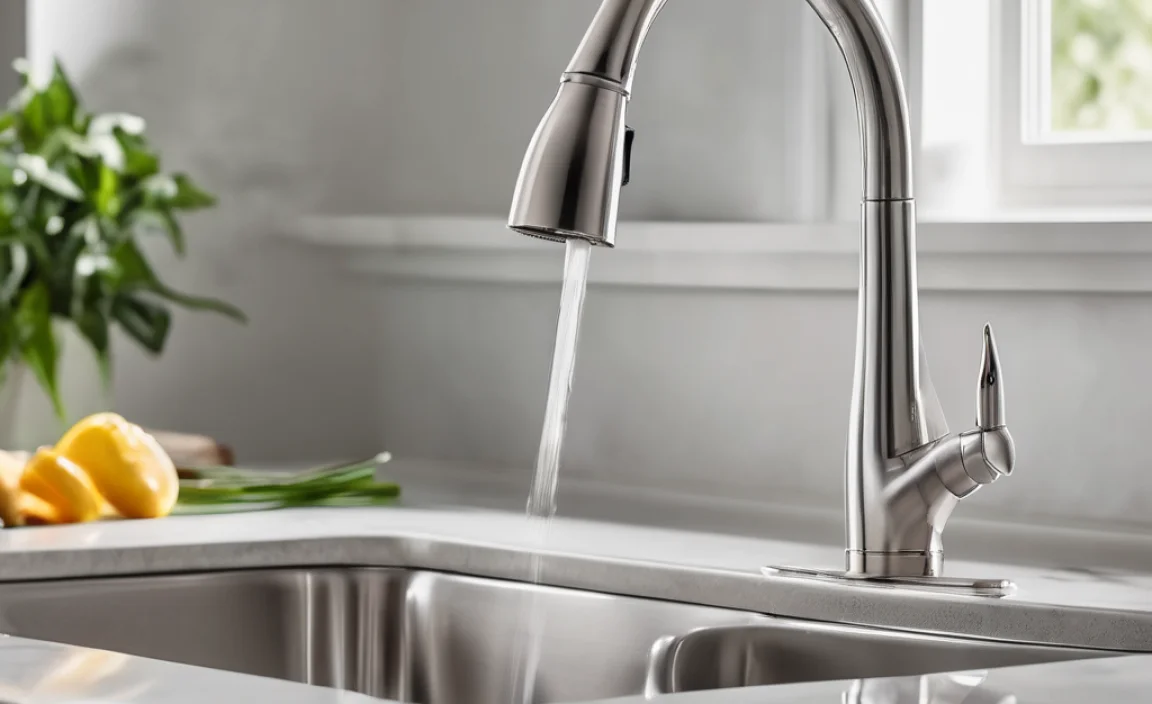
Step 2: Disconnect the Water Lines
Place a bucket and some old towels under the sink to catch any water that might still be in the lines. Use an adjustable wrench to disconnect the water supply lines from the faucet tailpieces. These are the flexible tubes that connect the faucet to the shut-off valves.
Be careful, as there might be some residual water in the lines. Loosen the connections slowly to avoid any sudden sprays. If the connections are corroded or stuck, spray them with penetrating oil and let it sit for a few minutes before trying again.
Step 3: Disconnect the Sprayer Hose (If Applicable)
If your Price Pfister faucet has a sprayer, you’ll need to disconnect the sprayer hose. Locate where the hose connects to the faucet body, usually under the sink. There might be a clip or a quick-connect fitting that you need to release.
Once the clip or fitting is released, gently pull the sprayer hose free. Have a towel handy, as there might be some water in the hose. Set the sprayer aside, out of your way.
Step 4: Loosen the Mounting Hardware
This is often the trickiest part, but with the right tool, it’s manageable. The faucet is held in place by mounting nuts or screws that are located under the sink, around the base of the faucet. This is where the basin wrench comes in handy.
A basin wrench has a long handle and a swiveling jaw that can reach up into tight spaces. Place the jaw around the mounting nut and turn the wrench to loosen the nut. You might need to adjust the jaw to get a good grip. If the nuts are corroded or stuck, spray them with penetrating oil and let it sit for a while before trying again.
If your faucet uses mounting screws instead of nuts, use a Phillips or flathead screwdriver to loosen and remove them. Be patient and work slowly, as these screws can be hard to reach.
Step 5: Remove the Old Faucet
Once you’ve loosened all the mounting hardware, the faucet should be free to lift out. Gently wiggle the faucet back and forth to loosen it from the sink. There might be some old plumber’s putty or sealant holding it in place.
Carefully lift the faucet up and out of the sink. Be mindful of any remaining hoses or connections that might still be attached. Once the faucet is removed, set it aside.
Step 6: Clean the Sink Area
Now that the old faucet is out, take some time to clean the sink area. Use a scraper or putty knife to remove any old plumber’s putty or sealant from the sink deck. Clean the area with a mild cleaner and a sponge to remove any dirt or grime.
Make sure the surface is clean and dry before installing the new faucet. This will ensure a good seal and prevent leaks.
Step 7: Inspect the Supply Lines and Shut-off Valves
While you have everything apart, take a moment to inspect the water supply lines and shut-off valves. Look for any signs of corrosion, leaks, or damage. If the supply lines are old or brittle, it’s a good idea to replace them.
If the shut-off valves are not working properly or are corroded, replace them as well. It’s much easier to do this now than to wait until you have a new faucet installed and then have to deal with a leak.
Tips for Dealing with Common Problems
Sometimes, things don’t go exactly as planned. Here are some tips for dealing with common problems you might encounter during the removal process.
- Stubborn Nuts and Bolts: If the mounting nuts or screws are corroded or stuck, spray them with penetrating oil and let it sit for at least 15-20 minutes before trying to loosen them. You can also try using a heat gun to warm the metal, which can help to break the corrosion.
- Tight Spaces: Working under the sink can be cramped and uncomfortable. Use a comfortable mat or cushion to kneel on, and take breaks as needed. A headlamp can also be helpful for providing extra light in tight spaces.
- Leaky Shut-off Valves: If the shut-off valves are leaking, you might need to replace them. Turn off the main water supply to your house and replace the valves with new ones. Be sure to use Teflon tape on the threads to create a watertight seal.
- Frozen Connections: If the water lines are frozen to the faucet tailpieces, try wrapping a warm, wet towel around the connections to thaw them out. You can also use a hair dryer to gently warm the connections. Be careful not to overheat the pipes, as this could damage them.
Choosing a Replacement Faucet
Once you’ve removed the old faucet, you’ll need to choose a replacement. There are many different types of kitchen faucets available, so take some time to consider your needs and preferences.
- Style: Choose a faucet that complements your kitchen decor. Consider the finish, shape, and overall design.
- Functionality: Think about how you use your kitchen sink. Do you need a sprayer? A high-arc spout? A touchless faucet?
- Quality: Invest in a high-quality faucet that will last for many years. Look for faucets made from durable materials like brass or stainless steel.
- Budget: Set a budget before you start shopping. Faucets can range in price from under $100 to over $500, so it’s important to know how much you’re willing to spend.
Popular brands include:
- Moen
- Delta
- Kohler
- Price Pfister (if you want to stick with the same brand)
Installing the New Faucet
Installing the new faucet is generally the reverse of removing the old one. Follow the manufacturer’s instructions carefully, and be sure to use plumber’s putty or silicone sealant to create a watertight seal around the base of the faucet.
Connect the water supply lines and the sprayer hose (if applicable). Turn on the water supply and check for leaks. If you find any leaks, tighten the connections or apply more sealant as needed.
Table: Troubleshooting Common Faucet Problems
| Problem | Possible Cause | Solution |
|---|---|---|
| Faucet Leaks | Worn-out O-rings or cartridges | Replace O-rings or cartridges |
| Low Water Pressure | Clogged aerator or supply lines | Clean or replace aerator; flush supply lines |
| No Hot Water | Faulty water heater or shut-off valve | Check water heater; inspect shut-off valve |
| No Cold Water | Closed or blocked cold water supply | Open cold water valve; check for blockages |
| Stiff Faucet Handle | Mineral buildup or corrosion | Apply penetrating oil; clean faucet parts |
Table: Essential Tools for Faucet Removal and Installation
| Tool | Description | Use |
|---|---|---|
| Basin Wrench | Long-handled wrench with swiveling jaw | Loosening and tightening mounting nuts in tight spaces |
| Adjustable Wrench | Wrench with adjustable jaw width | Disconnecting water lines and tightening connections |
| Phillips Screwdriver | Screwdriver with a cross-shaped tip | Removing or tightening Phillips head screws |
| Flathead Screwdriver | Screwdriver with a flat, straight tip | Removing or tightening flathead screws |
| Plumber’s Putty | Soft, pliable sealant | Creating a watertight seal around the faucet base |
| Silicone Sealant | Waterproof sealant | Sealing gaps and preventing leaks |
| Old Towels | Absorbent cloths | Wiping up spills and protecting surfaces |
| Bucket | Container for catching water | Preventing water damage during disconnection |
| Gloves | Protective handwear | Protecting hands from dirt and sharp edges |
| Safety Glasses | Protective eyewear | Protecting eyes from debris and splashes |
| Penetrating Oil | Lubricant for loosening stuck parts | Loosening corroded or stuck nuts and bolts |
| Flashlight or Headlamp | Portable light source | Improving visibility in dark or tight spaces |
FAQ: Removing a Price Pfister Kitchen Faucet
1. Is it hard to remove a Price Pfister kitchen faucet myself?
Not at all! With the right tools and a bit of patience, you can definitely do it. Just follow the steps carefully, and you’ll be fine.
2. What’s a basin wrench, and why do I need it?
A basin wrench is a special tool designed to reach those hard-to-get-to nuts that hold the faucet in place under the sink. It has a long handle and a swiveling jaw, making it perfect for tight spaces.
3. How do I know if I need to replace the water supply lines?
If your water supply lines are old, brittle, or show signs of corrosion, it’s a good idea to replace them. It’s much easier to do this while you have the faucet removed than to wait until they leak later.
4. What if the mounting nuts are really stuck?
Spray them with penetrating oil (like WD-40) and let it sit for at least 15-20 minutes. You can also try using a heat gun to warm the metal, which can help to break the corrosion.
5. How do I prevent leaks when installing the new faucet?
Use plumber’s putty or silicone sealant to create a watertight seal around the base of the faucet. Also, make sure to tighten all the connections properly, but don’t overtighten them, as this could damage the fittings.
6. What should I do with the old faucet?
You can dispose of it at your local recycling center or landfill. Some plumbing supply stores may also accept old faucets for recycling.
7. Can I reuse the old water supply lines with the new faucet?
It’s generally not recommended to reuse old water supply lines. They can become brittle and corroded over time, which can lead to leaks. It’s best to replace them with new ones to ensure a reliable connection.
External Resources
Conclusion
Removing a Price Pfister kitchen faucet doesn’t have to be a daunting task. By following these simple steps and taking your time, you can easily remove your old faucet and prepare for a new one. Remember to prioritize safety, gather the right tools, and don’t be afraid to ask for help if you get stuck.
With your old faucet gone, you’re one step closer to upgrading your kitchen. Installing a new faucet can refresh the look of your sink and make your daily tasks easier. So, take pride in your DIY skills and enjoy your upgraded kitchen!