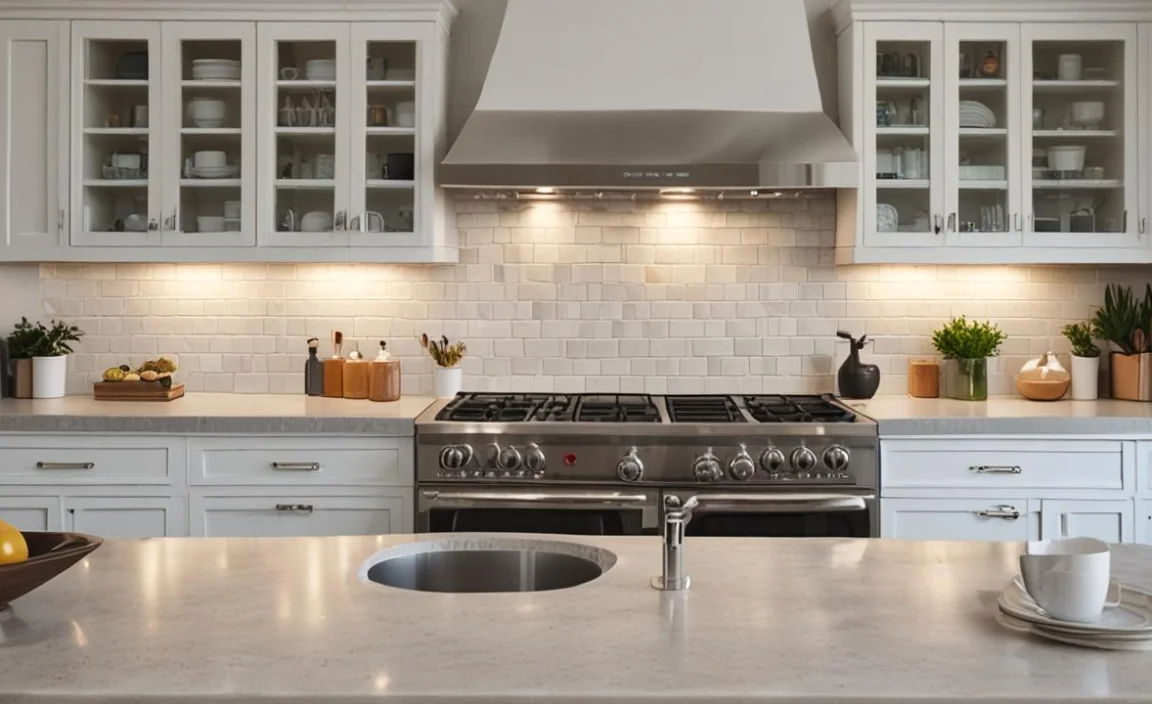
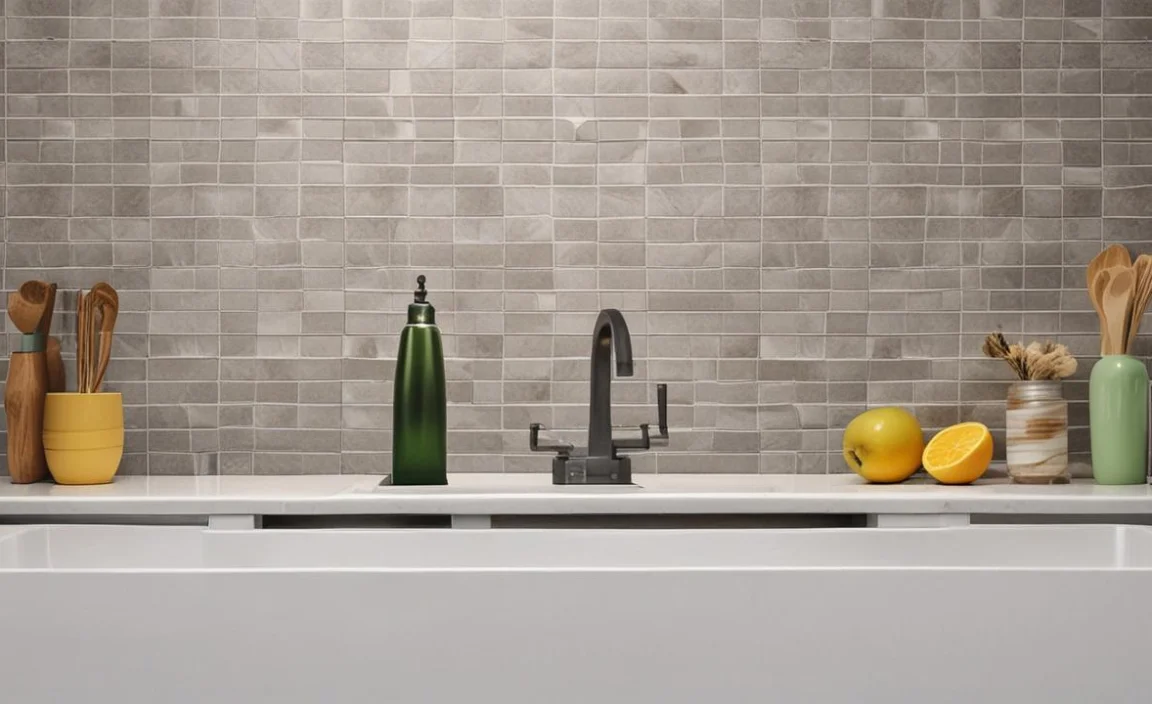
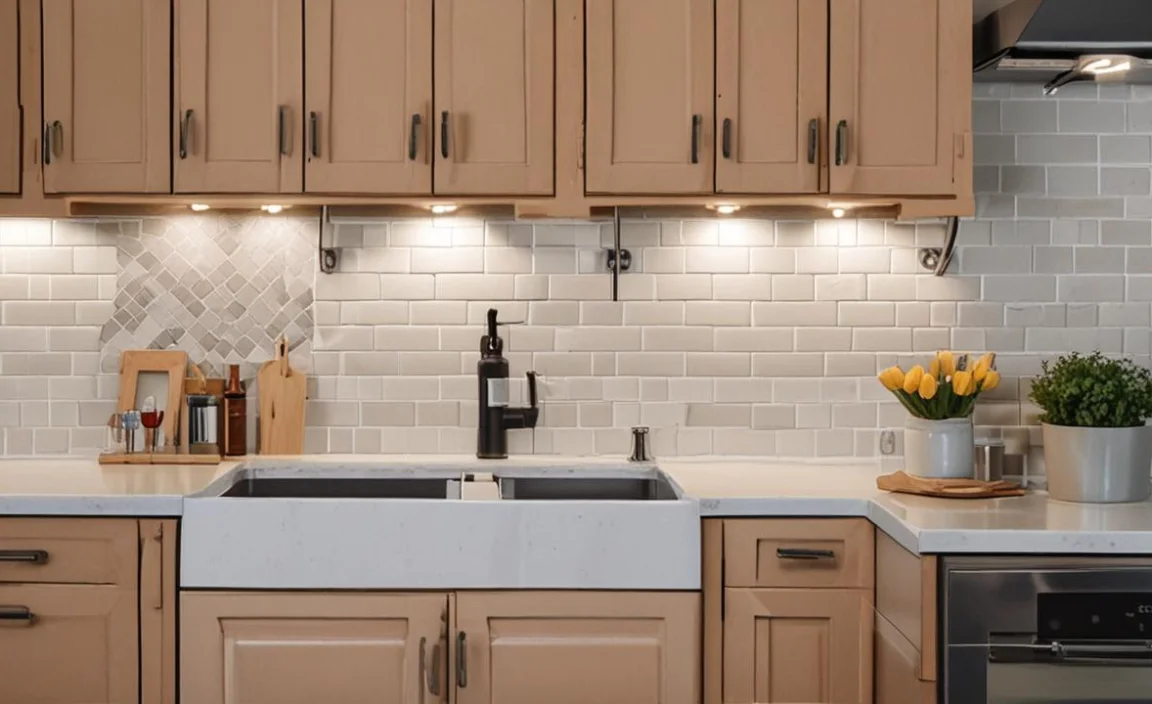
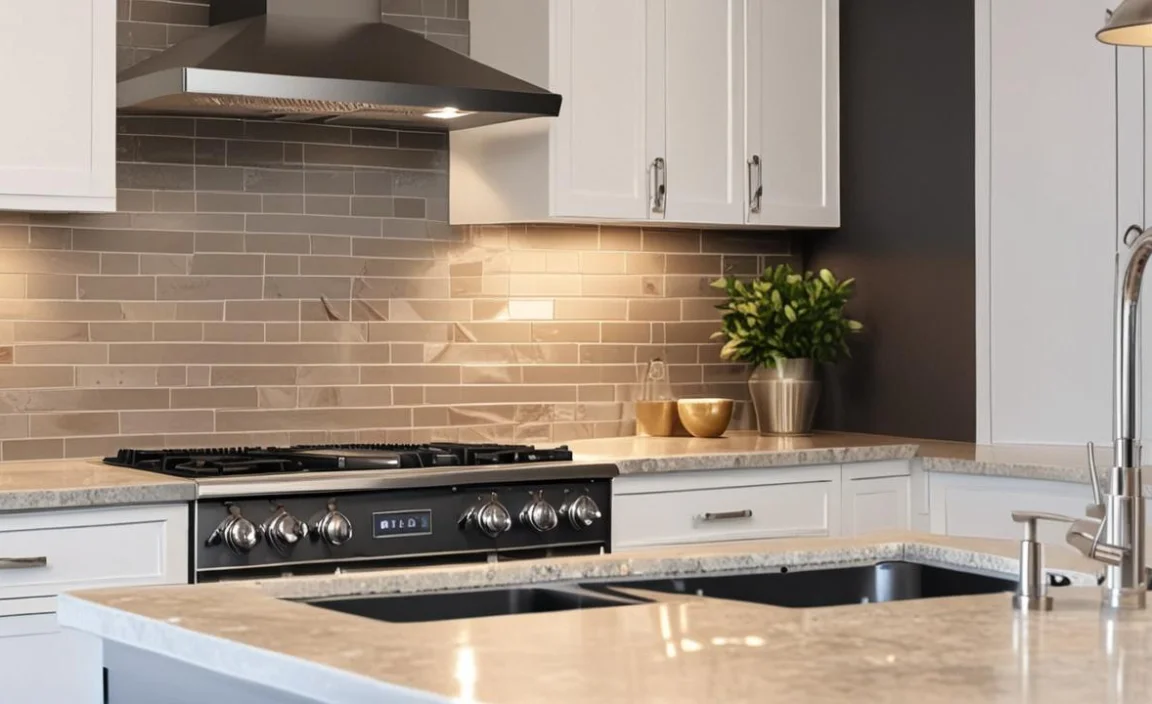
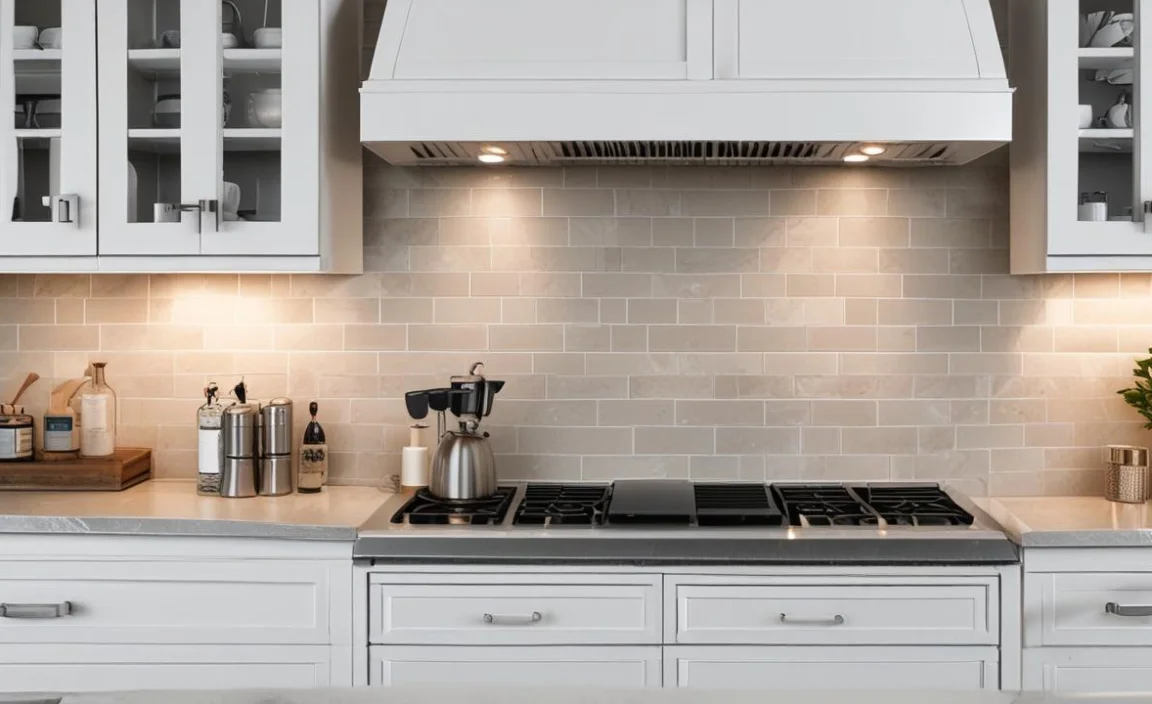
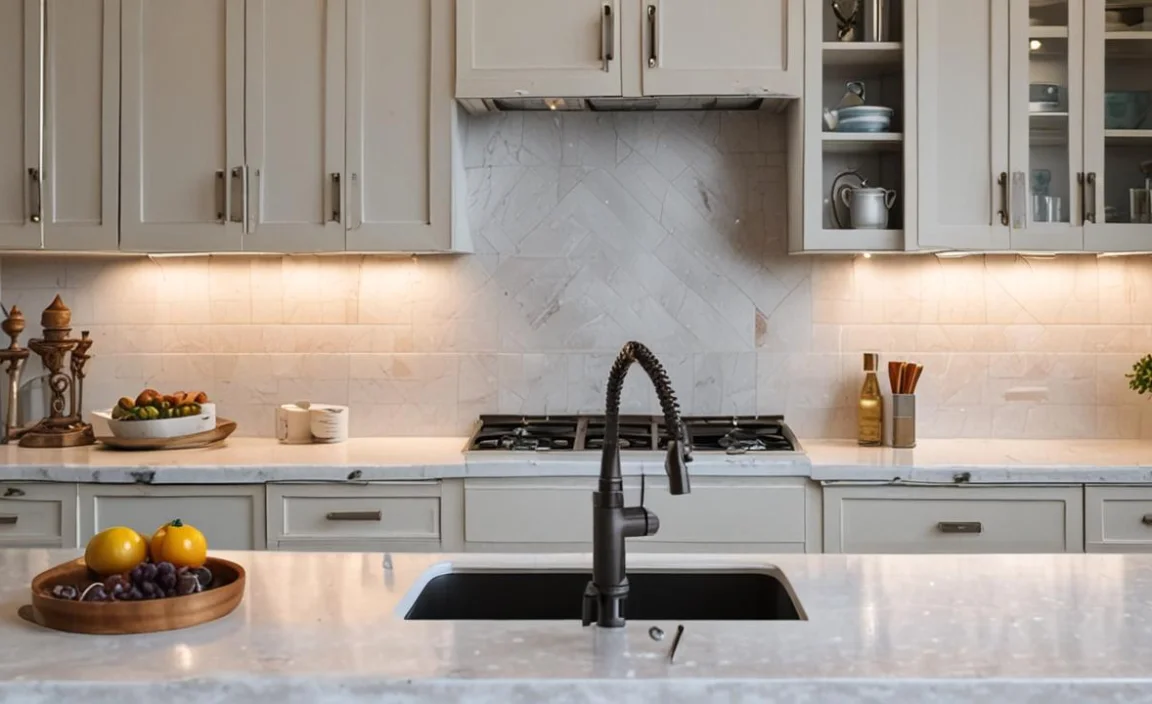
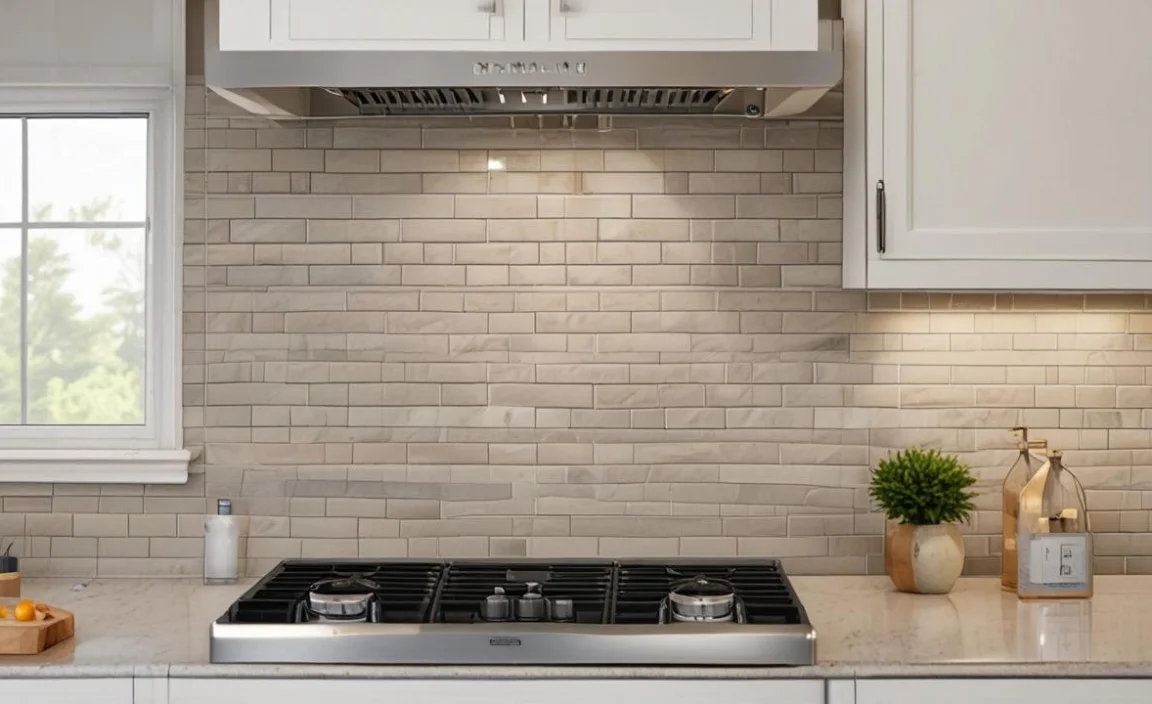
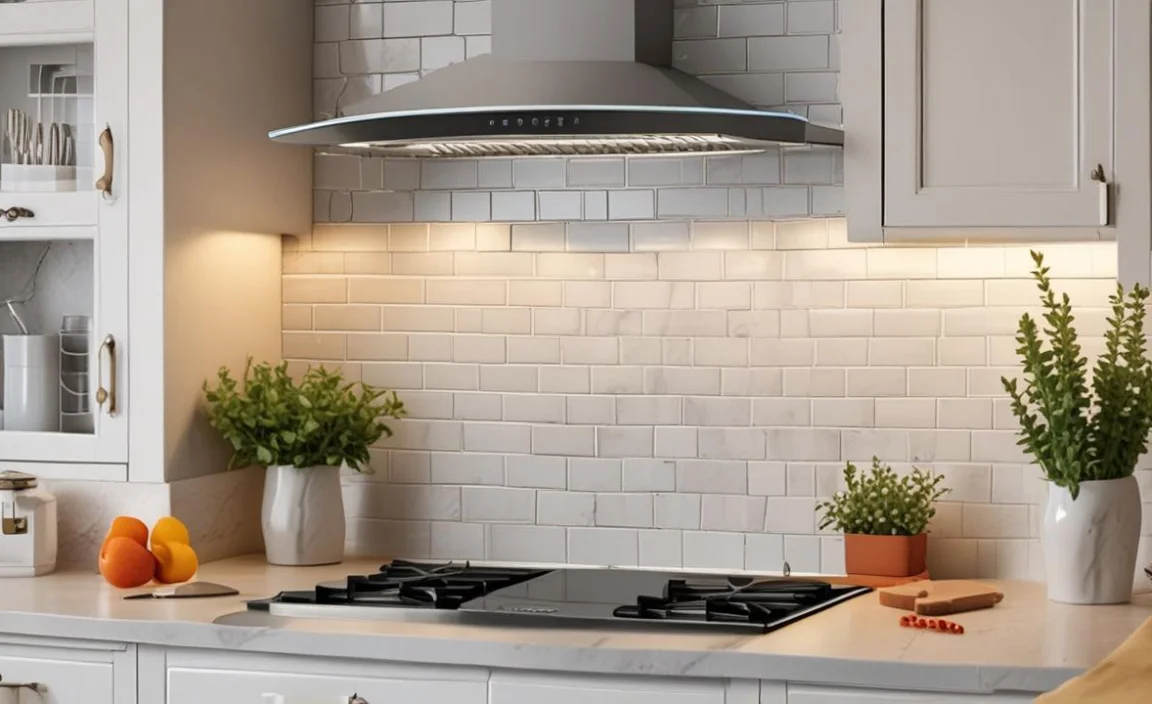
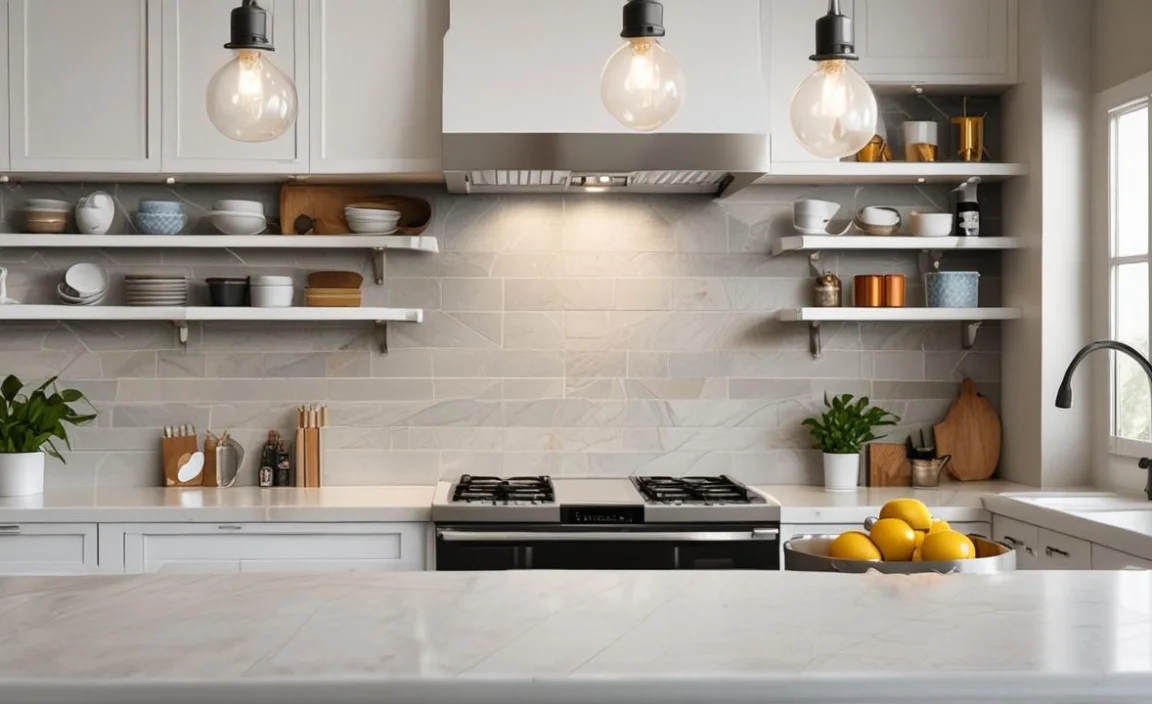
A backsplash is a great way to add personality and color to your kitchen or bathroom. It serves as a protective layer between the wall and the sink, stove, or countertop and adds a touch of elegance to the interior décor.
Installing a backsplash can seem daunting, but it can be accomplished easily with proper guidance and preparation. Here we will guide you on how to install a backsplash like a pro.
From gathering necessary supplies to measuring and marking the wall, cutting tiles, and applying adhesive and grout, we have covered you with all the tips and tricks to help you achieve perfect results every time. So roll up your sleeves and get ready to transform your space with this DIY project.
How To Install A Backsplash – Effective Tips
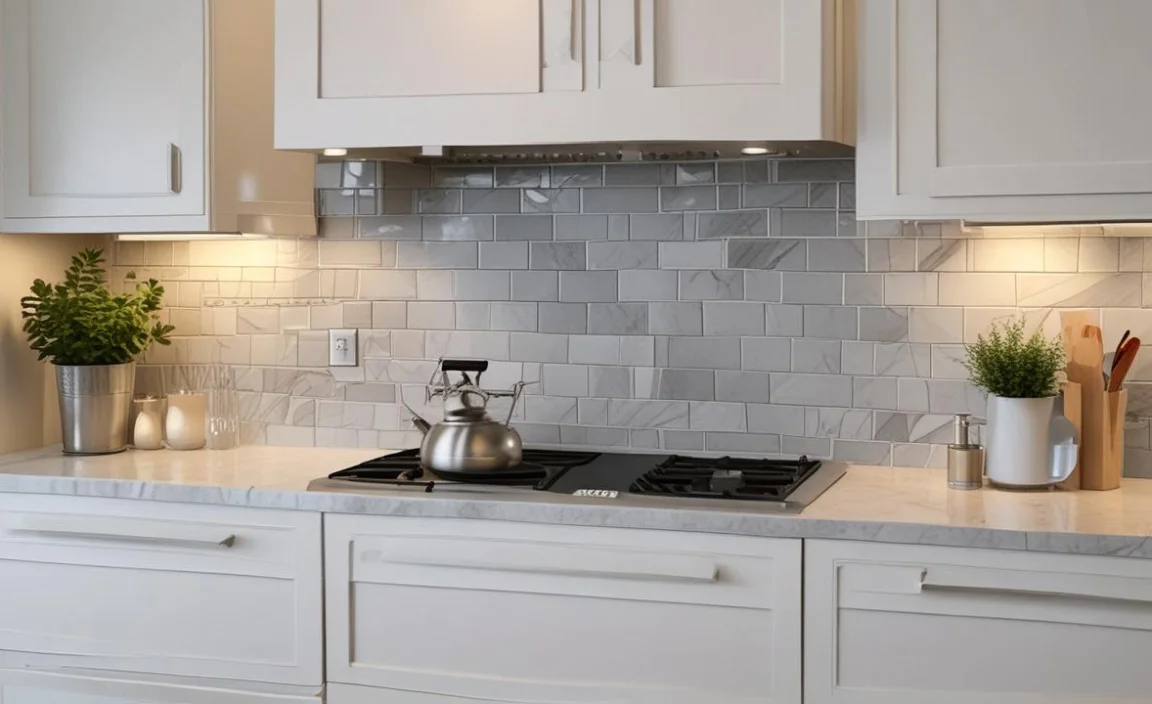
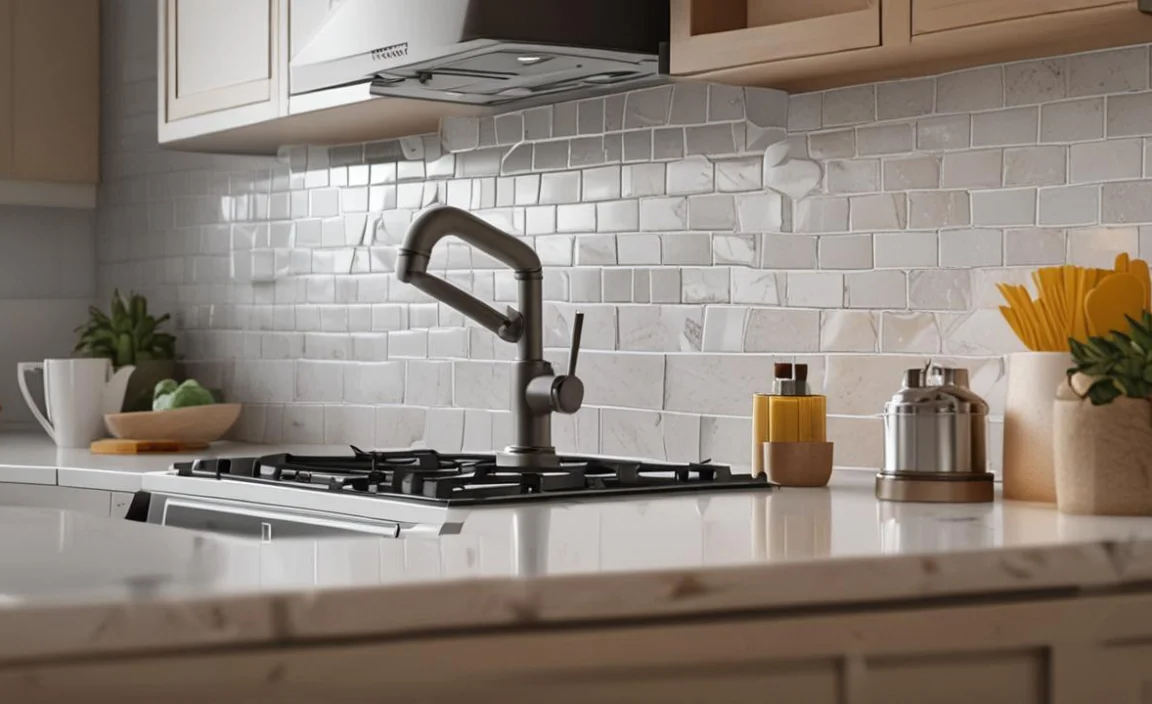
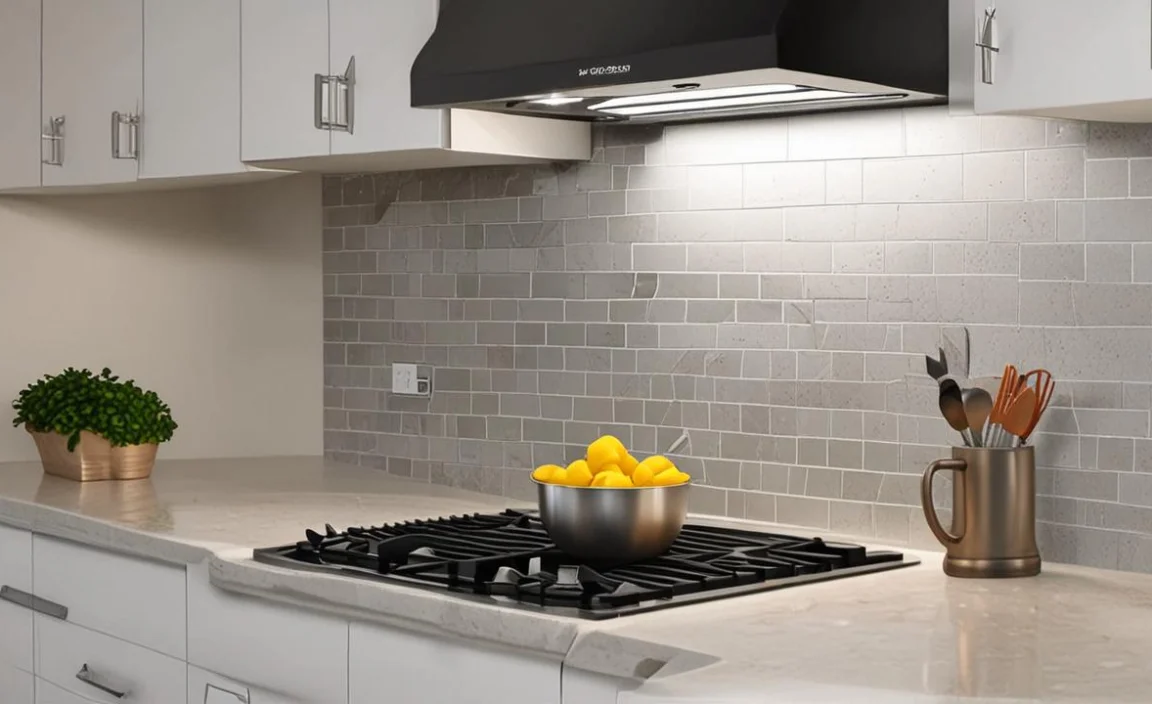
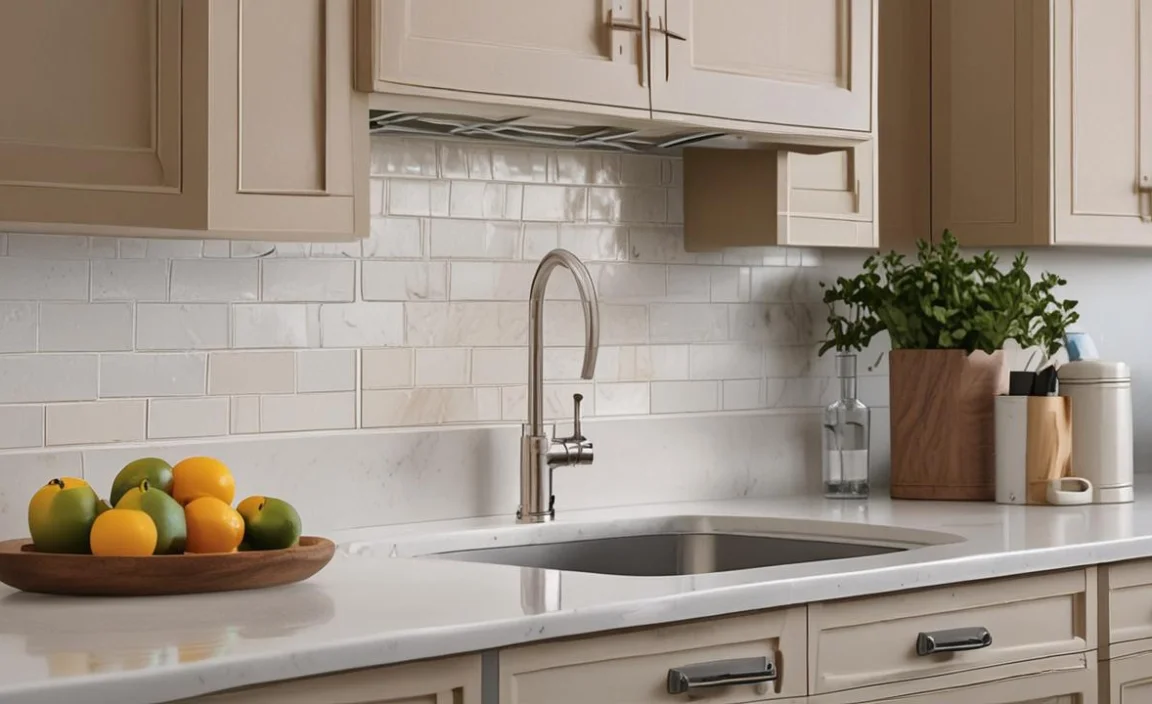
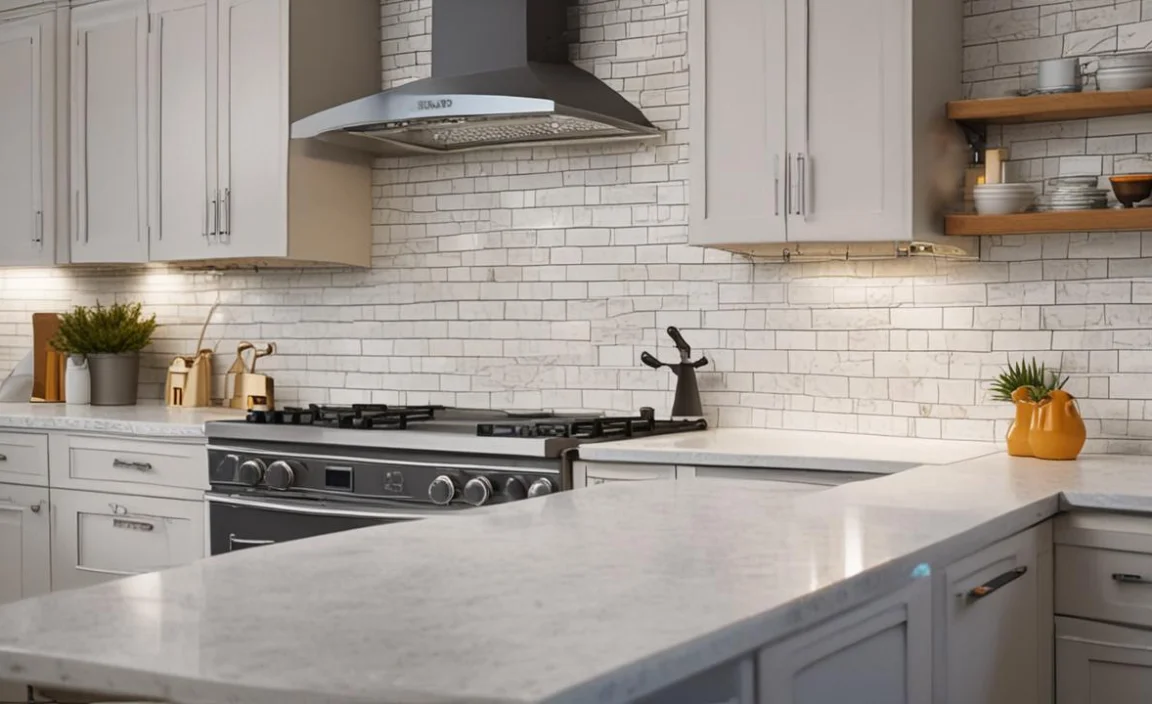
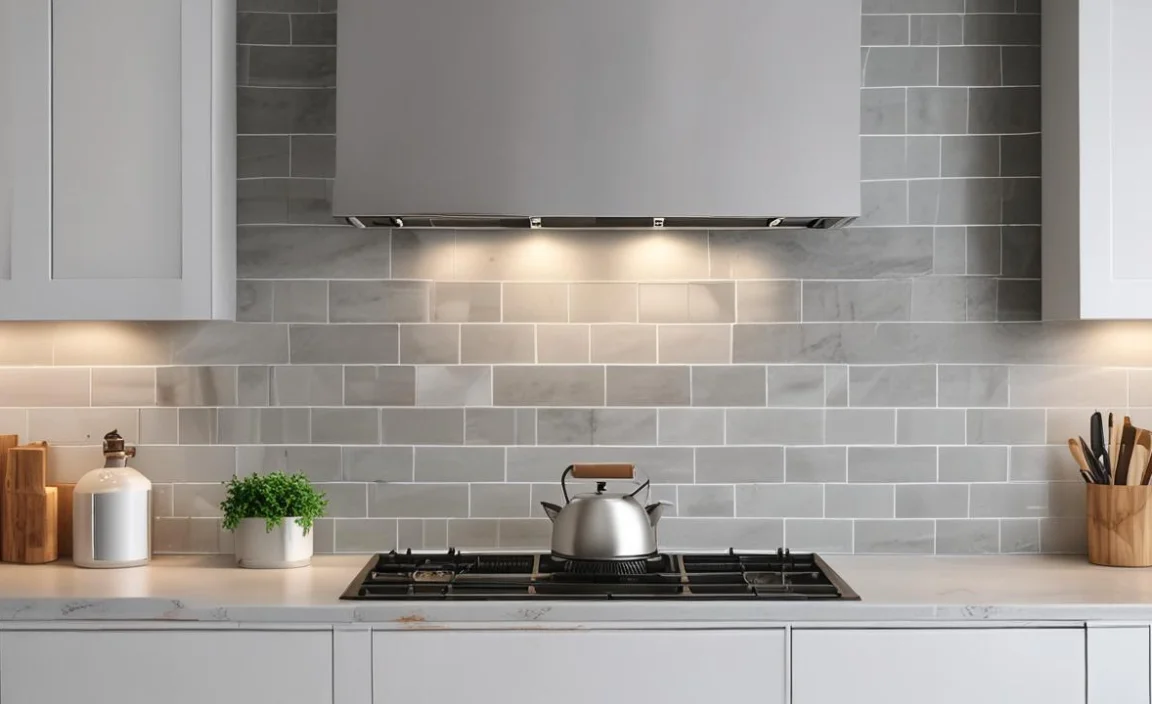
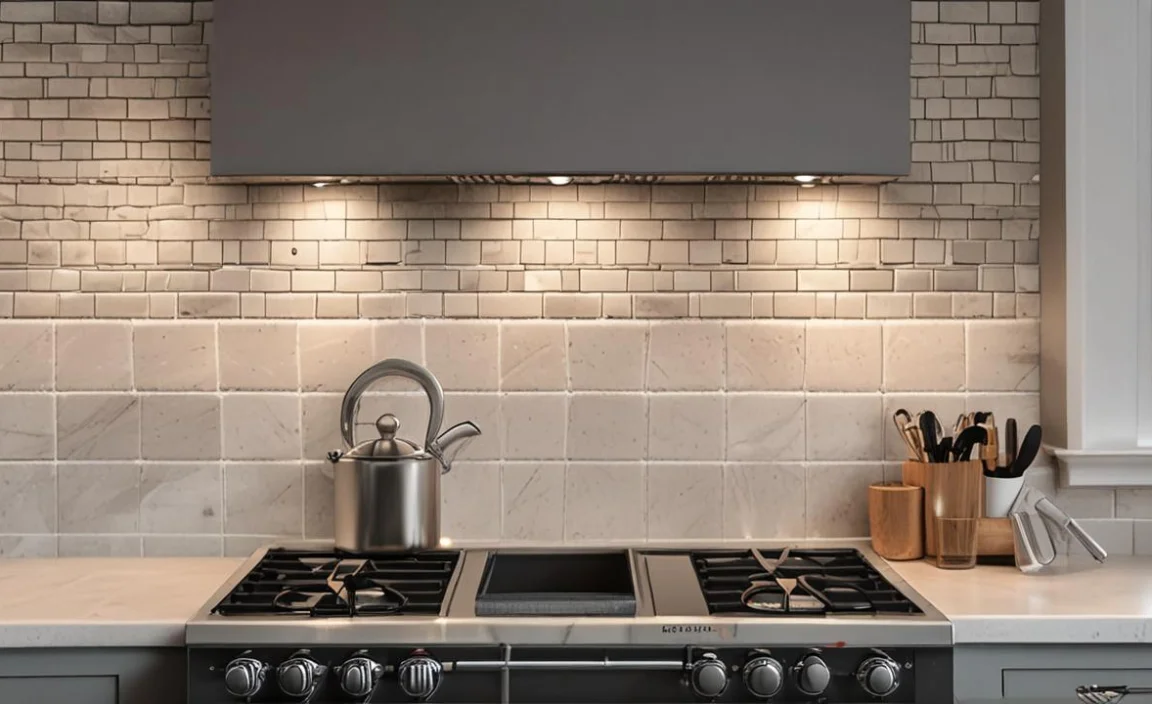
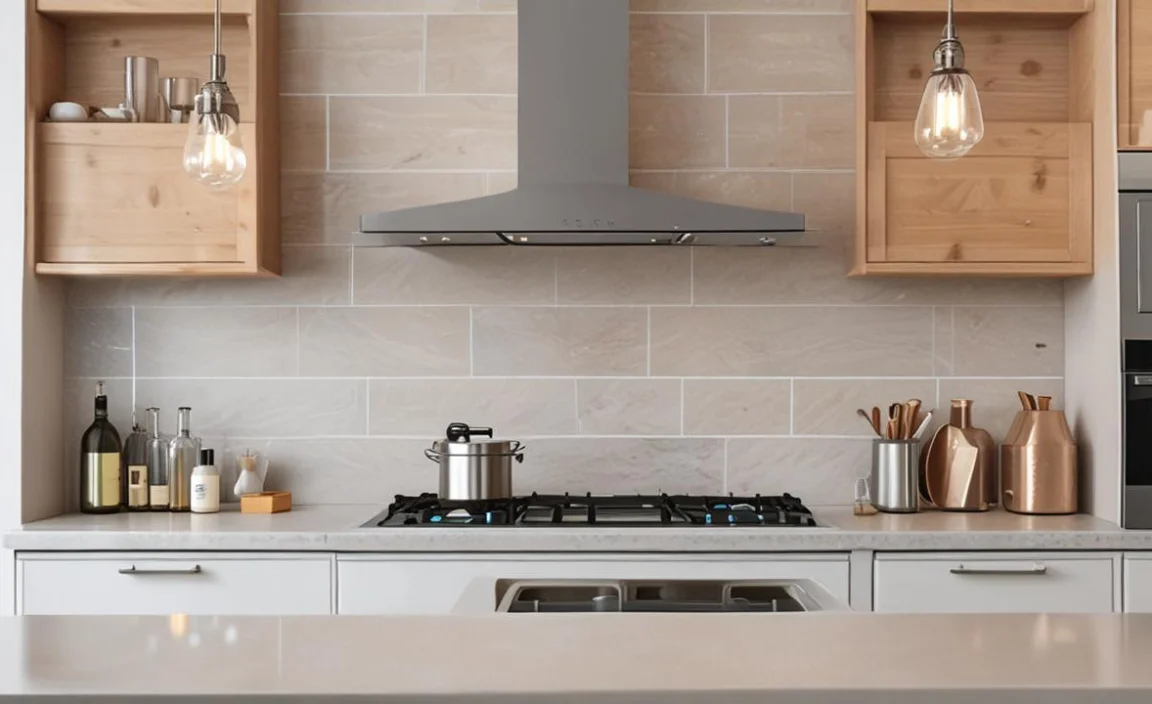
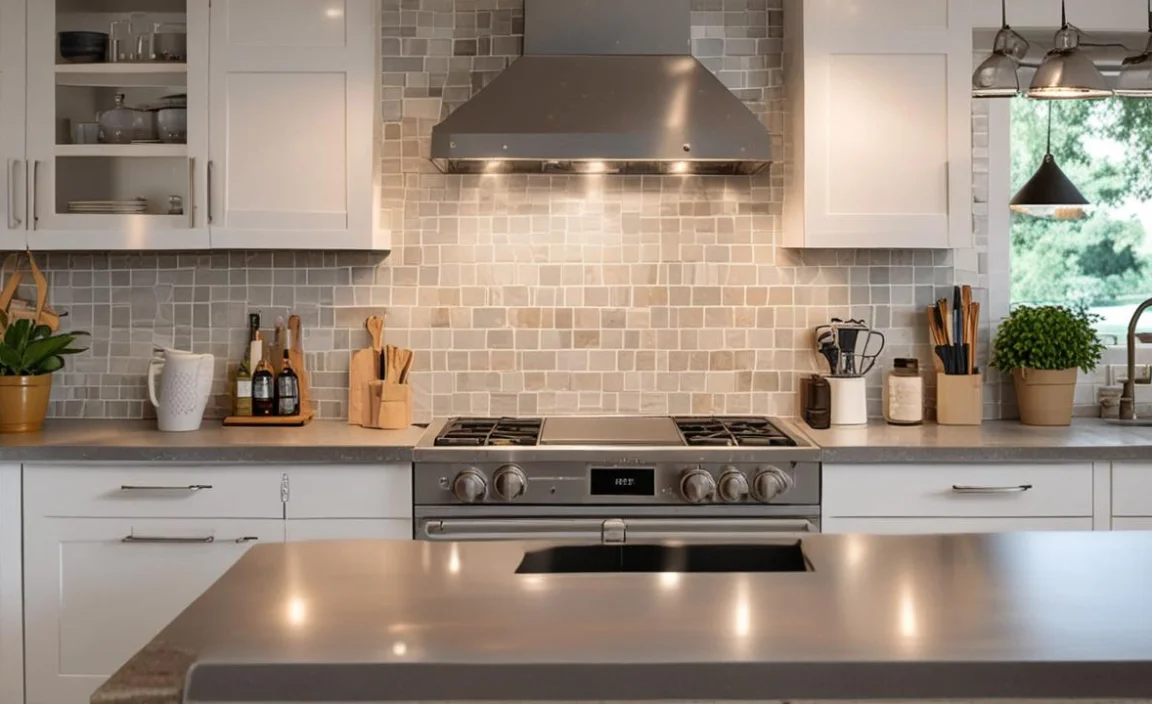
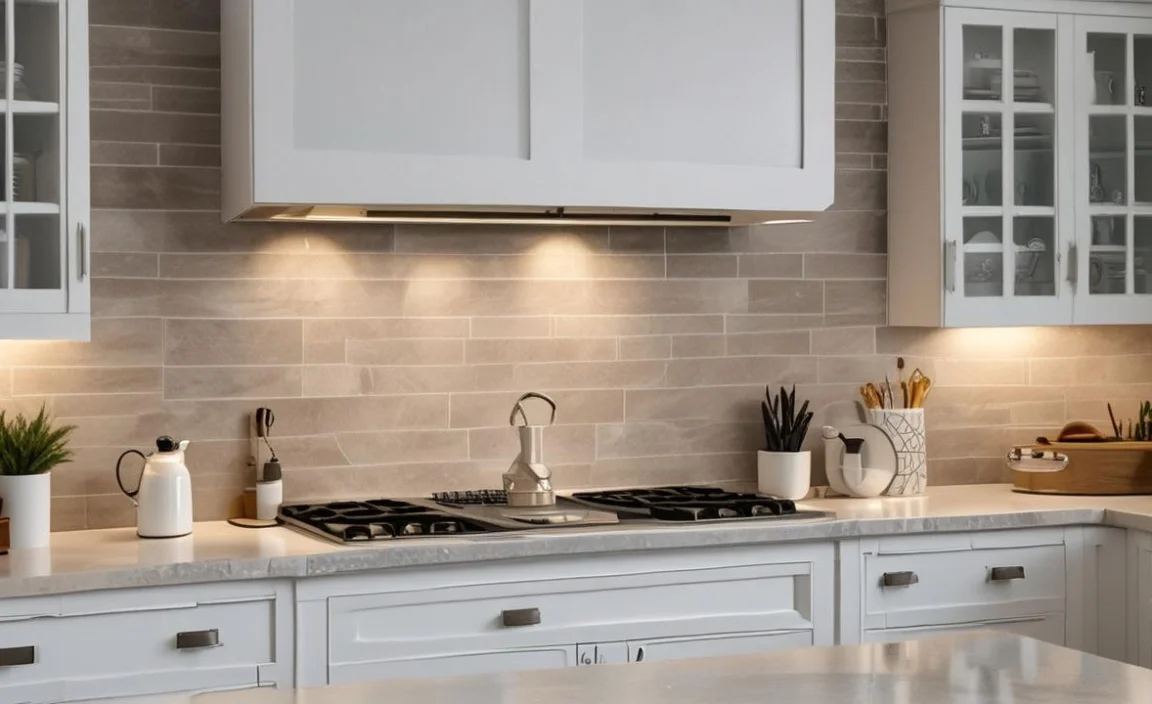
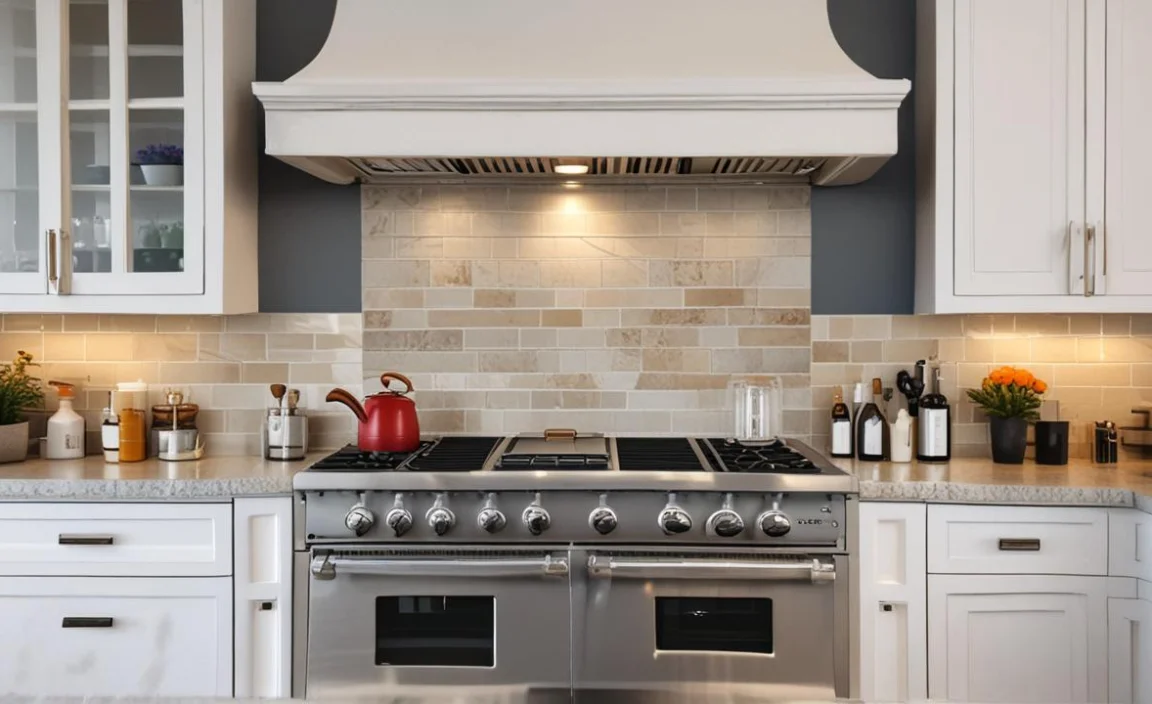
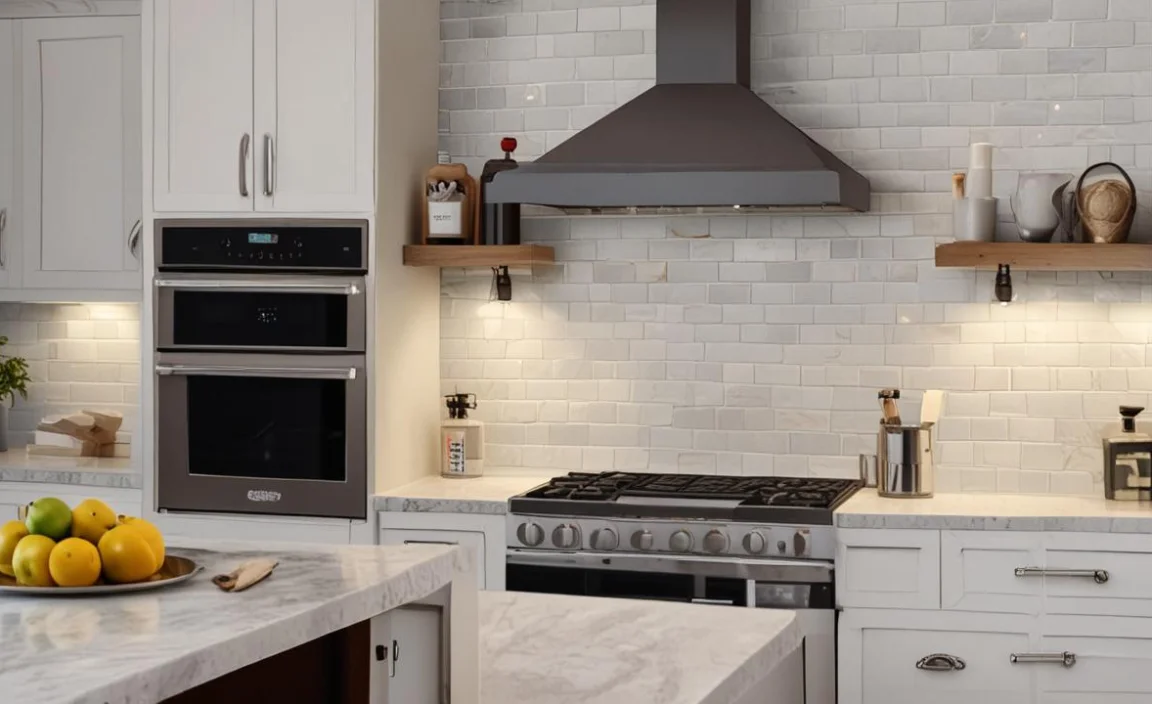
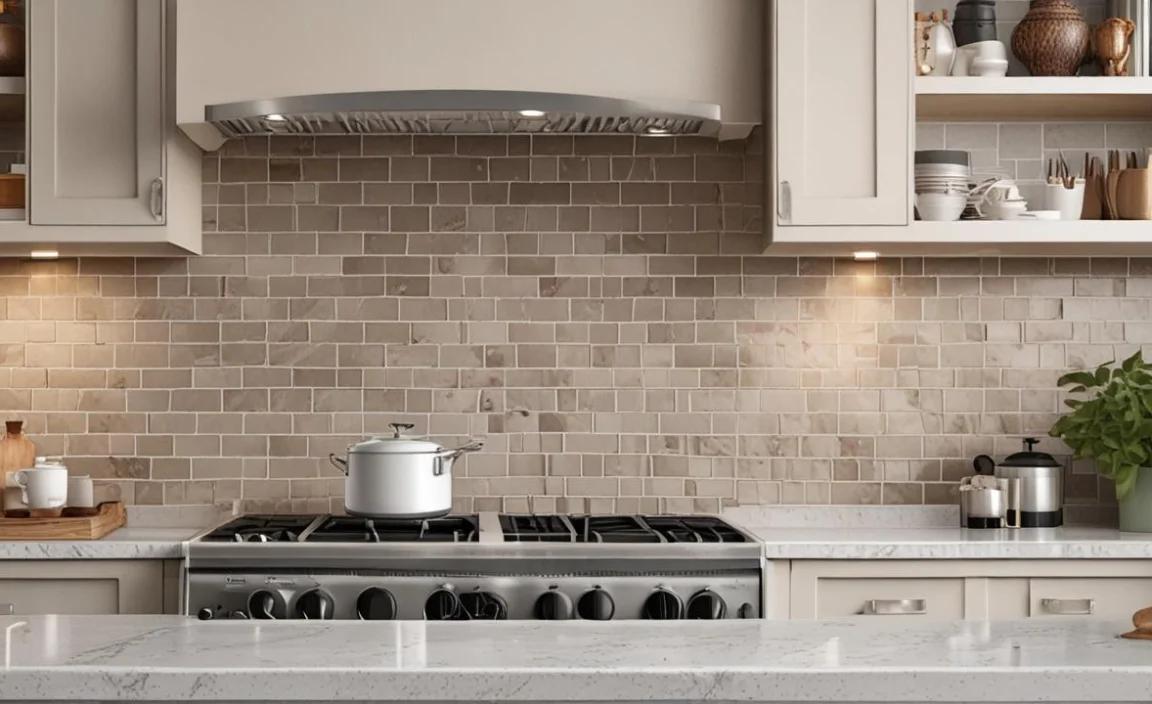
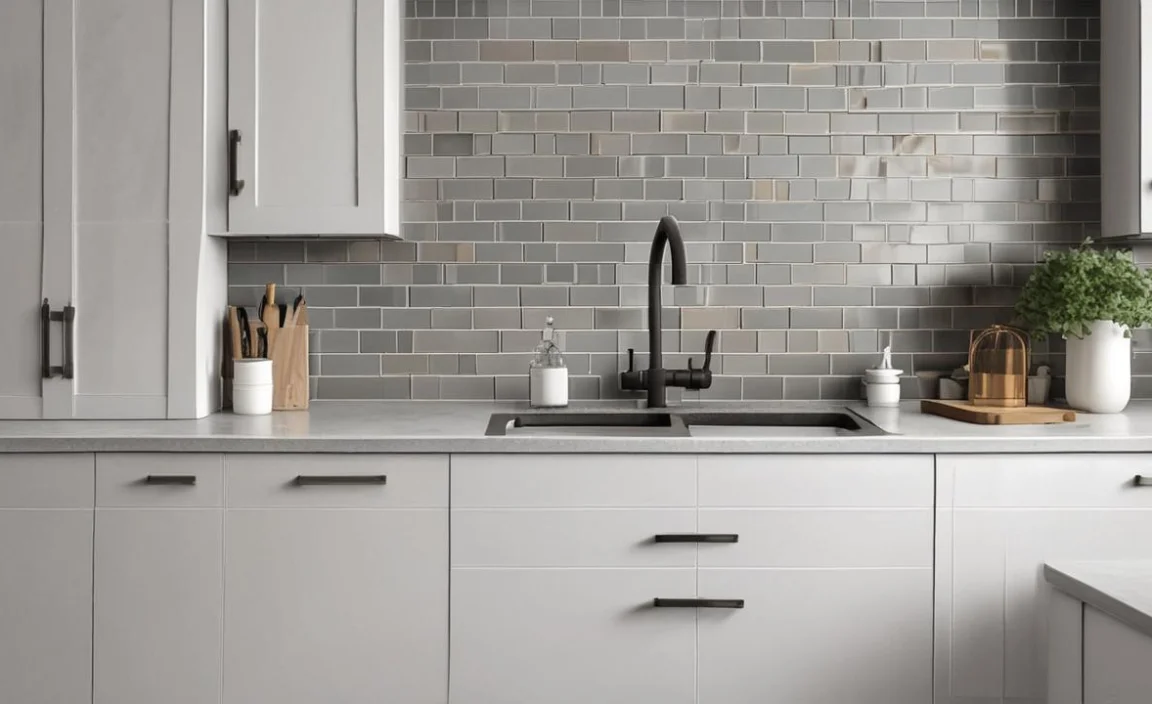
A backsplash is a protective covering on the wall between the countertop and upper cabinets, serving both practical and decorative functions. It prevents water damage and enhances the visual appeal of a kitchen or bathroom.
A backsplash installation is critical for any kitchen renovation or upgrade. Before beginning, measuring your space accurately and buying supplies like adhesive and grout to match your ceramic tiles’ color scheme is essential. Preparing your surface is crucial; you need a clean surface free from grease or other residue. Here is the process of how to install a backsplash.
Gather Necessary Supplies
Before starting with your backsplash installation project, gather all necessary supplies such as grout, backsplash tiles, tile saws, spacers, sponge, adhesive, utility knife, and more. Measuring the area accurately before purchasing supplies is essential to avoid waste or shortage.
Wear safety gear while handling tools and materials, especially when cutting ceramic tile on the wet saw. Clean your wall surface thoroughly before installing mesh-backed tiles.
For best adhesion results, use mastic or thin-set with a notched trowel while following DIY tips on Instagram for cleaning up excess grout haze from mosaic tile with a damp sponge.
Prepare The Work Area
Clear the space before starting to install a tile backsplash in your kitchen. Cover countertops, sinks, and other surfaces with drop cloths or cardboard to protect them from grease or adhesive stains. Plan your layout by measuring the wall surface accurately to ensure there is no wastage of supplies.
Wear safety gear like gloves and goggles while handling tools such as a tile cutter or saw. Follow the manufacturer’s instructions for mixing & applying adhesive & grout. Use spacers to ensure even spacing between tiles & remove excess grout with a damp sponge.
Measure And Mark The Wall
Before installing a kitchen backsplash, accurately measuring and marking the wall is crucial. Use a level and chalk line to ensure that your ceramic tile backsplash is installed in a straight line at every degree angle that suits your interior design.
It’s important to consider factors such as tiling layout, ceramic tile size, cutting requirements, and spacing using spacers before mixing adhesive with a notched trowel. Clean any excess grout lines after installation with a damp sponge for easy cleaning.
Cut The Tiles As Needed
Cutting tiles during backsplash installation can be tricky but essential for achieving a professional look. Always mark and measure where you need to make cuts using a pencil, and take precautions by wearing protective eyewear and gloves.
Use a tile cutter or wet saw to make precise cuts while ensuring they fit correctly before applying adhesive. With proper care, your backsplash will have a beautiful finish that will impress everyone who sees it.
Install Border Tiles
For an impressive backsplash installation, choose border tiles that complement your main tiles’ color and design. Cut them to size using a tile cutter or saw after measuring.
Adhere every tile on the wall with adhesive, ensuring there’s even spacing and leveling properly. After laying all tiles, use grout to fill in gaps between them before wiping off any excess with a damp sponge.
Place Main Tiles
When installing a backsplash using ceramic or mosaic tiles in your kitchen or bathroom, placing the main tiles requires a few steps. Starting from the center of your backsplash area and working outward ensures that you can easily manage your layout.
A notched trowel or tile adhesive spreader at a degree angle on the wall surface and evenly spaced tile spacers between them will guarantee proper adhesion. To fit around outlets or corners, use a tile cutter or wet saw and cutting tools such as sandpaper or utility knife to remove excess grout from any areas of mesh backing. Repeat these steps until all your full tiles are placed.
Secure Tiles With Adhesive
For beginners, installing a tile backsplash can seem daunting. However, using adhesive is an easy way to ensure adhesion between the wall and tiles. The first step is choosing the right product for your tiles and wall surface. Before applying the adhesive, make sure that you clean the area properly.
Use spacers or a notched trowel for a consistent layout with a degree angle. Once you have placed all your full tiles, allow them to dry completely before moving on to grouting using a rubber float.
Apply Grout
Applying grout is an essential step to achieve a beautiful kitchen backsplash design with clean lines and an easy-to-clean surface. Start by ensuring that your ceramic or mosaic tile backsplash is free of grease or dirt. Mix your preferred shade of grout using your notched trowel before evenly spreading it onto the wall surface using your rubber float.
Next, use your sponge to remove excess grout and leave it for at least 24 hours before sealing the grout lines. This easy process can help you get professional-grade results without breaking the bank.
Remove Excess Grout

After installing your new tile backsplash using adhesive and spacers as necessary, you’ll need to remove any excess grout for a neat finish. Use a damp sponge to carefully wipe away the excess grout before it hardens and damages your ceramic or mosaic tiles.
To avoid damage while removing excess grout from your kitchen backsplash, ensure you do not remove too much at once. Allow the remaining grout lines between your full tiles to dry completely before buffing off any haze with a clean cloth.
Seal Grout Lines
As you approach the end of your backsplash installation project, it’s time to turn your attention to sealing the grout lines. This crucial step involves choosing a high-quality grout sealer that works well with your tile and grout type. Once you have selected your product, apply a small brush or roller evenly over the grout lines.
Allow it to dry thoroughly before using your new tile backsplash regularly. Remember to reapply the sealer every few years for maximum protection against moisture and stains.
Tips For Cutting Tiles To Fit The Space Properly
A backsplash is a protective covering installed behind the sink, stove, or countertop in a kitchen or bathroom. Its primary function is to protect the wall from water damage and stains caused by cooking or washing. Installing a backsplash can be a great way to add personality and style to your kitchen or bathroom. However, cutting tiles to fit the space properly can be tricky. Here are some tips to help you cut tiles with precision:
- Measure twice, and cut once. Before you start cutting, make sure that you have measured the area carefully and double-checked your measurements.
- Use a tile cutter. A tile cutter is a great tool for making straight cuts on ceramic or porcelain tiles. Simply score the tile with the cutter and then snap it along the scored line.
- Invest in a wet saw. Consider investing in a wet saw if you need to make more complex cuts or cut through thicker materials like stone or glass. This tool uses water to cool the blade and prevent dust from entering the air.
- Practice first. If you’re new to tiling, practice cutting on some spare tiles before tackling your backsplash. This will help you get comfortable with the tools and techniques before working on your finished project.
Following these tips ensures that your tiles fit perfectly and look great in your space.
Common Mistakes To Avoid During Installation
A backsplash is a protective covering that is installed on the wall behind a sink, stove, or countertop in a kitchen or bathroom. Installing a backsplash can be a great way to update your kitchen or bathroom and add a stylish touch to the space.
However, common mistakes can occur during installation that can result in an uneven or poorly finished look. Here are some mistakes to avoid when installing a backsplash:
- Not properly preparing the surface: Before installing the backsplash, it is important to ensure that the surface is clean, dry, and free of any debris. This will help the adhesive stick properly and prevent any gaps or unevenness.
- Cutting tiles incorrectly: Cutting tiles incorrectly can result in uneven edges or pieces that do not fit together properly. Make sure to measure carefully and use the proper tools for cutting.
- Using too much adhesive: Using too much adhesive can cause the tiles to slide or not adhere properly. Use enough adhesive to create a strong bond between the tiles and the wall.
- Not using spacers: Spacers help ensure that each tile is evenly spaced and aligned with the others. Skipping this step can result in an uneven or crooked backsplash.
You can achieve a beautiful and professional-looking backsplash installation by avoiding these common mistakes.
Hiring Professional Installer VS DIY Installation
Installing a backsplash can be a great way to update the look of your kitchen or bathroom. When deciding whether to hire a professional installer or do it yourself, there are several factors to consider. Hiring a professional can save you time and ensure the job is done correctly, but it can also be more expensive.
DIY installation can be more cost-effective, but it requires some level of experience and skill. Additionally, DIY installation may take longer and not result in a flawless finish if inexperienced. Ultimately, whether to hire a professional or DIY will depend on your budget, timeline, and level of confidence in your abilities.
Conclusion
Installing a backsplash can add a touch of elegance to any kitchen or bathroom. We hope now you can understand how to install a backsplash. While it may seem daunting, you can install a backsplash like a pro with the right tools and preparation.
Gather all necessary supplies, prepare the work area, measure and mark the wall, cut tiles as needed, and install border and main tiles before securing them with adhesive. Don’t forget to apply, remove excess grout, and seal grout lines for a finished look.
With these steps in mind, you can transform your space in no time. Remember to take your time, measure carefully, and use the right tools and materials for the job. You can transform your space into something truly beautiful with a little patience and effort. So why wait? Get started today and give your home the upgrade it deserves.
Frequently Asked Questions About Installing a Backsplash
1. What is the purpose of a backsplash in a kitchen or bathroom?
A backsplash protects the wall behind sinks, stoves, and countertops from moisture, grease, and stains. It also enhances the overall aesthetics of your kitchen or bathroom, adding color, texture, and design continuity to the space.
2. What materials are best for a backsplash?
Common backsplash materials include ceramic tile, porcelain tile, glass tile, natural stone, and stainless steel.
-
Ceramic & porcelain tiles are durable and affordable.
-
Glass tiles reflect light and modernize the space.
-
Stone backsplashes offer a natural, high-end look but require sealing.
-
Metal backsplashes provide an industrial, easy-to-clean surface.
3. What tools and supplies do I need to install a backsplash?
Essential tools include:
-
Tile adhesive (mastic or thin-set mortar)
-
Notched trowel
-
Tile spacers
-
Level & measuring tape
-
Tile cutter or wet saw
-
Rubber grout float
-
Sponge & bucket
-
Grout and sealer
-
Safety gear (gloves, goggles)
These ensure accuracy, safety, and a professional finish.
4. How do I prepare the wall before installing a backsplash?
Start by cleaning the wall with a degreaser or mild soap and water.
Remove any loose paint, dust, or debris.
Ensure the wall is dry, flat, and smooth — otherwise, the adhesive may not bond properly.
If your wall has gloss paint or texture, lightly sand it for better adhesion.
5. How do I measure and plan a backsplash layout correctly?
Measure the total wall area and divide it by the size of one tile to estimate how many tiles you need.
Plan your layout from the center of the wall outward for symmetry.
Mark the layout lines using a level and chalk line.
Dry-lay a few tiles on the counter before installation to visualize spacing and pattern.
6. What is the best adhesive for backsplash tiles?
For most kitchen backsplashes, thin-set mortar is ideal because it creates a strong, lasting bond.
For smaller tiles or lightweight materials like glass or mosaic, mastic adhesive works well indoors.
Always check manufacturer recommendations for your specific tile type.
7. How long should I wait before applying grout after setting tiles?
Allow the adhesive to cure for 24 hours before applying grout.
Rushing this step can cause tiles to shift or grout to crack.
Check adhesive manufacturer instructions for exact drying time.
8. How do I apply grout correctly for a professional finish?
Once tiles are firmly set:
-
Mix grout to a peanut butter-like consistency.
-
Use a rubber float to press it diagonally into joints.
-
Remove excess grout with a damp sponge before it hardens.
-
Allow grout to cure for 24 hours, then polish off the haze with a soft cloth.
9. Should I seal the grout, and how often?
Yes — sealing the grout prevents moisture, mold, and stains from penetrating.
Apply a penetrating grout sealer 48–72 hours after grouting.
Reapply every 1–2 years (more frequently in humid areas like bathrooms).
10. What are common mistakes to avoid during backsplash installation?
Key mistakes include:
-
Failing to clean and prepare the wall surface properly.
-
Not using spacers for even tile gaps.
-
Applying too much adhesive.
-
Cutting tiles inaccurately.
-
Not wiping grout haze promptly.
Avoiding these ensures a straight, even, and professional finish.
11. Can I install a backsplash over existing tiles or painted walls?
Yes, but only if the existing surface is smooth, clean, and stable.
-
For painted walls: lightly sand and clean them first.
-
For old tiles: ensure none are loose, clean thoroughly, and use a strong bonding adhesive.
If the surface is uneven, consider removing old materials before installing new tiles.
12. Should I hire a professional or install the backsplash myself?
If you have basic DIY skills, installing a backsplash yourself can save money and be very rewarding.
However, for complex patterns (mosaic, marble, or herringbone) or uneven walls, a professional installer may achieve better precision and durability.
The choice depends on your budget, skill level, and time.
