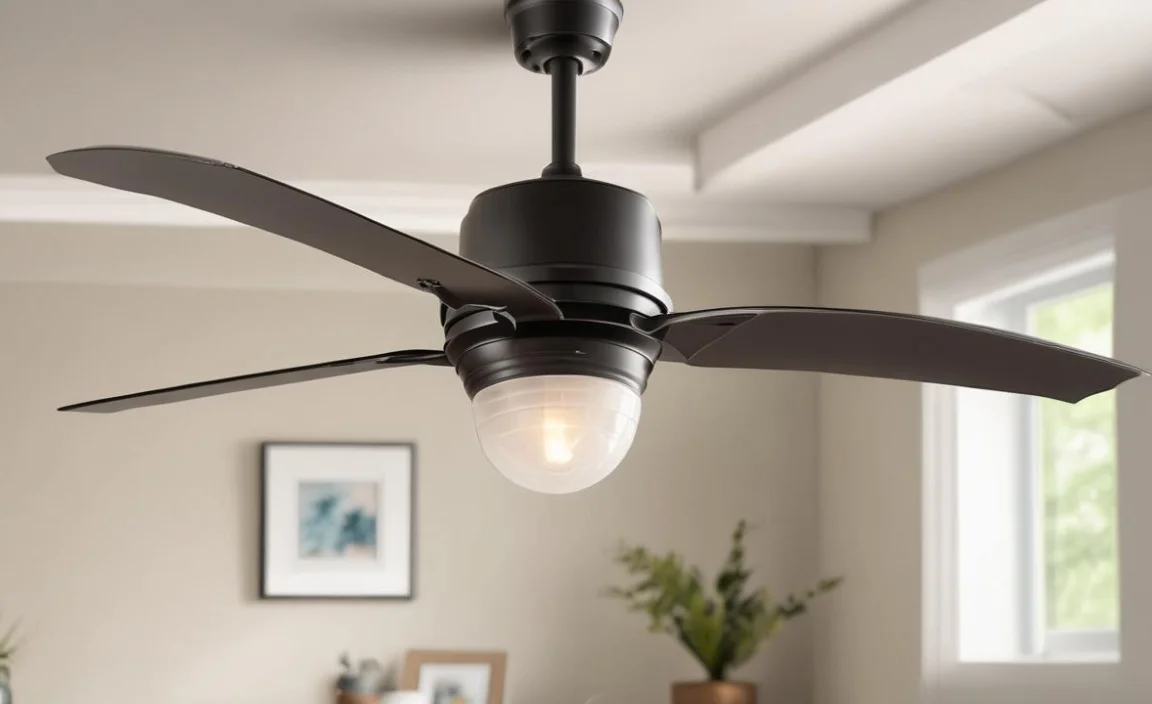
A ceiling fan is a great way to save energy while keeping your home cool during summer. Before installation, ensure you have all the required tools and materials and switch off power.
Carefully follow manufacturer instructions for a secure and successful process. Are you considering installing a ceiling fan in your home? Ceiling fans are a great addition to any room, providing function and style. However, the installation process may seem daunting to those who have never done it. Here we will guide you through how to install a ceiling fan in nine easy steps.
We’ve covered you, from gathering the necessary tools and supplies to testing the fan. We’ll also provide tips on what you need to know before starting and how to attach the blades for optimal performance. So let’s dive right in and install your ceiling fan quickly.

What You Need To Know Before Installing A Ceiling Fan
Installing a new ceiling fan involves several crucial considerations. Firstly, you must determine if the fan size matches your room size and ensure that your ceiling can hold its weight. Next off is switching off the power supply to your circuit breaker before mounting the bracket assembly since safety comes first.
It would be best if you also had adequate knowledge of the manufacturer’s instructions and appropriate tools, such as a screwdriver or wire connectors. Lastly, stress-test your installation by turning on the wall switch and relishing cooling comfort.
How To Install A Ceiling Fan – In 9 Easy Ways
To install a ceiling fan in 9 easy steps, gather all necessary tools like a screwdriver, wrench, voltage tester, wire nuts, wire connectors, etc., before turning off the power supply from the circuit breaker. Follow the manufacturer’s instructions while installing the mounting bracket onto the ceiling electrical box & attaching the fan motor using joist or brace for support, canopy, downlod, and blades with a cool air circulation effect in the room of the required square feet size.
Test it properly for smooth functioning without any assistance from a licensed electrician or professional help. Here is the process of how to install a ceiling fan.
Gather The Necessary Tools And Supplies
Ensure a safe and successful installation of a new ceiling fan in your home or business space with ease and comfort. When dealing with joists or blades, it is important to gather all necessary tools for your project, such as wiring tools like screwdrivers for canopy brackets or wrenches.
Furthermore, adequate supplies like wire connections or even extra screws can be helpful in case anything gets lost during assembly. Make sure to take safety precautions before beginning your work by turning off circuits at breaker boxes if needed and following instructions provided by manufacturers for installation.
Determine The Location And Clear The Room

Choosing a strong location is important to ensure a successful ceiling fan installation. Ensure enough clearance between walls or furniture, and turn off power to your existing light fixture before removing it.
Then you can attach your new mounting bracket securely and follow manufacturer instructions precisely when handling wiring and attaching blades. Test your ceiling fan to guarantee proper function. A licensed electrician should be consulted if any doubts arise during DIY installations.
Shut Off The Power And Remove The Existing Light Fixture
Before installing a new ceiling fan in your room or living area, switch the power supply off to your existing light fixture for safety reasons. Check for any live current by using a voltage tester. After ensuring there is no electricity flowing through the wiring, you can remove the existing light fixture with caution. Follow your manufacturer’s instructions carefully to install your new ceiling fan securely into position using an appropriate mounting bracket.
Install The Ceiling Fan Mounting Bracket
To install a ceiling fan, you must first securely attach the mounting bracket to the ceiling joist or support structure by aligning its holes with those in the ceiling and securing it with screws and washers. Ensure that it is level before proceeding with the installation.
Choosing a bracket that can support your fan’s size and weight is important. Always follow manufacturer instructions carefully for installation, including wiring and attaching the fan motor and blades, testing its operation, and turning off the power supply before removing any existing light fixtures or electrical boxes.
Attach The Ceiling Fan And Make The Wire Connections
Before installing a new ceiling fan, ensure you have gathered all necessary tools and supplies, such as a screwdriver, wrench, and wire nuts. Determine where you want to place your new ceiling fan and clear out enough space before shutting off the breaker.
Remove any existing lighting fixtures carefully before installing a mounting bracket securely onto the framing or ceiling joist using screws and washers. Hang your new ceiling fan onto this bracket after connecting its wires to those of your home’s electrical box. Do not forget to test everything by turning on the circuit breaker.
Attaching The Downrod
Properly attaching the downrod to your new ceiling fan is essential for successful installation. Before beginning this step, ensure that you have selected the appropriate size downrod and use a wrench to tighten the screws on both ends of the downrod securely.
Ensure that the ball joint is secure and not wobbling as this can cause unnecessary shaking. You might also consider using a thread-locking compound if your ceiling fan comes with a threaded downrod.
Connecting The Wires
Turn off the power supply before connecting your new ceiling fan’s wires to avoid any electrical hazards. Identify which colored wires from your electrical box correspond with those from your new ceiling fan; typically, black goes with black or red from the box, while white goes with white and green goes with the ground.
Tighten all connections before you test your cool new air circulator! If you’re unsure about how to connect your ceiling fan’s wires, seek advice from an experienced professional electrician.
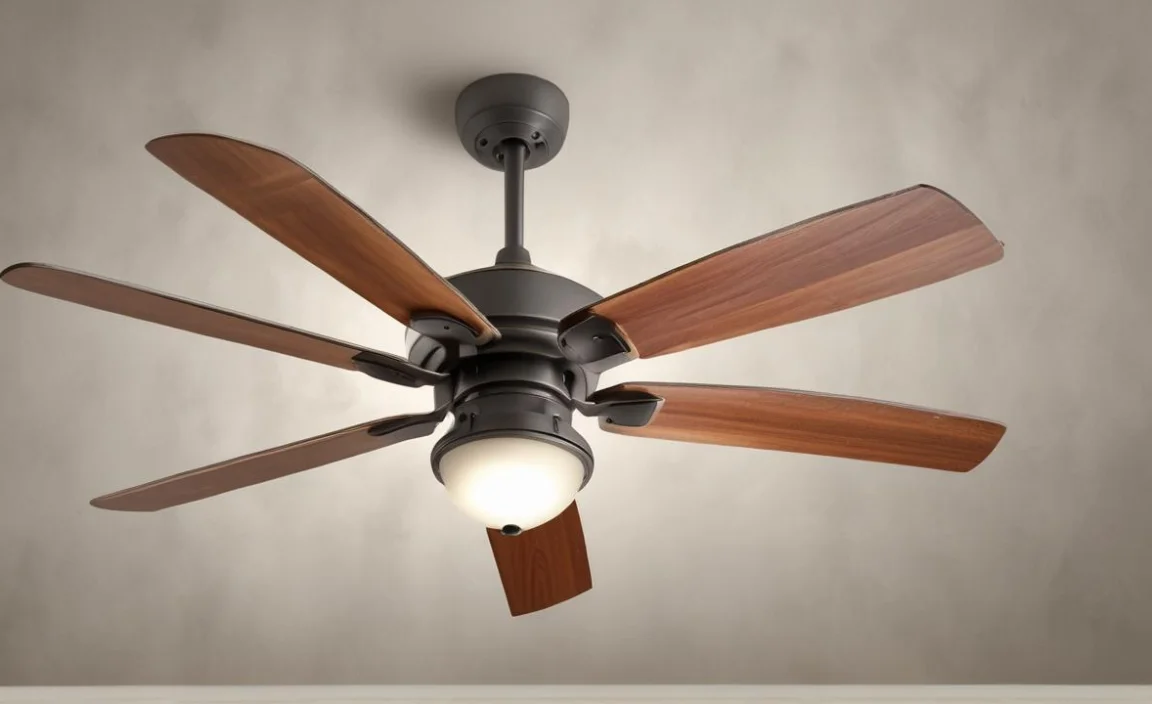
Attaching The Blades And Lights
When adding blades and lights to a new ceiling fan installation, adhering to proper procedures is crucial. Firstly, securely attach blade brackets to your fan motor housing per the manufacturer’s instructions before placing each blade in position.
Use a blade balancing kit whenever required for better airflow balance. Before installing lighting kits or fixtures on your ceiling fan unit, ensure it is light-compatible or seek assistance from an electrician for proper wiring guidance.
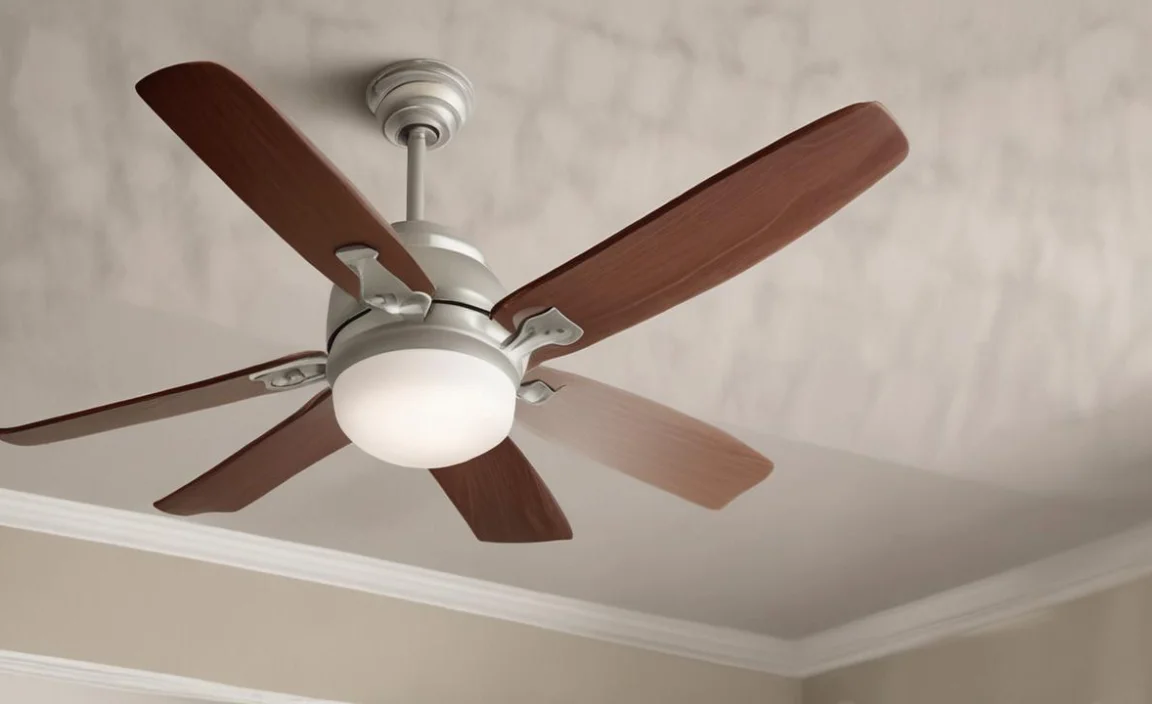
Testing The Fan
After successfully installing the new ceiling fan using our simple tips and tricks, it’s time to test it! Turn on the switch and check that the blades are rotating in the right direction based on the season (clockwise for winter and counterclockwise for summer).
It’s important to watch out for any wobbling or unusual noises that could indicate an installation issue. Relax in your cool air-conditioned space once you’re satisfied everything is working smoothly.
Tips For Testing And Adjusting The Ceiling Fan
When testing and adjusting your ceiling fan, remember a few key tips. First, ensure the fan is turned off before you start any adjustments or testing. Next, ensure that all screws and attachments are secure to prevent wobbling or shaking.
You can use a balancing kit to help adjust any imbalances causing wobbling. Additionally, adjust the direction of the fan blades depending on the season – clockwise rotation for winter and counterclockwise for summer – to ensure optimal airflow. Finally, test the speed settings to ensure they work properly and adjust as needed. By following these tips, you can ensure that your ceiling fan runs smoothly and efficiently all year.
Maintenance Tips For Keeping Your Ceiling Fan Running Smoothly
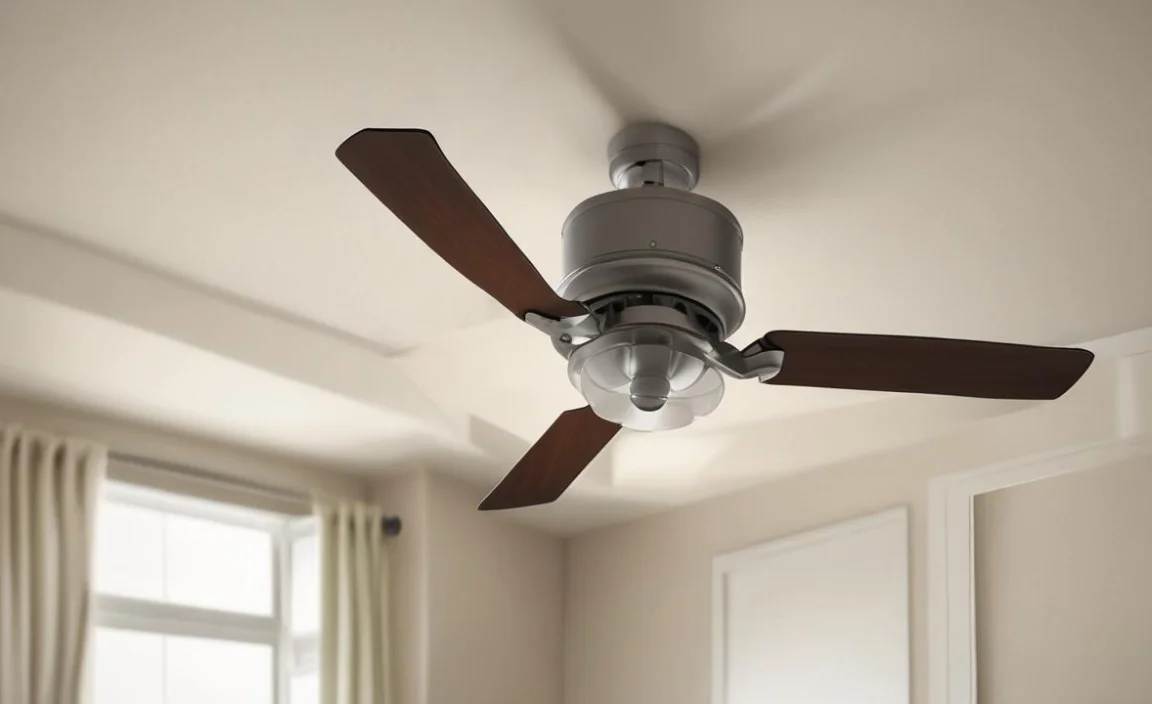
Regular maintenance is key to keeping your ceiling fan running smoothly and efficiently. One of the easiest things you can do is to dust the blades with a soft cloth or brush regularly. This helps prevent dirt and debris buildup, slowing down the fan’s performance.
Ensure all screws and bolts are tightened properly to prevent wobbling or shaking. You should also lubricate the motor and bearings every six months to keep them running smoothly. Finally, if you notice any unusual noises or vibrations, it may be time to replace worn-out parts or call a professional for repair. By following these simple maintenance tips, you can extend the life of your ceiling fan and enjoy cool, comfortable air circulation for years to come.
Conclusion
Installing a ceiling fan is not as difficult as it may seem. By following these simple steps on installing a ceiling fan, you can add comfort and style to any room in your home. You must gather the necessary tools and supplies, determine the fan’s location, shut off power to the circuit, install the mounting bracket, wire connections, attach the downrod and blades, and test everything for proper function.
Remember always to follow safety precautions when dealing with electricity. Now that you know how to install a ceiling fan, it’s time to start your DIY project. Don’t hesitate to contact a professional if you need assistance or have questions. Enjoy the cool breeze and improved air circulation in your home.
