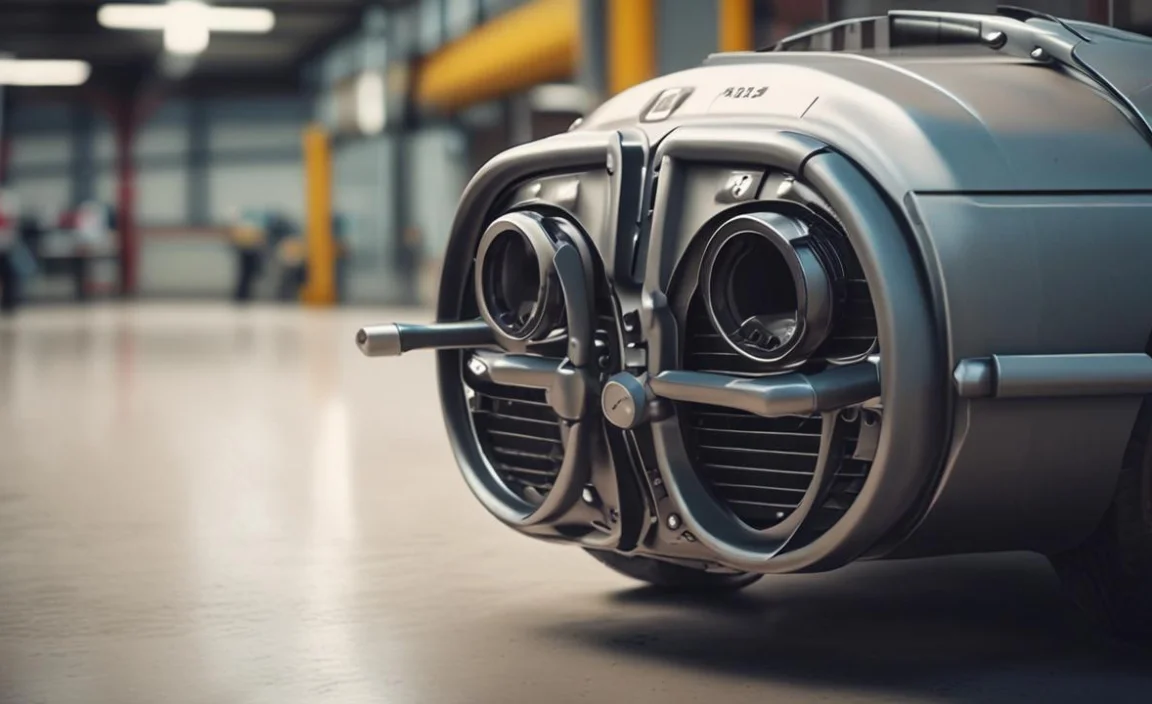
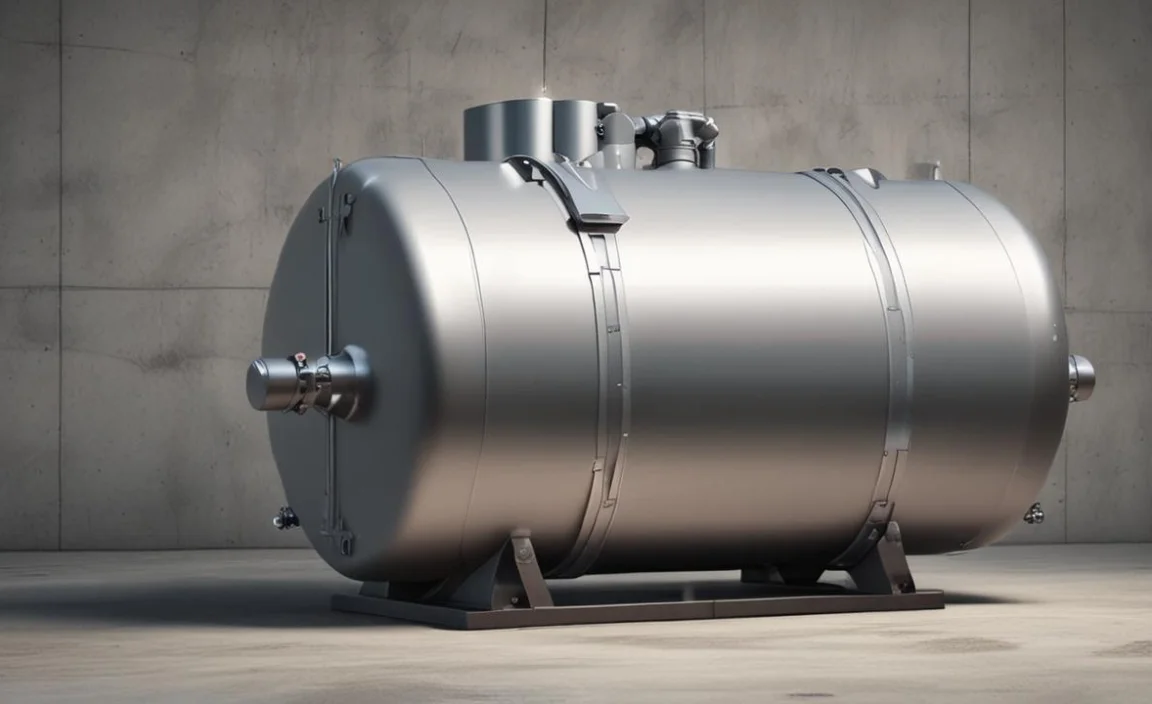
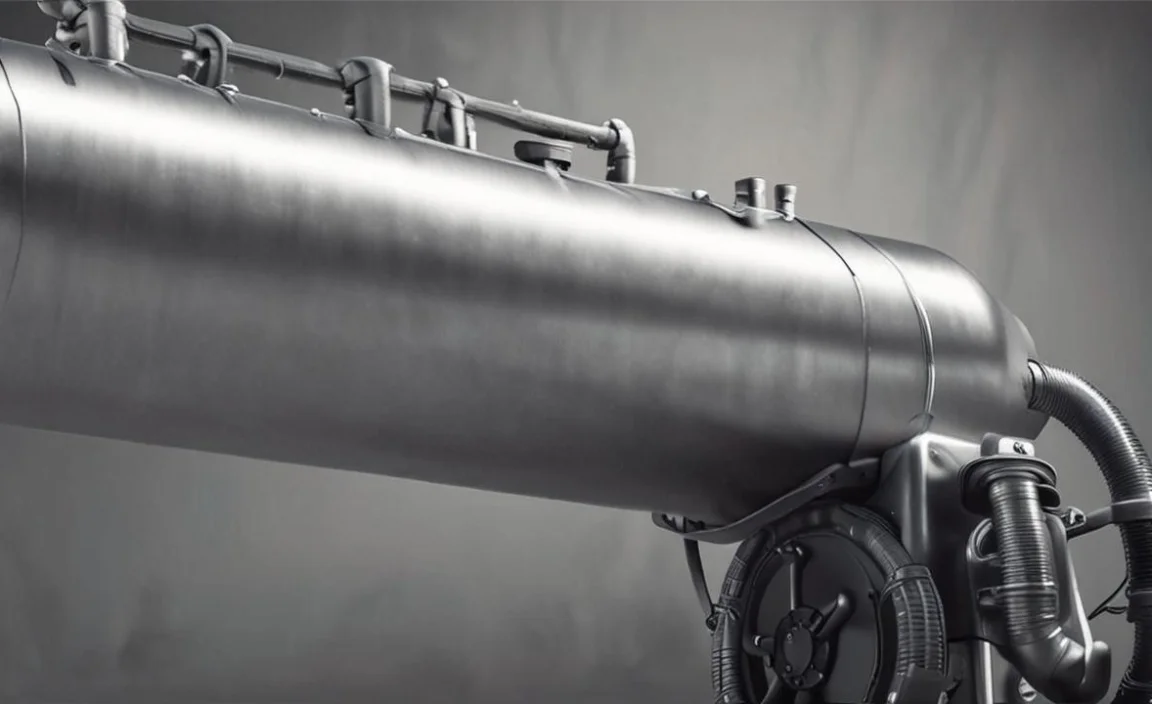
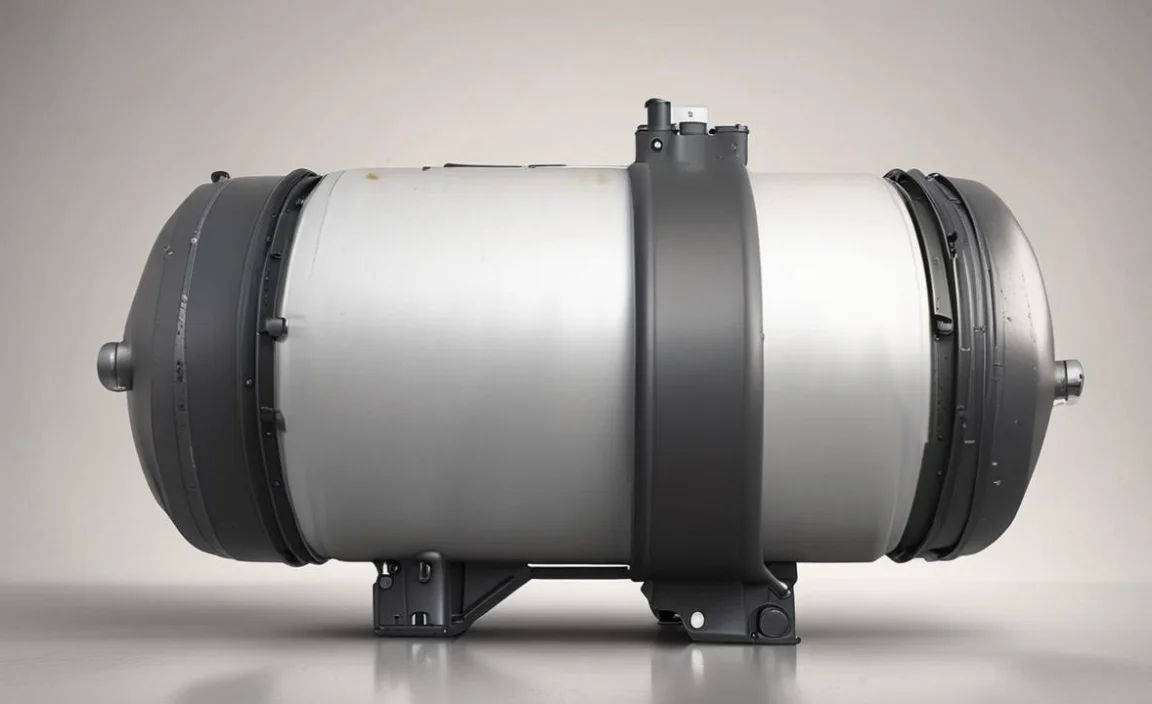
A fuel tank breather is a crucial component in any vehicle’s fuel system. It serves as a ventilation system for the fuel tank, allowing air pressure to enter and exit while preventing the escape of harmful fumes.
Without a properly functioning halt, the pressure in the fuel tank can build up and cause various issues, such as leaks, engine stalling, and reduced fuel efficiency. While most vehicles come equipped with a breather from the manufacturer, it is not uncommon for them to become clogged or worn over time.
In such cases, it is essential to know how to make a fuel tank breather to ensure the smooth and fuel-safe functioning of your vehicle. Here, we will provide a step-by-step guide on how to create a fuel tank breather using easily accessible materials. With a professional tone, we will break down the process into simple and easy-to-follow steps, making it accessible to both novice and experienced car enthusiasts.
How Does A Fuel Tank Breather Work?
A fuel tank breather is a device that allows fuel in the tank to escape without causing a fire. It consists of a valve and a filter. The valve opens when the fuel level in the tank decreases, allowing air to enter and breathe the excess fumes out.
The filter traps large particles such as rust and metal shavings, preventing them from entering the engine. It would be best if you replaced a fuel stock tank breather every five years or whenever the filter becomes clogged.
Step-by-step Instructions On How To Make A Fuel Tank Breather
Making a fuel tank breather is an important step in ensuring the safe and efficient operation of your vehicle. A fuel tank breather allows air to enter and exit the fuel tank, preventing pressure build-up that could lead to leaks or other issues.
It also helps to prevent the formation of a vacuum inside the tank, which can impede fuel flow and cause engine problems. By installing a fuel tank breather, you can help maintain proper fuel system function and prolong the life of your vehicle. Below, we provide a full process of how to make a fuel tank breather
1. Gather The Necessary Materials
To complete the fuel tank breather task, it is essential to gather all the necessary materials beforehand. This will ensure a smooth and efficient process. These materials will allow you to create a breather system that helps to prevent pressure build-up in the fuel tank, allowing for proper ventilation and preventing potential damage or leaks. Here is the materials list:
- PVC pipe or metal tubing
- Breather cap or valve
- Hose clamps
- Hose fittings
- Teflon tape (for sealing connections)
- Drill and drill bits (if needed for installation)
- Fuel-resistant hose
2. Measure And Cut The Pvc Pipe
It is important to measure and cut the PVC pipe to the appropriate length. Using a measuring tape or ruler, carefully determine the desired length for the pipe based on the specific requirements of your fuel tank breather system.
Once the measurement is determined, use a PVC pipe cutter or a hacksaw to make a clean and precise cut. It is crucial to ensure that the pipe is cut straight and without any rough idle edges that could potentially compromise the functionality of the breather system.
Take your time and double-check the measurements before cutting to ensure accuracy. By properly measuring and cutting the PVC pipe, you are setting a strong foundation for the successful assembly of your fuel tank breather.
3. Drill A Hole In The Pvc Cap
Make sure to use an appropriately sized drill bit that matches the desired diameter of the hole. Position the cap securely on a stable surface and apply gentle pressure as you begin drilling. Keep in mind that the hole should be large enough to allow proper ventilation and release of pressure from the fuel tank.
Take your time and work slowly to ensure accuracy and prevent any damage to the cap. Once the hole is drilled, inspect it for any rough edges or burrs, and use sandpaper or a file to smooth them out if necessary. This will help avoid any potential leaks or issues in the future. Remember to handle the drilling process with caution and wear appropriate safety gear to protect yourself.
4. Insert The Rubber Grommet
Carefully align the grommet with the hole to ensure a secure fit. Gently push the grommet into place, making sure it is snugly seated. This rubber grommet serves as a protective barrier, preventing any unwanted debris or moisture from entering the fuel tank.
It is crucial to properly install the grommet to ensure the breather system functions effectively and maintains the integrity of the fuel tank. Take your time during this step to ensure a proper and secure fit, as it will contribute to the overall performance and longevity of the fuel tank breather system.
5. Attach The Flexible Hose
Make sure the vent hose is securely attached, ensuring a tight seal to prevent any fuel leakage. Carefully align the hose barb with the corresponding connection point and firmly push it into place.
Take a moment to double-check that the rubber hose is correctly aligned and properly secured, as this is crucial for the efficient and safe functioning of the fuel tank breather system. Once you have confirmed that the hose is securely attached, you can proceed to the next step with confidence, knowing that your fuel tank breather is properly installed and ready for use.
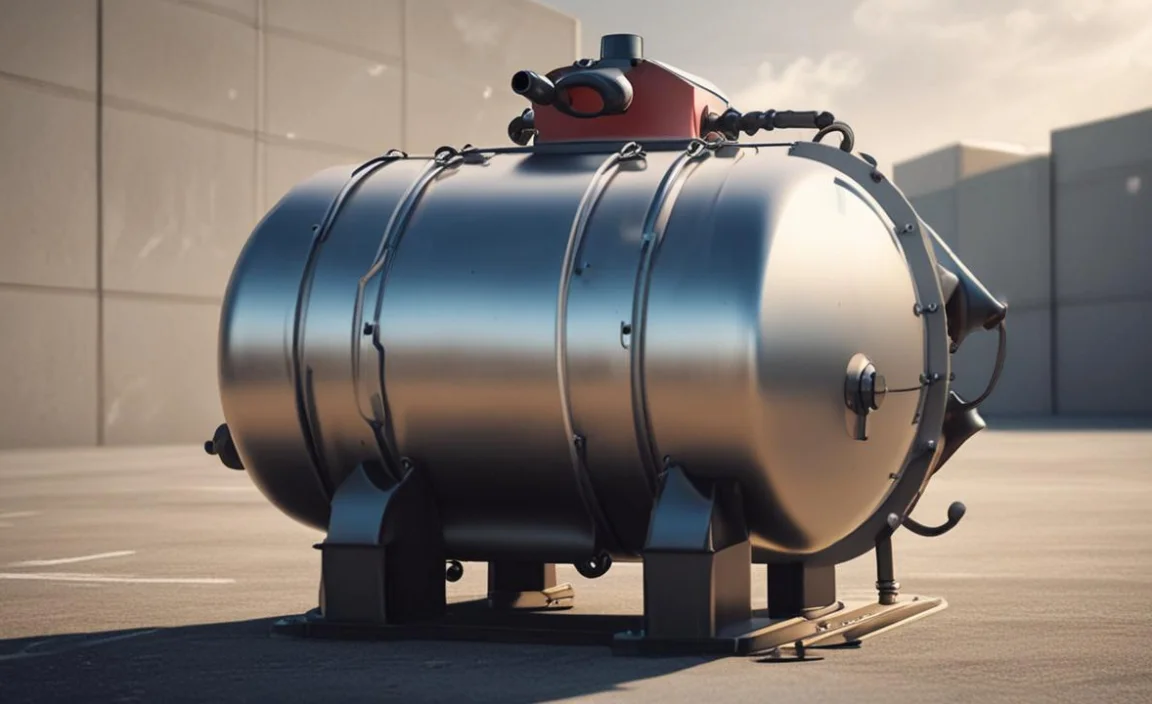
6. Install The Breather
Carefully insert the hiatus into the opening, making sure it is securely in place. Ensure that the hiatus is oriented correctly, with any directional arrows or markings facing the appropriate way. Gently push the pause until it is fully inserted, ensuring a tight and secure fit.
Double-check that there are no gaps or loose connections around the breather to prevent any fuel leakage. Once installed, give the breather a slight twist to ensure it is locked into position. This will ensure that it functions effectively, allowing the proper ventilation and pressure release within the fuel tank.
7. Test For Proper Ventilation
After completing the installation of the fuel tank breather, it is crucial to ensure that it is functioning correctly. This can be done by conducting a thorough test for proper ventilation. To begin the test, make sure that the fuel tank is securely closed and sealed. Next, start the engine and let it run for a few minutes to allow the pause to circulate air within the tank properly.
Once the engine is running, carefully inspect the breather for any signs of leaks or abnormal noises. Please pay close attention to the breather valve and its surrounding components to ensure they are operating smoothly and efficiently. To further validate the proper ventilation of the fuel tank breather, you can perform a visual smoke test.
Tips For Ensuring Proper Installation And Functionality
There are several important factors to consider. The fuel tank breather plays a crucial role in the overall performance and safety of a vehicle’s fuel system. It is responsible for allowing air to enter the fuel tank while preventing fuel vapour from escaping into the environment. To ensure the proper installation of a fuel tank breather, it is essential to follow the manufacturer’s guidelines and specifications.
- Ensure that the fuel tank breather is installed correctly and securely.
- Check for any leaks or damage before installing the breather.
- Position the pause in a location that allows for proper ventilation and prevents any obstructions.
- Make sure that the hiatus is connected to the fuel tank using the appropriate fittings or connectors.
- Double-check all connections to ensure they are tight and secure.
- Test the functionality of the pause by conducting a pressure or vacuum test, if applicable.
- Regularly inspect the breather for any signs of wear, damage, or clogging, and replace if necessary.
Benefits Of Using A Homemade Fuel Tank Breather
It is ensuring the safe operation of vehicles and equipment. One crucial aspect that often goes unnoticed is the fuel tank breather. A homemade fuel tank breather can be a cost-effective solution that provides additional protection and prevents potential hazards.
- Cost-Effective: Using a homemade fuel tank breather can save you money compared to purchasing a pre-made breather. You can use easily accessible materials to create a breather that meets your specific needs.
- Customization: By making your fuel tank breather, you have the flexibility to customize it according to your requirements. You can adjust the size, shape, and functionality to ensure it fits your specific fuel tank system.
- Improved Fuel Efficiency: A properly functioning breather helps maintain optimal pressure inside the fuel tank, preventing fuel evaporation and wastage. This can lead to improved fuel efficiency and cost savings in the long run.
- Reduced Emissions: Homemade fuel tank breathers can help minimize harmful emissions that contribute to air pollution. By preventing fuel vapours from escaping into the atmosphere, you are playing your part in reducing environmental impact.
Safety Precautions When Working With Fuel Tanks
For fuel tank breather safety precautions, it is crucial to have a comprehensive understanding of the potential risks and necessary preventive measures. Fuel tank breathers play a critical role in maintaining the integrity of fuel storage systems by allowing the tank to breathe and prevent pressure build-up.
However, without proper safety precautions, they can pose serious hazards. Here are some safety precautions to keep in mind when working with fuel tanks, specifically fuel tank breathers:
- Proper Ventilation: Ensure that the area where you are working with fuel tank breathers is well-ventilated to prevent the buildup of potentially harmful fumes. Work in open areas or use exhaust fans to improve air circulation.
- No Smoking Or Open Flames: Never smoke or use open flames (such as welding torches or exposed electrical equipment) near fuel tank breathers. Fuel vapours can be highly flammable and can easily ignite, causing a fire or explosion.
- Use Personal Protective Equipment: Wear appropriate personal protective equipment (PPE) such as gloves, safety glasses, and protective clothing to protect yourself from potential spills or splashes.
- Disconnect Power Sources: Before working with fuel tank breathers, disconnect any power sources or electrical equipment that may pose a risk of sparking or igniting fuel vapours.
Common Problems And Troubleshooting Tips For Fuel Tank Breathers
The fuel tank breather is an essential component of any vehicle’s fuel system. It plays a crucial role in maintaining the proper functioning and efficiency of the fuel tank. A fuel tank breather is designed to allow the tank to breathe, preventing the build-up of pressure or vacuum inside the tank.
This is vital as the pressure or vacuum can disrupt the fuel flow and potentially cause damage to the tank or other fuel system components. Common Problems And Troubleshooting Tips For Fuel Tank Breathers:
- Clogging: One common problem with fuel tank breathers is clogging, which can restrict the flow of air in and out of the tank. This can lead to pressure build-up or vacuum formation in the tank, affecting its performance. To troubleshoot this issue, regularly inspect and clean the breather to remove any dirt, debris, or blockages.
- Malfunctioning Valve: Another common problem is a malfunctioning breather valve. This can cause improper ventilation and lead to fuel tank over-pressurization or vacuum formation. To troubleshoot this issue, check valves for any signs of damage or wear. If necessary, replace the valve to ensure proper functioning.
- Leaks: Fuel tank breathers can sometimes develop leaks, which can result in fuel leakage or the entry of contaminants into the tank. To troubleshoot this problem, inspect the breather for any signs of cracks or damage.
Maintenance And Care For Your Diy Fuel Tank Breather
Fuel tank breather maintenance is a crucial aspect of ensuring the optimal functionality and safety of any vehicle. The breather is responsible for allowing air to enter and exit the fuel tank, preventing pressure build-up and potentially dangerous situations.
Proper maintenance of this component is essential to prevent fuel leakage, fuel / LPH pump damage, and even potential fires. Maintenance and care for your DIY fuel tank breather are essential to ensure its proper functioning and longevity. Here are some important tips:
- Regular Cleaning: Clean the fuel tank breather regularly to remove any dirt, debris, or residue that may have accumulated. This will prevent clogging and ensure proper ventilation.
- Inspection: Periodically inspect the fuel tank breather for any signs of damage, such as cracks or leaks. Replace any damaged components immediately to prevent fuel leakage and maintain the breather’s effectiveness.
- Proper Installation: Ensure that the DIY fuel stock tank breather is installed correctly according to the manufacturer’s instructions. Improper installation can lead to improper venting and cause fuel system issues.
- Check For Blockages: Check the breather for any blockages or obstructions that may restrict the flow of air. Clear any blockages using compressed air or by gently cleaning with a soft brush.
Conclusion
Creating a fuel tank breather may seem like a daunting task, but with the right tools and instructions, it can be easily accomplished. Creating a fuel tank breather is a relatively simple and cost-effective solution for preventing fuel tank damage and maintaining proper pressure levels in your vehicle.
By following these steps on how to make a fuel tank breather and taking proper safety precautions, you can ensure that your fuel tank will have proper ventilation and prevent any potential mishaps. Remember always to double-check your work and consult a professional if needed. With proper maintenance and attention, your fuel tank breather will help keep your vehicle running smoothly and efficiently.
