Properly sharpening your chainsaw’s ripping chain is crucial to its performance and longevity. A sharp chain ensures efficient cutting, reduces the risk of accidents, and prevents unnecessary strain on your equipment.
However, sharpening ripping chain teeth can be daunting for many chainsaw owners, especially those new to using this powerful tool. With various types of chains and sharpening techniques available, it can be overwhelming to determine the best method for keeping your chainsaw bar ripping chain sharp.
We will guide you through the step-by-step process on how to sharpen the ripping chain. So, let’s dive into your regular chain maintenance world and learn how to sharpen ripping chain like a pro.
What Is A Ripping Chain?
A ripping chain specialize chainsaw chain designed for cutting wood along or with the grain. Unlike a standard chainsaw chain, primarily used for cross-cutting or cutting against the grain, a ripping chain has unique features that allow it to cut through wood fibres efficiently and effectively in a straight line.
The main characteristic of a ripping chain is its large, square-shaped cutter teeth. These teeth have a flat top and are specifically designed to remove wood material in a smooth and controlled manner. The teeth’ square shape helps prevent the chain from getting stuck or binding in the wood, allowing for a more continuous and fluid cutting motion.
Gather The Necessary Tools
In the world of woodworking and forestry, having a sharp ripping chain is vital for achieving clean and efficient cuts. But why is it important to know how to gather the necessary tools to sharpen a ripping chain? The answer lies in the overall performance and longevity of the chainsaw itself. A properly sharpened ripping chain ensures safety during operation.
- A chainsaw with a ripping chain
- Ripping chain sharpening kit
- Flat file
- Depth gauge tool
- Round file
- File guide
- Safety gloves
- Safety goggles
- Workbench or sturdy surface for sharpening
- Cleaning brush or small wire brush for cleaning the chain before sharpening
How To Sharpen Ripping Chain By Following 5 Easy Steps
Knowing how to sharpen ripping chain is of utmost importance for individuals working in the logging and timber industry. A ripping chain is designed specifically for cutting parallel to the wood grain, making it the preferred choice for sawing logs into lumber.
However, the continuous use of a ripping regular chainsaw chain can lead to its dulling. Resulting in reduced cutting efficiency and potential safety hazards. Therefore, having the knowledge and skills to sharpen a ripping chain is crucial. Below, we provide in-detailed guidelines to sharpen the ripping chain
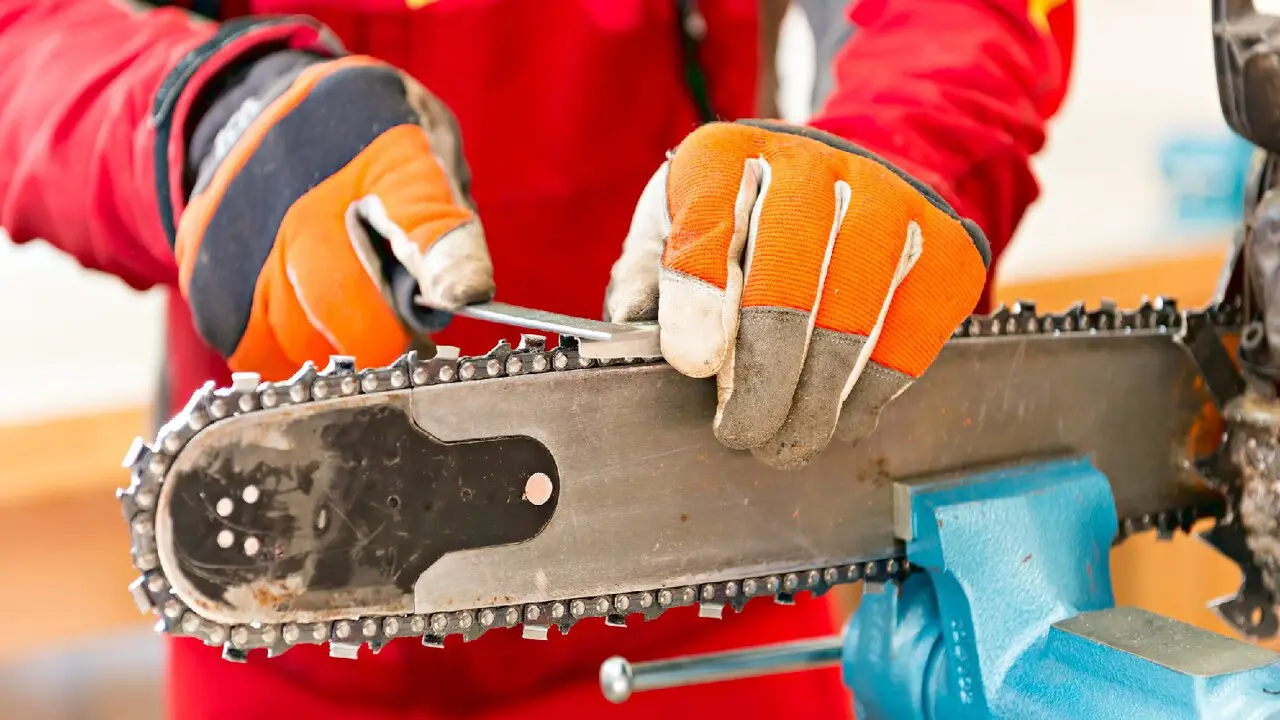
1.Secure The Chainsaw
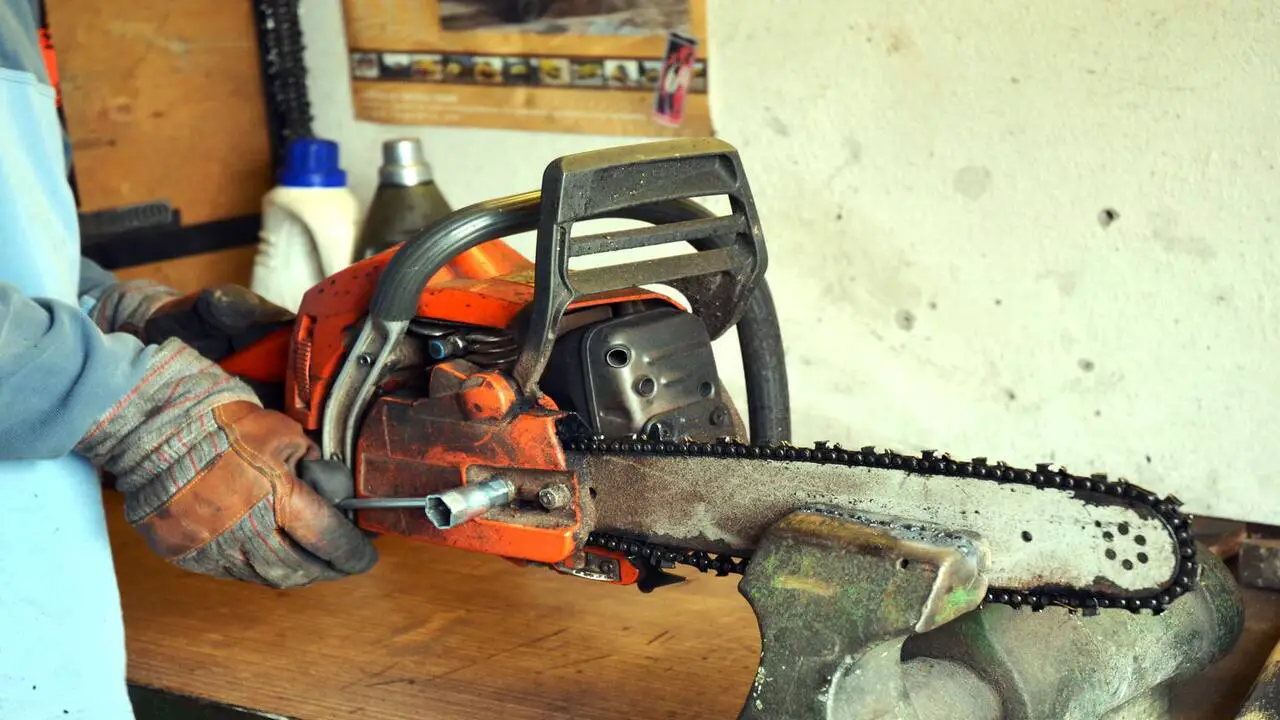
Place the chainsaw in a vice or secure it on a stable surface to prevent any movement while sharpening. Placing the chainsaw in a vice or securely fastening it onto a stable surface minimizes the risk of injury and ensures optimal results.
The vice holds the chainsaw in place, preventing it from shifting or rotating during sharpening. This stability protects your hands and fingers from accidental contact with the blade and allows you to maintain a consistent angle while sharpening, resulting in a uniformly sharp cutting edge.
Additionally, a securely fastened chainsaw reduces the likelihood of the chainsaw slipping or falling, thereby eliminating the risk of damage to the tool or surrounding surfaces. By taking the time to secure the chainsaw properly, you prioritize safety and maximize the effectiveness of the sharpening process.
2.Clean The Chain
To prepare the chain for sharpening, it is essential to clean it thoroughly using a wire brush. Using a wire brush to clean the chain is simple yet effective. Gently brush the entire chain length, paying close attention to the cutting teeth and links. Removing sawdust, dirt, or debris prevents these particles from interfering with the sharpening process.
This guarantees a more precise sharpening and prolongs the chain‘s lifespan. Additionally, a clean chain reduces the risk of overheating during operation. Ensuring safer and more efficient cutting performance. So, take a moment to thoroughly brush the chain, setting the stage for a successful sharpening session.
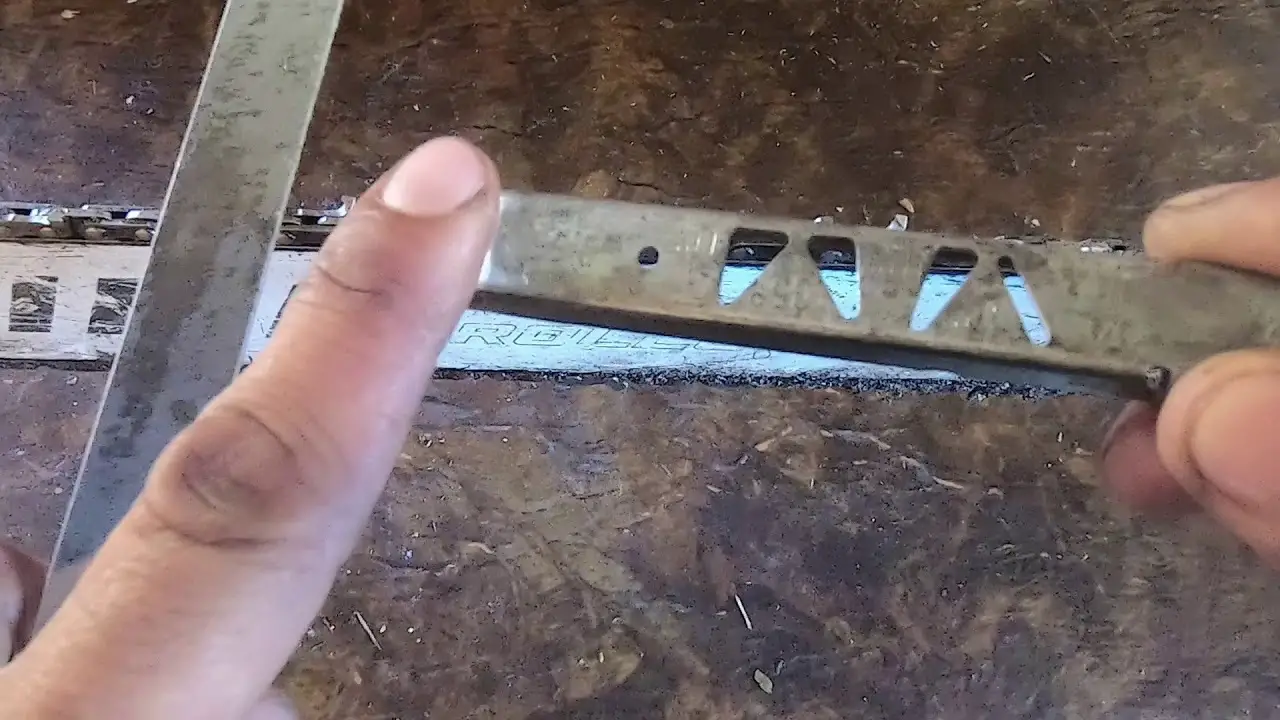
3.Determine The File Size
The file size refers to the file diameter used to sharpen the cutting teeth of the chain. Each chainsaw model has specific specifications regarding the file size that should be handy for sharpening. Therefore, it is essential to consult the owner’s manual or check the specifications of your chainsaw to determine the correct file size and chain size.
Using the wrong file size can lead to improper sharpening, which can negatively affect the performance and cutting efficiency of the chainsaw. If the file is too small, it may not remove enough material from the cutting teeth, resulting in dull and ineffective cutting. On the other hand, if the file is too large, it can remove too much material, leading to a shorter chain lifespan.
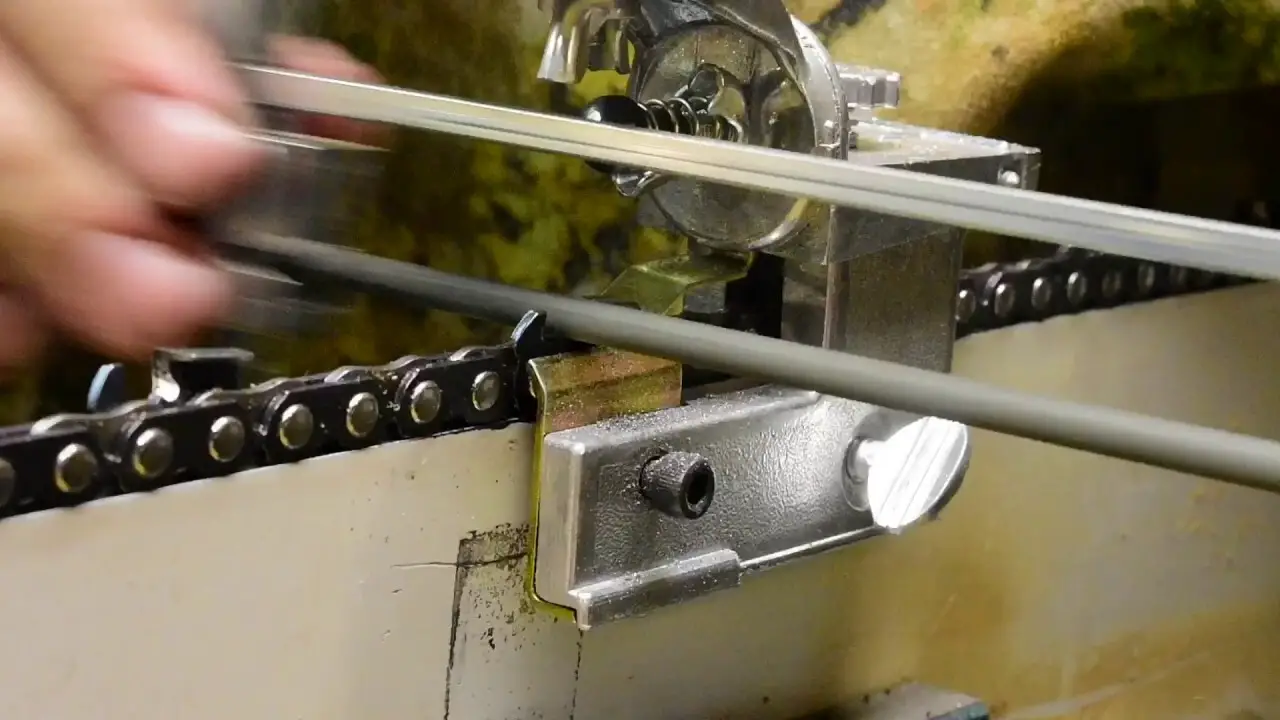
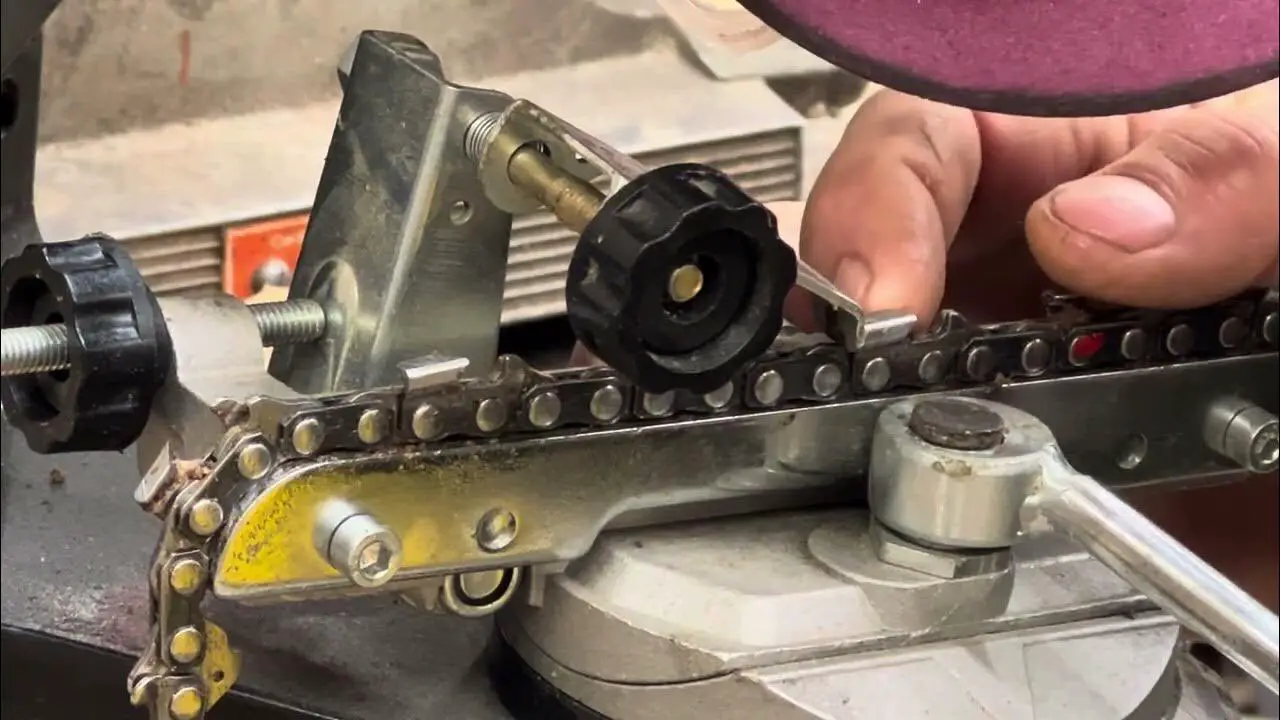
4.Set The File Guide
To ensure optimal performance and longevity of your chainsaw, properly attach the filing guide to the bar. This simple yet essential step will help maintain a consistent filing angle, resulting in accurate and efficient cutting. To begin, carefully align the filing guide with the angle of the cutting teeth on the chainsaw bar. This will ensure that the guide sits flush against the bar, allowing smooth, precise filing.
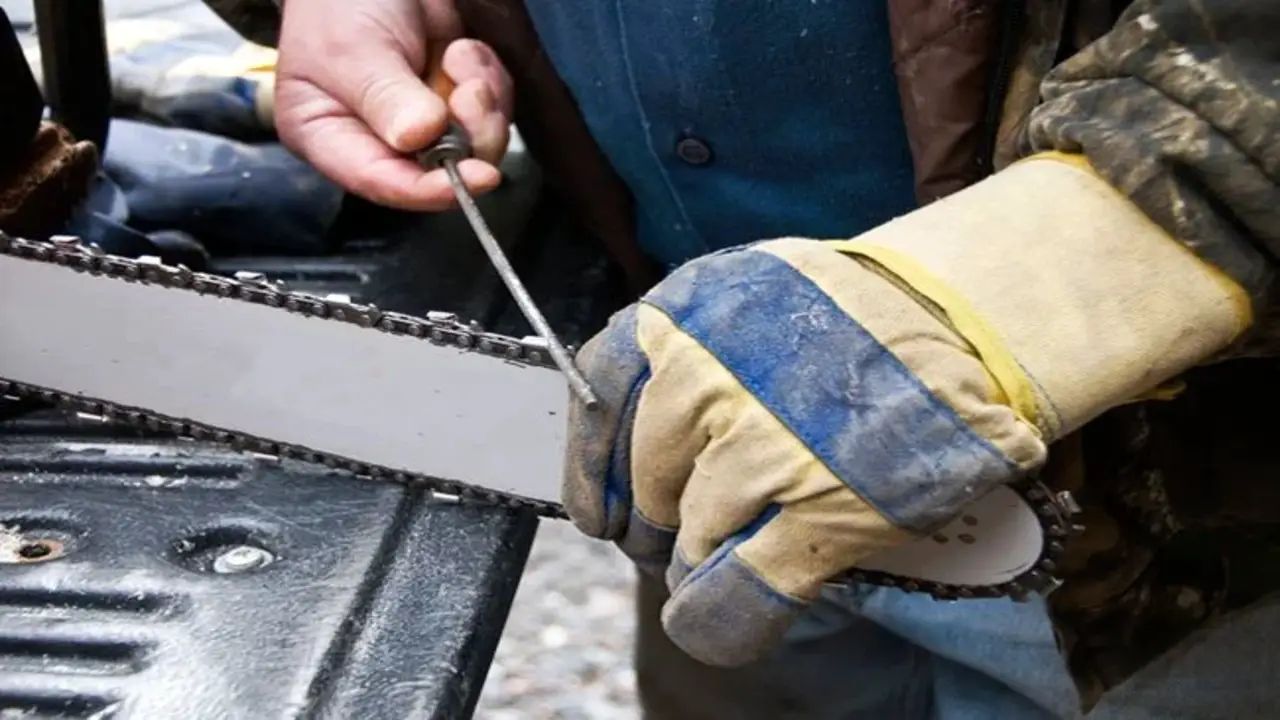
5.Sharpen The Cutting Teeth
To properly sharpen your cutting teeth, place the file in the filing guide and position it on the first tooth. This ensures stability and precision throughout the sharpening process. With a firm grip on the file, use smooth plate angles, even strokes, to file the tooth from the inside to the outside, following the original angle.
This will remove any dullness or irregularities from the cutting surface, restoring its sharpness and effectiveness. Take your time and maintain consistent pressure to achieve an even sharpening across the entire tooth.
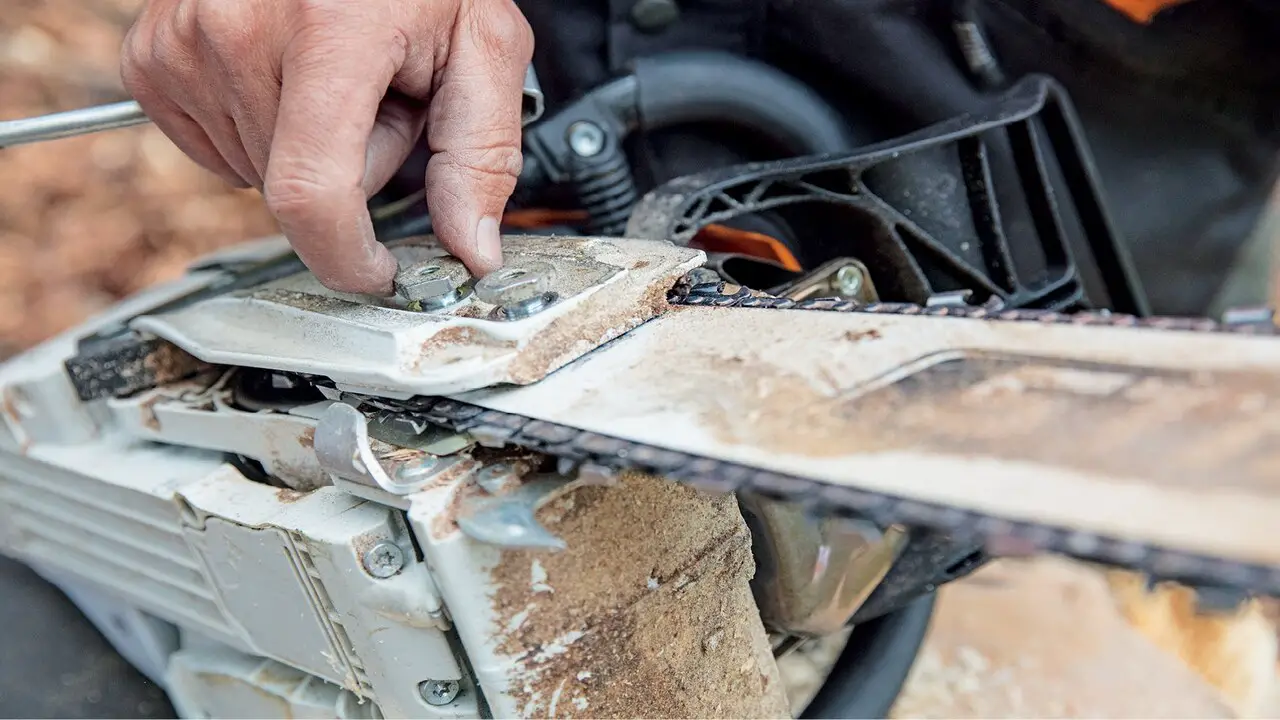
6.Check The Depth Gauge
Use the depth gauge tool to ensure that the height of the depth gauges matches the manufacturer’s specifications. If necessary, file down the depth gauges to the correct height. Carefully examine each depth gauge and compare its height with the recommended measurements.
If any discrepancies are found, it may be necessary to make adjustments by filing down the depth gauges to achieve the correct height. Taking the time to properly align the depth gauges is essential for obtaining accurate depth measurements. Incorrectly calibrated depth gauges can lead to inaccurate readings, potentially compromising the work’s quality and precision.
7.Monitor Chain Tension
After sharpening, check and adjust the chain‘s tension according to the chains. To check the chain‘s tension, ensure the chainsaw is turned off, and the engine is completely cool. Grab the chain at the middle of the guide bar using a gloved hand and lift it slightly.
The chain should move freely, but there should be no sag or excessive slack. Ideally, the bottom of the drive links should sit snugly against the bottom of the guide bar. If the chain is loose, use the appropriate tool to adjust the tension. This can usually be done by turning the tensioning screw located on the side of the chainsaw.
Make small adjustments, testing the tension each time until it is properly tightened. Remember to always refer to the manufacturer’s instructions for specific guidelines on chain tensioning for your particular chainsaw model.
Overall Tips for Sharpen Ripping Chain
A ripping chain is a specialized type of chainsaw chain designed for cutting with the grain of wood rather than across it like a standard cutting chain. It features larger and more aggressive cutting teeth with specific designs shaped and spaced to remove wood in a straight line. A ripping chain has specific designs for cutting with the grain of the wood, making it ideal for tasks such as timber milling.
- Ensure the chain is properly tensioned and the chainsaw is turned off.
- Use a file guide to maintain the correct file angle. The file angle for a ripping chain is typically 10 degree angle.
- Start sharpening by filing the depth gauges or rakers first. Use a flat file to lower them just below the cutting teeth.
- Next, sharpen the cutting teeth. Place the file guide over the first tooth and align it with the file angle.
- strokes for each tooth is maintained to ensure consistent sharpness.
- Repeat the process for each cutting tooth chain, ensuring they are all sharpened to the same level.
- Once all the teeth are sharpened, check the chain tension again and adjust if necessary.
Remember to use the appropriate safety measures when sharpening a ripping chain, such as gloves and eye protection. Regularly inspect and maintain your chain to ensure optimal performance.
Conclusion
Sharpening a ripping chain is crucial for any professional logger or woodworker. By following these steps and using the right tools, you can ensure that your chainsaw performs at its best and produces clean and efficient cuts. Regularly check and maintain your chainsaw and its components to prevent accidents or inefficiencies.
Always refer to your chainsaw’s manual for specific instructions and seek professional help if needed. With proper care and maintenance, your ripping chain will continue to provide precise and smooth cuts for all your projects. If you read the above outline properly, we hope you understand how to sharpen ripping chain.
Frequently Asked Questions
Can You Sharpen A Ripping Chain?
Yes, you can sharpen a ripping chain. This type of Chain has sharp teeth that must be adjusted for a smooth cut. You will need a round file, file guide, and depth gauge to sharpen the Chain. Follow the manufacturer’s instructions when sharpening the Chain to ensure it is done correctly.
What Degree Is A Ripping Chain?
A ripping chain is a chainsaw chain with a greater degree of 90°, larger than other chains. This makes them more efficient for cutting through the wood in one pass. It would help if you also sharpened a ripping chain with a round file that is the same diameter as the Chain‘s drive links.
What Angle Do You Sharpen A Chainsaw Chain For Ripping?
It would help if you sharpened the chainsaw chain for ripping at a 20° angle. This will ensure that the Chain cuts straight through the wood, minimizing sawing errors and resulting in a smooth cut.
How Long Does A Ripping Chain Last?
On average, a well-maintained ripping chain can last 50 to 100 hours of cutting time before it needs to be sharpened or replaced. However, it’s important to regularly inspect and maintain the chain to ensure optimal performance and longevity.
What Is The Best Way To Sharpen A Chain?
The best way to sharpen a chain is to use a chainsaw file guide. This tool helps to maintain the correct angle and depth while filing the chain, ensuring optimal sharpening.

I am passionate about home engineering. I specialize in designing, installing, and maintaining heating, ventilation, and air conditioning systems. My goal is to help people stay comfortable in their homes all year long.