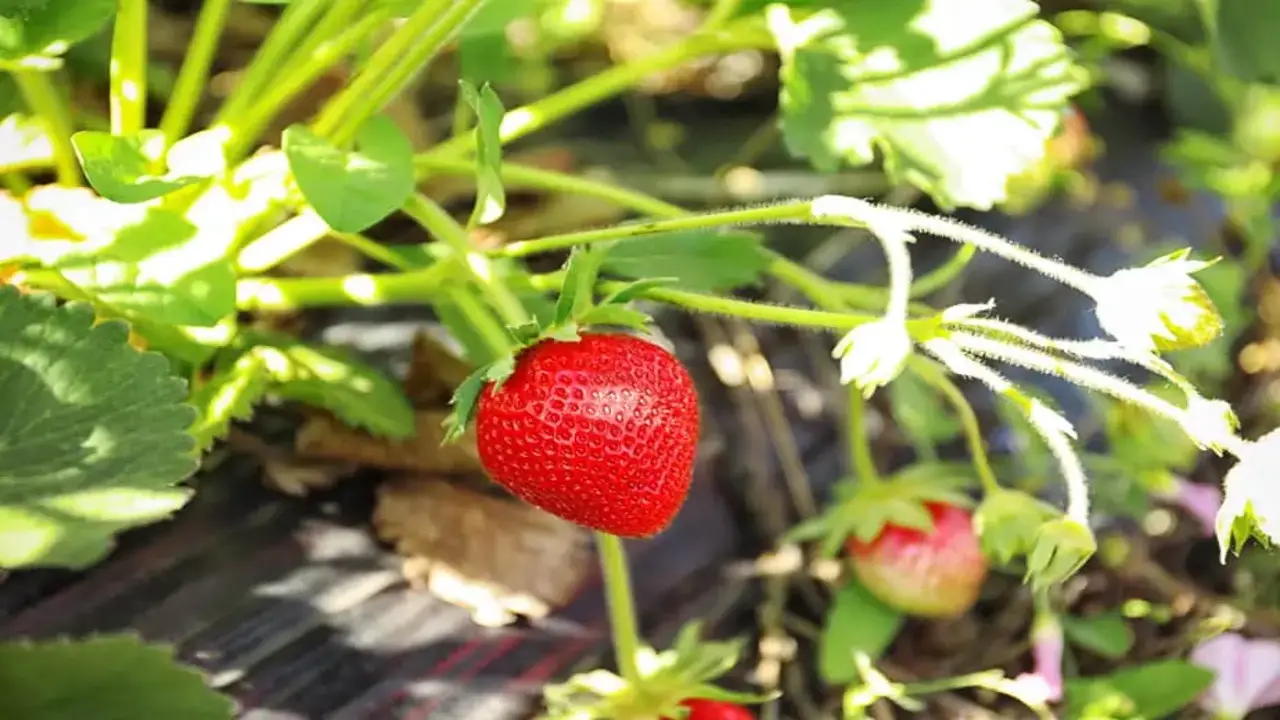
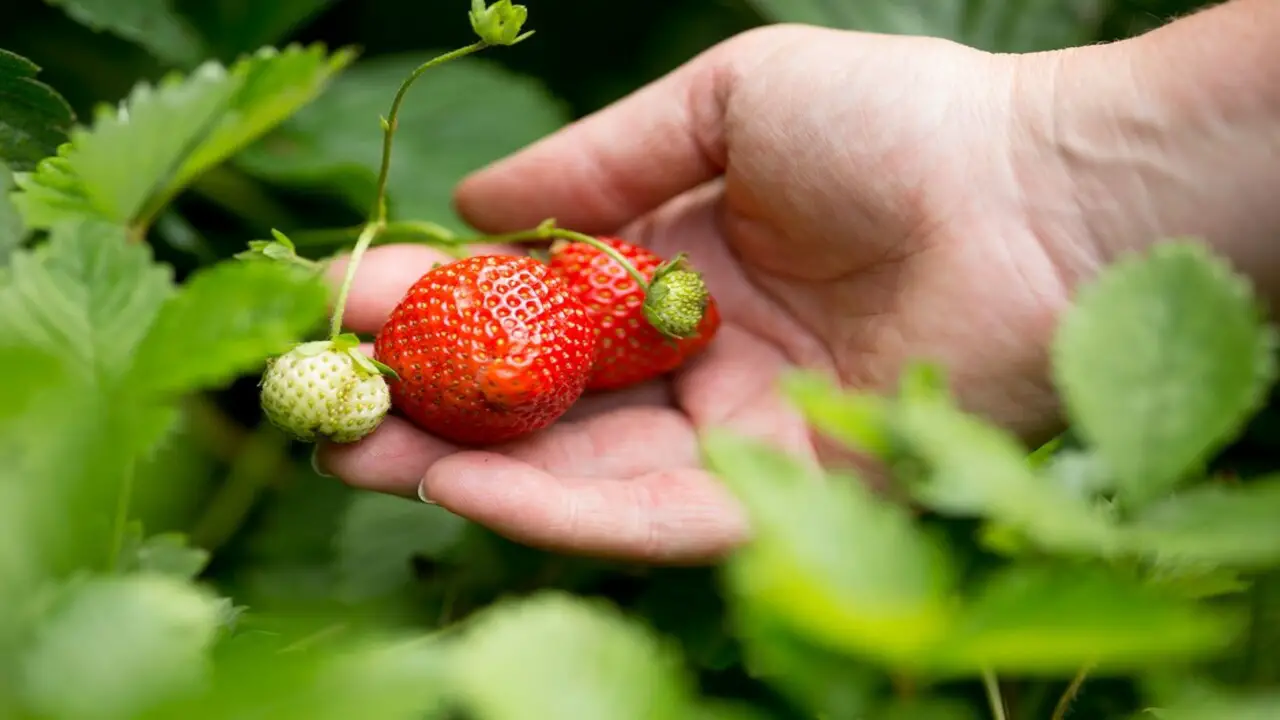
Strawberries are a beloved and versatile fruit that can be enjoyed in a variety of ways, from sweet jams and tarts to refreshing smoothies. However, growing your strawberries at home can be a rewarding experience and can ensure that you have access to fresh, juicy berries all season long
One method of propagating strawberries is through rooting runners in water, which is a simple and efficient way to expand your strawberry patch without the need for additional soil or containers. Here, we will delve into the details of rooting strawberry runners in water, providing step-by-step instructions for successful propagation. So, please put on your gardening gloves, and let’s dive into the world of rooting strawberry-runners in water.

Materials And Tools Needed
- A container or jar
- Water
- Toothpicks or bobby pins
- A sharp pair of scissors or pruning shears
- Optional: Rooting hormone powder or gel
Rooting Strawberry Runners In Water – In 5 Steps
Rooting strawberry runners in water can be an effective method of propagating new strawberry plants. By placing the runners in water, you are providing them with the moisture and nutrients they need to develop roots. This process is particularly important because it allows the runners to establish a strong root system before being transplanted into soil.
Additionally, rooting-strawberry runners in water also allows for easy monitoring of root development, as you can easily see when the roots have formed and are ready for planting. Overall, taking the time to root strawberry runners in water can greatly increase the success rate of propagating new strawberry plants. Here are five steps for rooting-strawberry runners in water:
1.Preparing The Container And Water
To prepare the container and water for rooting strawberry strongest runners, select a small container that can hold water and accommodate the runner. Fill the container with clean, room temperature water, avoiding tap water that may hinder root growth due to chemical content.
Optionally, although unnecessary, you can add a rooting hormone to promote faster root development. Place the container in indirect sunlight or under grow lights, as direct sunlight can damage the delicate roots. Changing the water every few days is important to prevent stagnation and ensure an adequate root growth oxygen supply for the developing roots.
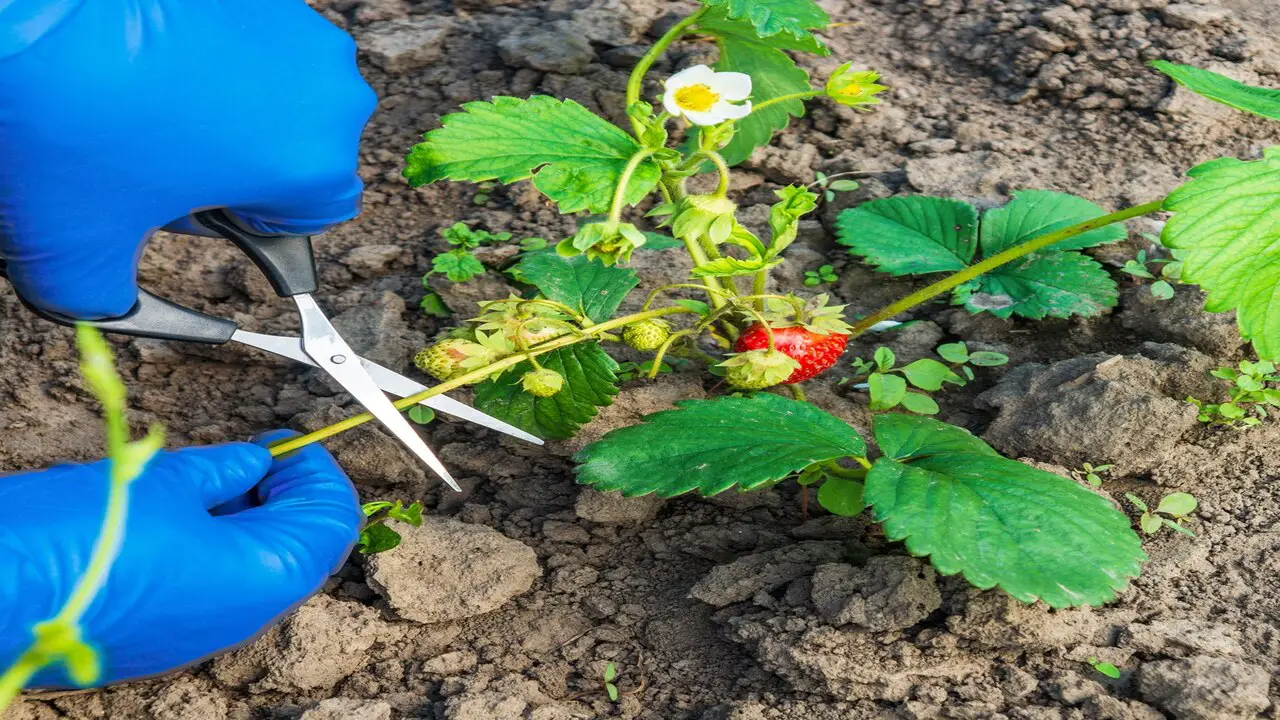
2.Cutting The Runner
Select a healthy runner from the parent plant to root strawberry runners in water. Use clean and sharp scissors or pruners to cut the runner about 4-6 inches from the parent plant nodes. Remove any leaves or flowers from the lower part of the runner, leaving only a few at the top.
Fill a glass or jar with clean water and place the cut end of the runner into the water. Position the glass or jar in a location with indirect sunlight and change the water every few days to keep it fresh and oxygenated.
3.Placing The Runner In Water
Strawberry runners rooting in water is a simple and effective way to propagate new plants. Once you have identified a healthy runner, carefully cut it from the parent plant, including a small section of the stem attached to the runner’s base. Submerge the base of the stem of the runner in a jar or glass filled with clean water.
Position the container in a bright area, but avoid direct sunlight, which can cause excessive heat and damage the roots. Over time, you will see roots forming at the runner’s base. Once these roots are well-developed, you can transplant the runner into the soil and continue caring for it like any other wild strawberry variety.
4.Caring For The Runner
After placing the strawberry runner in water, keep the container sunny to ensure its growth. Regularly check the water level and replenish it to submerge the runner’s roots. Be cautious not to overwater, as this can cause root rot. Only add enough water to keep the roots moist.
Please keep a close watch for any signs of disease or pest infestation, such as yellowing leaves or wilting, and promptly address any issues to prevent them from spreading. Once the runner has developed a healthy root system, it can be transplanted into the soil or a larger pot for further growth.
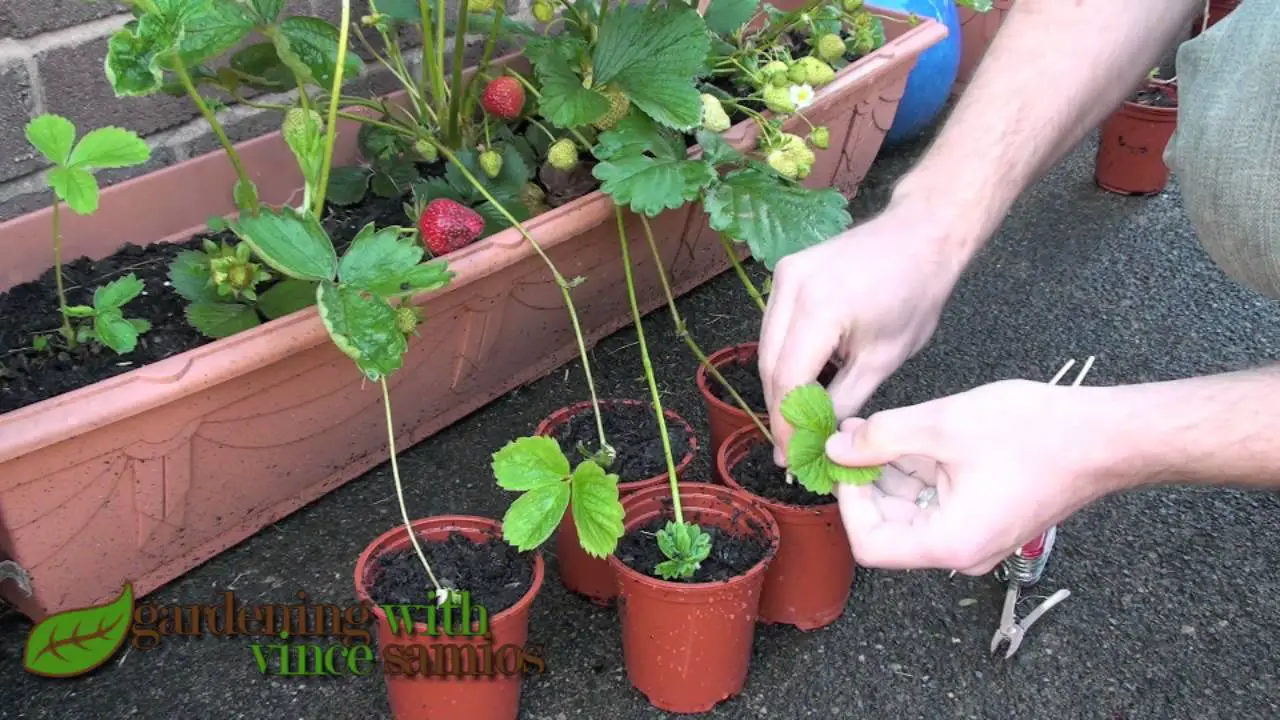
5.Transplanting The Rooted Runner
You can transplant the strawberry runner into the soil once it has roots in water. Choose a location in your garden or a container with well-drained soil for transplanting. Carefully dig a small hole and gently remove the rooted runner from the water, being cautious not to damage the delicate roots. Put the runner in the hole and spread the roots, covering them with soil.
After transplanting, water the runner thoroughly and continue to water it regularly to maintain the moisture in the soil as the new plant establishes itself in its new location. Remember, adequate spacing and proper drainage are essential for the success of the newly transplanted runner.
Choosing The Right Time To Root Strawberry Runners
Choosing the right time to root strawberry runners is crucial for successful propagation. The ideal time to root strawberry runners in water is during the late spring or early summer when the plants are actively growing and producing new runners. This is when the runners are most likely to take root and establish themselves as new plants.
It is important to choose healthy, disease-free runners that have a good amount of foliage and roots. Once you have selected the runners, place them in a container of water so that the roots are submerged, and wait for them to develop a strong root system before transplanting them into the soil. By putting strawberry runners rooted in water at the right time, you can ensure a bountiful harvest of delicious strawberries in your garden.
Types Of Strawberries Suitable For Rooting
Strawberry runners rooting in water is a simple and effective way to propagate new plants. While many types of strawberries can be rooted in water, some varieties are more suitable for this method than others. Here are some types of strawberries that are famous for rooting well in water:
- June-Bearing Strawberries: These varieties produce a large crop of strawberries in late spring or early summer and are famous for their delicious flavor.
- Everbearing Strawberries: As the name suggests, everbearing strawberries produce fruit throughout the growing season, making them a popular choice for home gardeners.
- Alpine Strawberries: These smaller, wild-type strawberries are popular for their intense flavor and can be easily rooted in water.
- Day-Neutral Strawberries: Day-neutral strawberries produce fruit continuously throughout the growing season and can be successfully propagated using the water rooting method.
Benefits Of Strawberry Runners Rooting In Water

Strawberry runners rooting in water can be a beneficial method for propagating new plants. Here are some benefits of this technique. By taking advantage of these benefits, you can enjoy the satisfaction of growing your strawberries from rooted runners in water.
- Easy Propagation: Water rooting is a simple and effective method for propagating strawberry plants. Gardeners of all skill levels can do it with minimal equipment.
- Faster Root Development: Placing strawberry runners in water encourages the growth of new roots. This process is often faster than traditional soil propagation, allowing for quicker establishment of new plants.
- Visual Progress Tracking: With water rooting, you can easily observe the development of roots as they grow. This visual feedback can be satisfying and help you monitor the success of your propagation efforts.
- Risk Reduction: Water rooting eliminates the risk of introducing soil-borne diseases or pests into your new plants. It provides a clean and controlled environment for root development.
- Versatility: Water rooting allows you to propagate strawberries indoors, making it a convenient option for those with limited outdoor space or unfavorable climate conditions.
When To Transplant Strawberry Runners
Transplanting strawberry runners is an important step in propagating new strawberry plants. Once the runners develop a strong root system, you can transplant them into their pots or directly into the ground. The best time to transplant strawberry runners is during the early spring or late summer when the weather is cooler, and there is less stress on the plants.
It is important to choose a location that receives full sun and has well-draining soil for optimal growth. Before transplanting, make sure to water the soil thoroughly to help ease the process of removing the runner from its parent plant. With proper care and attention, your transplanted strawberry runners will soon grow into healthy and fruitful plants.
Troubleshooting Common Issues When Rooting-Strawberry Runners In Water
Rooting-strawberry runners in water can be a great way to propagate new plants, but it’s not always smooth sailing. Here are some common issues you may encounter when rooting-strawberry runners in water and how to troubleshoot them. By troubleshooting these common issues, you can increase your chances of successfully rooting-strawberry runners in water and growing healthy new plants for your garden.
- Mold Or Fungus Growth: If you notice mold or fungus growing on your strawberry runners, it’s likely due to excess moisture. To prevent this issue, make sure the water is changed regularly and the container is kept clean. You can also add a small amount of hydrogen peroxide to the water to help control mold and fungus.
- Lack Of Root Development: If your strawberry runners are not developing roots, it could be because they are not getting enough oxygen. Make sure the container has drainage holes or use a shallow dish with a layer of pebbles at the bottom to allow for proper air circulation. You can also try adding an aerator or bubbler to the water to increase oxygen levels.
- Wilting Or Yellowing Leaves: Wilting or yellowing leaves can indicate that your strawberry runners are not getting enough nutrients. Consider adding a diluted liquid fertilizer to the water to provide essential nutrients for growth. Be careful not to over-fertilize, as this can cause root burn.
Alternative Methods For Propagating Strawberries
Rooting-strawberry runners in water is an alternative method for propagating strawberries. Instead of planting the runners directly into the soil, they can be placed in a container of water until roots begin to form. This method can be particularly useful for those who have limited garden space or want to propagate a large number of strawberries at once.
To root strawberry runners in water, simply cut a healthy runner from the mother plant and place it in a jar or glass filled with water. Make sure to change the water regularly to prevent the growth of bacteria or mold. Once roots have formed, the runner can be transferred to soil and grown into a new strawberry plant. This method can be a fun and easy way to expand your strawberry patch and enjoy an abundance of fresh, homegrown strawberries.
Conclusion
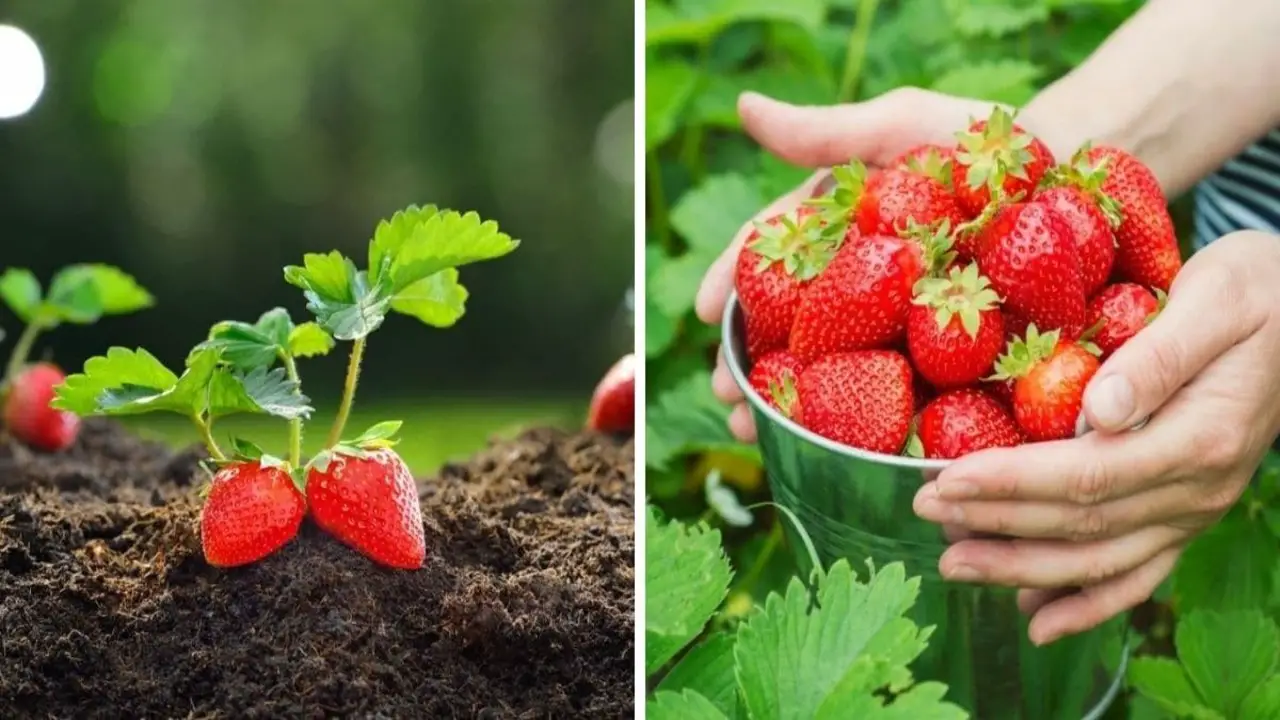
Strawberry runners rooting in water is a simple and effective way to propagate new baby plants. By following the 5 steps, you can successfully grow healthy and productive strawberry plants in no time. From selecting the right runners to providing them with the proper care and attention, each step plays a crucial role in ensuring successful rooting.
Whether you’re an experienced gardener or just starting, rooting strawberry runners in water is a fun and rewarding process that allows you to expand your strawberry patch and enjoy fresh, homegrown strawberries year after year.
Frequently Asked Questions
Can You Propagate Strawberry Plants In Water?
Yes, it is possible to propagate strawberry plants in water. Cut a healthy runner and submerge the bottom nodes in a glass of water. In a few weeks, roots will develop, and you can then transfer the runner to the soil.
Can Strawberry Runners Be Cut Off And Planted?
Yes, cutting off strawberry runners and planting them to propagate new plants from runners is possible. Healthy runners with roots can be detached from the parent plant and planted in a pot of soil or directly in the ground.
Can You Root Strawberry Runners?
Yes, strawberry runners can be rooted. To do so, select healthy runners with small plantlets at the end. Place the runner in water, ensuring that the plantlet is submerged. After a few weeks, roots will develop on the plantlet, indicating successful rooting.
How Long Does It Take For Strawberry Runners To Root?
Strawberry runners typically take 2-4 weeks to develop roots when rooting them in water. To expedite the process, maintain a water temperature of around 70°F (21°C).
What Is The Ideal Time Of Year To Root Strawberry Runners In Water?
The ideal time of year to root strawberry runners in water is early spring or late summer. These seasons provide optimal growing conditions for the runners to establish adventitious roots.

I am passionate about home engineering. I specialize in designing, installing, and maintaining heating, ventilation, and air conditioning systems. My goal is to help people stay comfortable in their homes all year long.