Gardening can be a great hobby for those who enjoy spending time outdoors and creating a beautiful and productive space. However, maintaining a garden can be daunting, especially if you don’t have the right tools.
One of the most important tools you will need is a tiller, and the Mantis tiller is a popular choice for many gardeners. However, starting a Mantis tiller can be intimidating for beginners, and it’s important to know the key steps before firing it up.
Here, we will guide you through the essential steps for starting a Mantis tiller, whether you’re a seasoned gardener or a beginner. We will cover the necessary preparations, such as checking the oil level and fueling the tiller, as well as the correct way to pull the starter cord and engage the throttle.

10 Easy Steps For Starting A Mantis Tiller
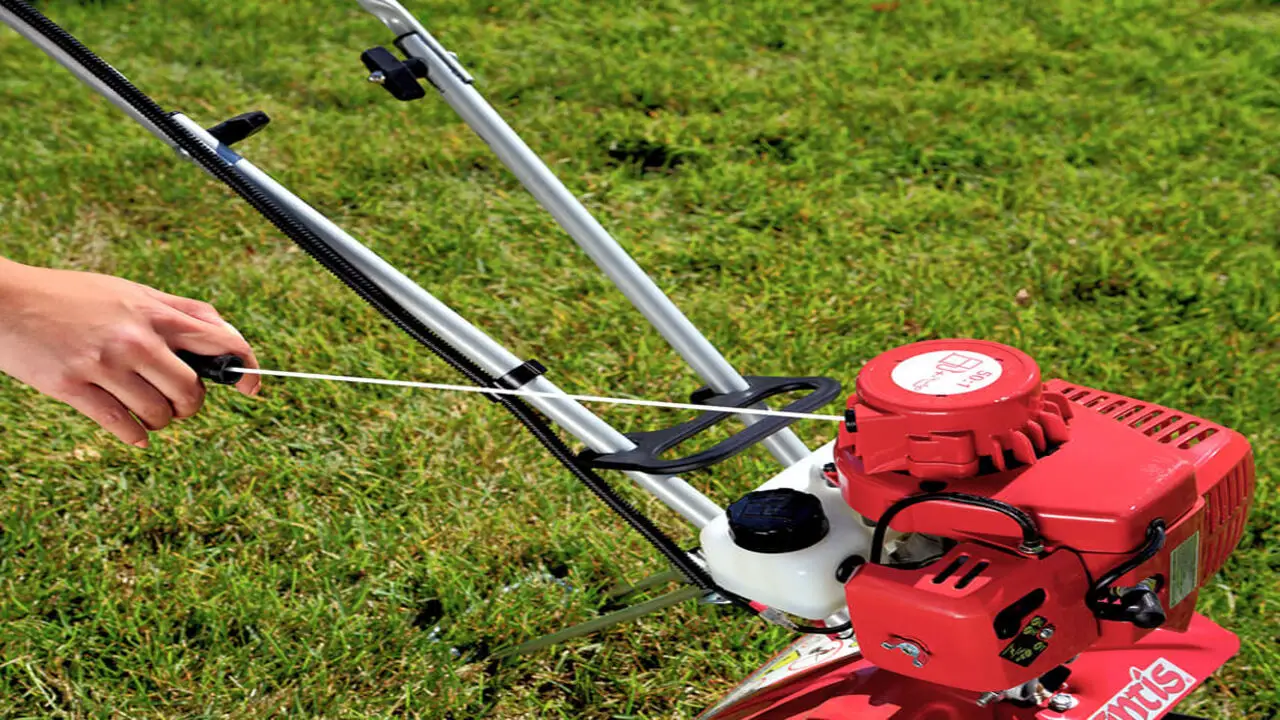
Before attempting to start the tiller, thoroughly read the owner’s manual to familiarize yourself with the operation. Make sure the fuel tank is filled with fresh gasoline and the oil levels are correct for smooth functionality. Set the throttle to the “Start” position and engage the choke if necessary, ensuring the carburettor receives the proper fuel mixture.
Locate the primer bulb and press it several times to prime the engine, allowing fuel to flow into the combustion chamber. Place the tiller on a flat and stable surface, ensuring the tines are clear of any obstructions that could hinder its performance. Push the primer bulb a few more times to ensure fuel reaches the engine, enabling the ignition process to occur smoothly. Here are 10 Easy Steps For Starting a Mantis Tiller
Step 1: Assemble Your Tiller
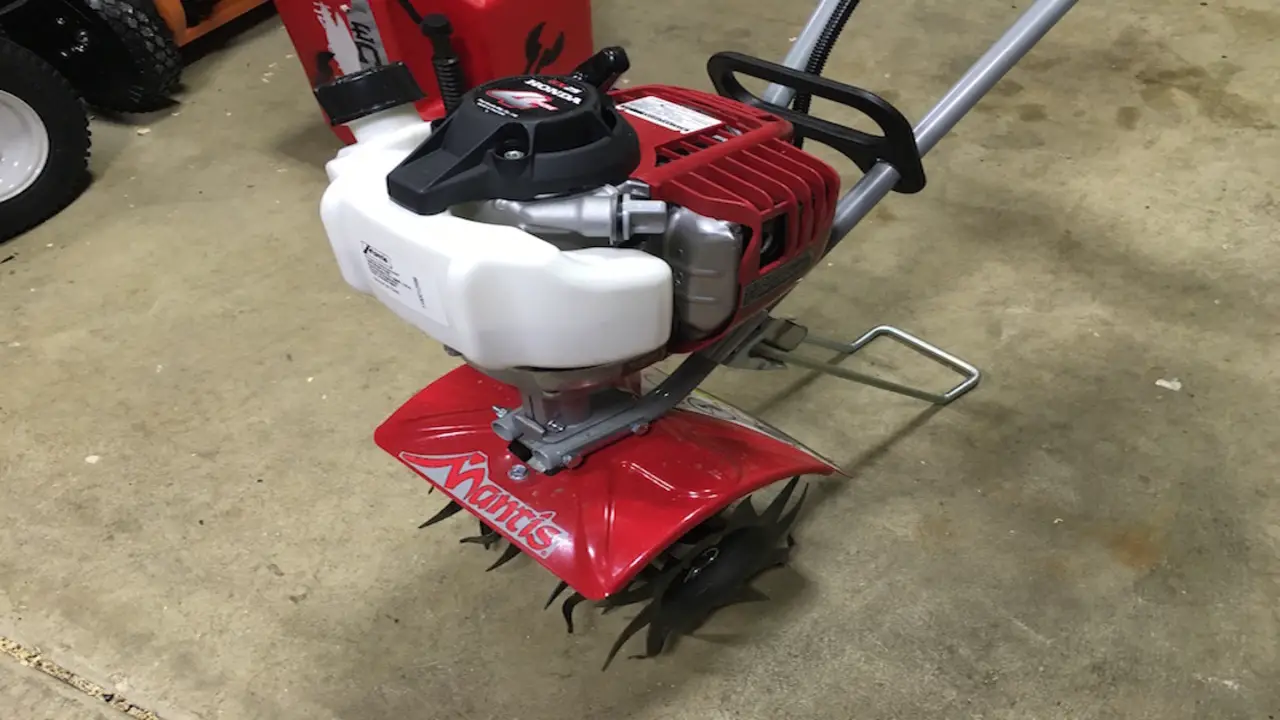
To assemble your Mantis tiller, gather all the necessary parts and tools and refer to the user manual for step-by-step instructions. Make sure to securely tighten all bolts and screws to avoid any loose parts while operating the tiller. Double-check that all components are in their correct positions before proceeding. Once your tiller is fully assembled, you can prepare it for operation.
Step 2: Fill The Fuel Tank
To ensure proper operation of your Mantis tiller, it’s important to fill the fuel tank correctly. Start using a mixture of gasoline and oil, as the manufacturer recommends. To avoid spills, use a funnel when filling the tank and take care not to overfill it.
Overfilling can lead to fuel leakage during operation, which you want to avoid. After filling the tank, tighten the fuel cap securely to prevent fuel evaporation. Finally, remember to check the fuel level regularly and refill as needed, especially during prolonged use. Following these steps, you’ll have a full tank ready to power your tiller.
Step 3: Prime The Fuel System
Before priming the fuel system of your Mantis tiller, make sure that the fuel tank is filled with fresh gasoline. Locate the primer bulb on the side of the tiller’s engine and press it repeatedly. Watch as the fuel moves through the clear lines, indicating that the air has been removed from the system. This crucial step ensures a smooth start for your tiller. Once the fuel system is primed, you can move on to the next step of starting your Mantis tiller.
Step 4: Check The Oil Level
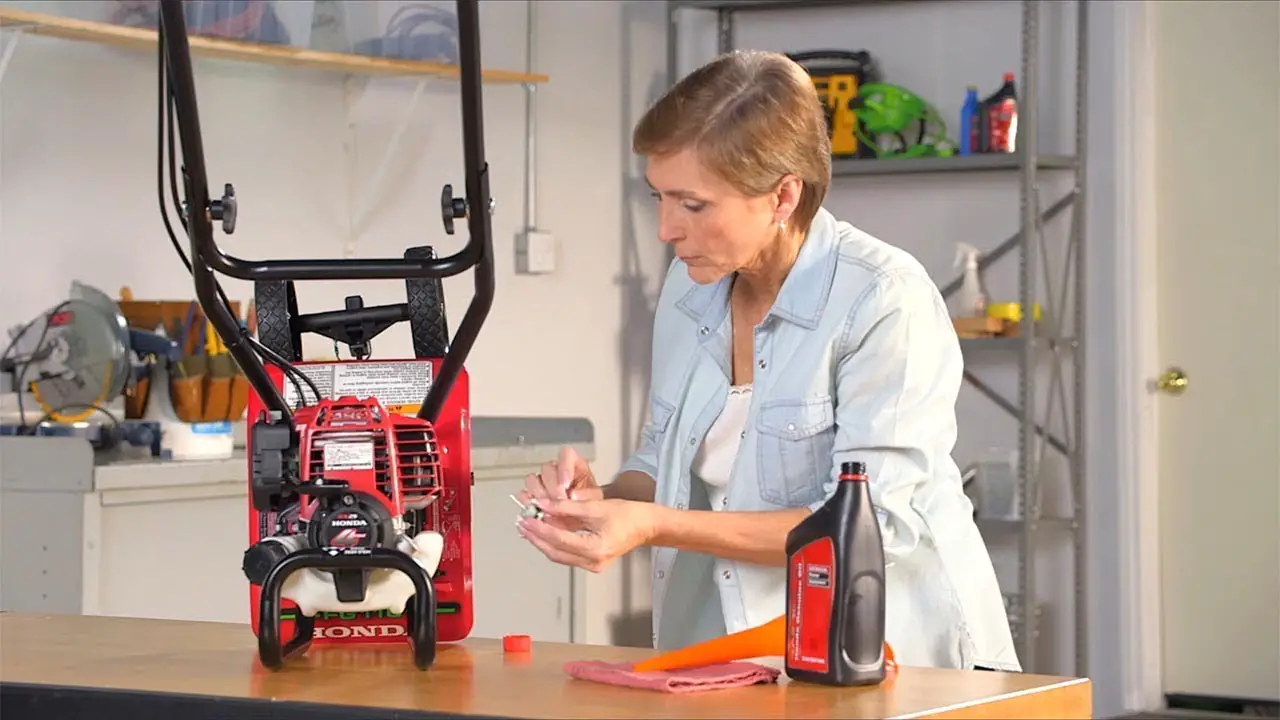
Checking the oil level is essential for maintaining the performance and longevity of your Mantis Tiller. Insufficient oil levels can lead to engine damage and impact the tiller’s efficiency. To ensure optimal performance, it is crucial to follow the manufacturer’s instructions on how to check and add oil.
Regularly monitoring the oil level will help prevent costly repairs and ensure smooth operation. It recommends checking the oil level before each use. By doing so, you can identify and address any potential issues promptly, allowing your Mantis Tiller to operate at its best.
Step 5: Set The Throttle Lever
To ensure optimal performance and efficiency of the Mantis Tiller, it is crucial to properly set the throttle lever. The throttle lever controls the engine speed, allowing you to adjust it based on the tilling task. If you tackle tougher soil, setting the throttle lever to a higher position will increase the engine speed, providing more torque for effective tilling.
On the other hand, for lighter tilling or maneuvering the tiller, setting the throttle lever to a lower position will decrease the engine speed. It’s important to consult the Mantis Tiller manual for specific instructions on how to set the throttle lever. By setting the throttle lever correctly, you can ensure that your Mantis Tiller performs at its best.
Step 6: Pull The Starter Cord
To start the Mantis tiller, locate the starter cord on the machine. Firmly grasp the handle of the starter cord and pull it out in a quick and smooth motion. Remember to keep a firm grip on the tiller to prevent accidental movement.
If the tiller doesn’t start on the first pull, give it a few more tries before troubleshooting. Always follow the manufacturer’s instructions and safety guidelines when starting the tiller. By following these steps, you will be able to start your Mantis tiller efficiently and safely.
Step 7: Adjust The Tines
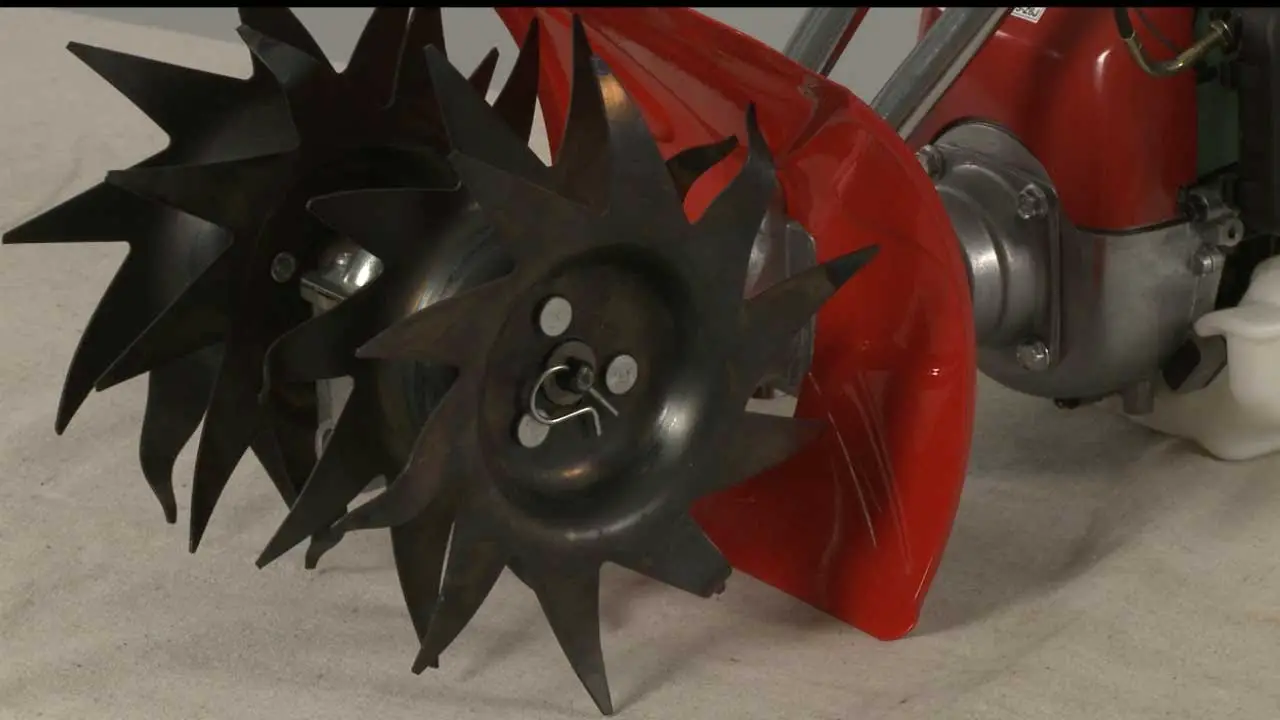
Proper time adjustment ensures optimal performance and efficiency when using a Mantis Tiller. Take the time to understand the fine adjustment mechanism and make precise adjustments based on the type of soil and the specific task at hand. Incorrect time adjustment can result in shallow or deep tilling, which can greatly impact the overall results.
Regularly check and adjust the tines to maintain consistent and effective tilling. By properly adjusting the tines, you can ensure that your Mantis Tiller operates at its full potential, delivering the desired depth and quality of tilling.
Step 8: Adjust The Tilling Depth
To achieve optimal tilling results, it is essential to adjust the tilling depth of your Mantis tiller. This adjustment allows for customization based on the type of soil and desired outcome. By setting the proper tilling depth, you can effectively break up compacted soil and prepare it for planting.
However, caution must not set the depth too low, as this may damage roots or beneficial organisms in the soil. Finding the right depth depends on the specific needs of your gardening project. Experimenting with different settings will help you achieve the desired results for your tiller.
Step 9: Move The Tiller Forward
Moving the tiller forward is a crucial step in the tilling process. It helps create a clean and even tilling pattern, ensuring optimal results. By pushing the tiller forward, the blades are able to penetrate deeper into the soil, breaking it up effectively.
This forward motion also helps maintain balance and stability, preventing any strain on the tiller’s engine. It allows you to cover more ground efficiently, saving time for gardening. Remember to move the tiller forward smoothly and steadily for the best performance.
Step 10: Stop The Tiller
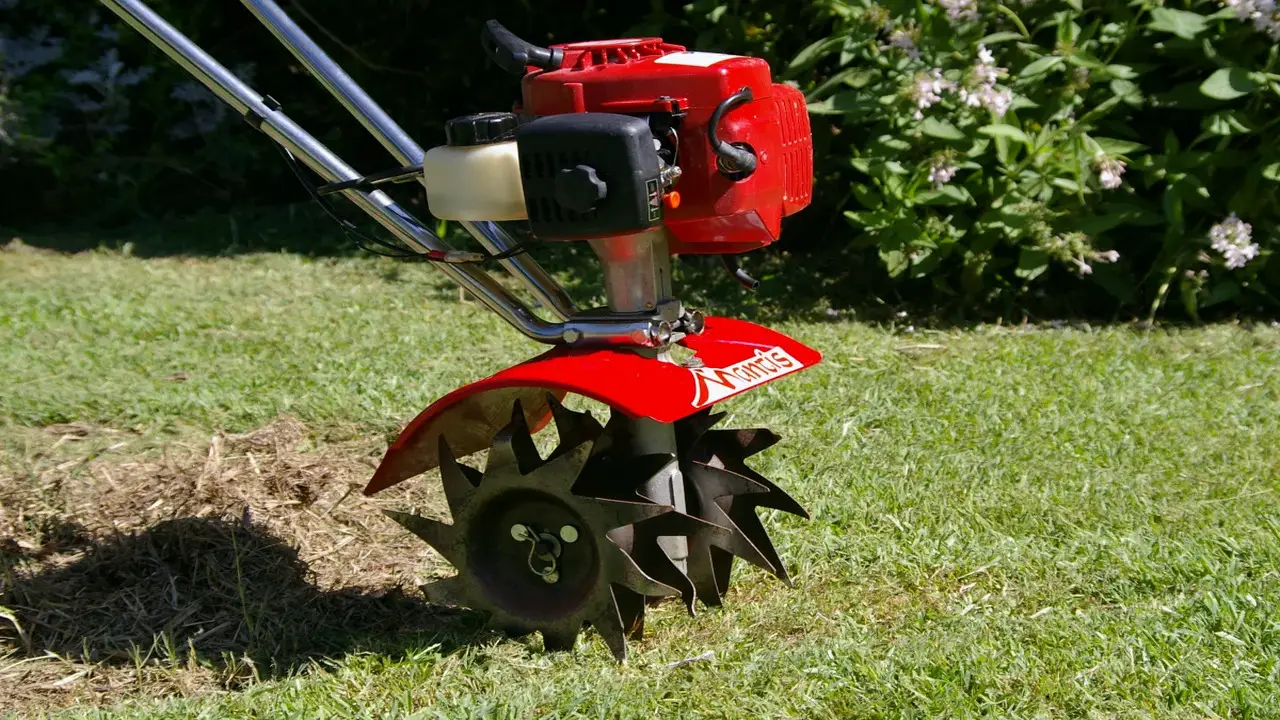
To stop the Mantis Tiller, release the throttle lever and allow the engine to idle for a few seconds. After the engine has idled, turn the fuel valve to the “Off” position. Then, turn the ignition switch to the “Off” position and remove the spark plug wire from the spark plug for safety. It’s important to store the Mantis Tiller in a secure and dry location until its next use. Following these steps, you can ensure your tiller is properly stopped and ready for storage.
Conclusion
Mantis tillers are a farming tool used to cultivate roots, grass, and other plants. To use a Mantis tiller, you would first need to attach it to a tractor or other equipment. Then, you would drive the tool into the soil and push it back and forth until it breaks the ground apart, creating furrows. Starting a Mantis tiller may seem daunting for beginners, but it’s a relatively simple process that can be mastered with practice.
The key steps include preparing the tiller, checking the oil levels, priming the engine, and pulling the cord to start the engine. Following these steps can ensure that your Mantis tiller runs smoothly and efficiently. Remember to always refer to the manufacturer’s manual for specific instructions and safety guidelines. With patience and practice, you can become a pro at starting your Mantis tiller and maintaining a beautiful garden.
Frequently Asked Questions
[rank_math_rich_snippet id=”s-1c376a1b-a734-498f-bb6d-0b7e26583b1a”]

I am passionate about home engineering. I specialize in designing, installing, and maintaining heating, ventilation, and air conditioning systems. My goal is to help people stay comfortable in their homes all year long.
