A leaky showerhead is usually due to mineral buildup, worn-out parts, or incorrect installation. You can often fix it by tightening connections, cleaning the showerhead, or replacing washers and O-rings. If the problem persists, the showerhead itself might be faulty and need replacing. No need to call a plumber just yet – let’s troubleshoot this together!
Is your showerhead dripping, even when turned off? It’s a common problem, and it can be annoying! That constant drip, drip, drip not only wastes water but can also drive up your water bill. The good news is, you can usually fix it yourself without needing to call a plumber.
In this guide, we’ll walk you through the most common reasons why your showerhead is leaking and give you simple, step-by-step instructions to fix each one. We’ll cover everything from tightening connections to replacing worn-out parts. Let’s get started and stop that annoying drip!
Why is My Showerhead Leaking? Common Causes
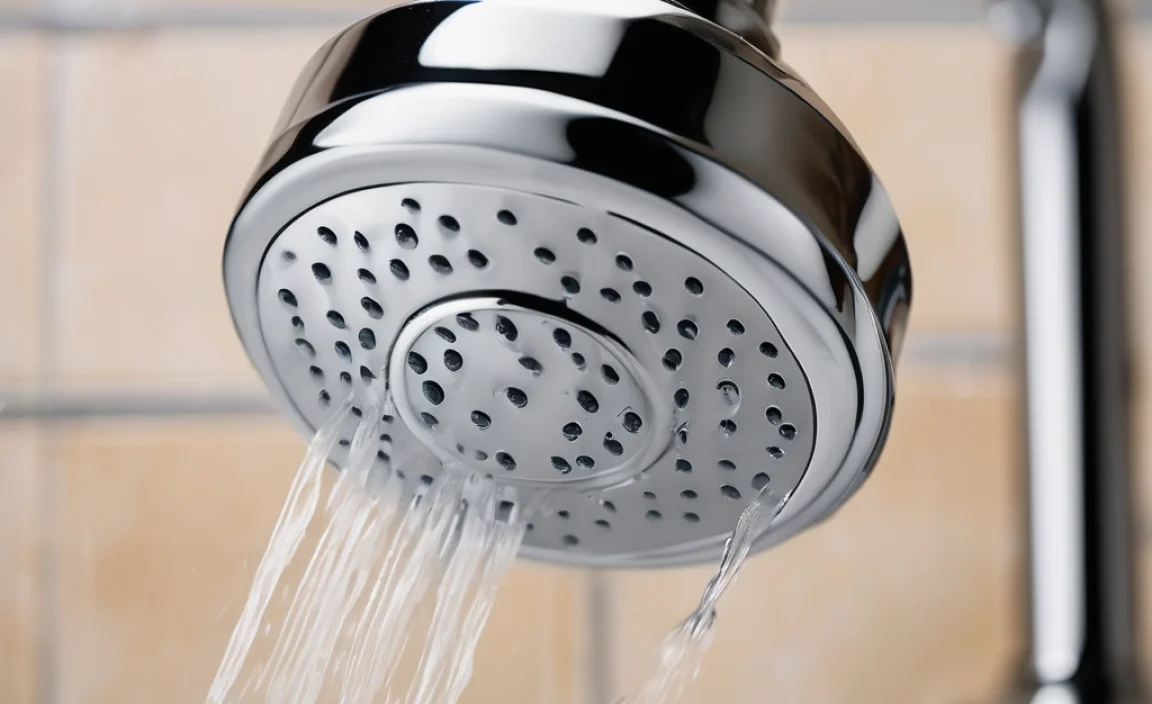
Several things can cause a showerhead to leak. Identifying the cause is the first step to fixing it. Here are the most common culprits:
- Loose Connections: The connection between the showerhead and the shower arm (the pipe coming out of the wall) might not be tight enough.
- Worn-Out Washers or O-rings: These rubber or silicone parts create a watertight seal. Over time, they can dry out, crack, or become brittle.
- Mineral Buildup: Hard water contains minerals like calcium and lime that can accumulate inside the showerhead, clogging it and preventing a proper seal.
- Corroded Shower Arm: Rust and corrosion on the shower arm can prevent a tight seal with the showerhead.
- Faulty Showerhead: In some cases, the showerhead itself might be defective or damaged.
- High Water Pressure: Excessively high water pressure can stress the connections and seals, leading to leaks.
Tools You’ll Need
Before you start, gather these basic tools. Having everything on hand will make the job much easier.
- Adjustable Wrench: For tightening or loosening connections.
- Plumber’s Tape (Teflon Tape): To create a watertight seal on threaded connections.
- Screwdriver (Phillips and Flathead): Depending on the showerhead model.
- Old Toothbrush: For cleaning mineral buildup.
- White Vinegar: To dissolve mineral deposits.
- Soft Cloth or Towel: To protect surfaces from scratches.
- New Washers and O-rings: If you suspect the old ones are worn out.
- Penetrating Oil (Optional): To loosen stubborn connections.
Step-by-Step Guide to Fixing a Leaky Showerhead
Follow these steps to troubleshoot and fix your leaky showerhead. We’ll start with the simplest solutions and move on to more involved repairs if necessary.
Step 1: Tighten the Showerhead Connection
The first thing to check is whether the showerhead is properly tightened to the shower arm. Here’s how:
- Protect the Finish: Wrap the adjustable wrench with a soft cloth to avoid scratching the showerhead’s finish.
- Tighten the Connection: Gently tighten the nut connecting the showerhead to the shower arm. Be careful not to overtighten, as this can damage the threads.
- Test for Leaks: Turn on the water and check if the leak has stopped. If it’s still leaking, move on to the next step.
Step 2: Inspect and Replace the Washer or O-ring
If tightening the connection doesn’t solve the problem, the washer or O-ring inside the connection might be worn out. Here’s how to replace it:
- Turn Off the Water: Shut off the water supply to the shower to prevent flooding. Usually, there are shutoff valves located near the shower or in the basement.
- Remove the Showerhead: Use the adjustable wrench to carefully loosen and remove the showerhead from the shower arm.
- Inspect the Washer/O-ring: Look inside the showerhead connection for a rubber or silicone washer or O-ring. Check for cracks, breaks, or signs of wear.
- Remove the Old Washer/O-ring: Use a small screwdriver or pick to carefully remove the old washer or O-ring.
- Install a New Washer/O-ring: Insert a new washer or O-ring of the same size and type into the connection. You can find these at most hardware stores.
- Reattach the Showerhead: Apply plumber’s tape to the threads of the shower arm, wrapping it clockwise. Then, reattach the showerhead and tighten it with the adjustable wrench. Again, don’t overtighten.
- Test for Leaks: Turn the water back on and check for leaks. If the leak is gone, you’ve fixed the problem!
Step 3: Clean Mineral Buildup
Mineral buildup can clog the showerhead and prevent a proper seal. Here’s how to clean it:
- Remove the Showerhead: Use the adjustable wrench to remove the showerhead from the shower arm.
- Soak in Vinegar: Fill a plastic bag with white vinegar and submerge the showerhead in the bag, securing it with a rubber band or twist tie. Let it soak for at least 30 minutes, or preferably overnight.
- Scrub Away Buildup: Remove the showerhead from the vinegar and use an old toothbrush to scrub away any remaining mineral deposits. Pay close attention to the spray nozzles.
- Rinse Thoroughly: Rinse the showerhead thoroughly with clean water to remove any traces of vinegar and loosened minerals.
- Reattach the Showerhead: Apply new plumber’s tape to the threads of the shower arm and reattach the showerhead. Tighten it with the adjustable wrench.
- Test for Leaks: Turn on the water and check if the leak has stopped. Also, check the spray pattern to ensure the nozzles are clear.
Step 4: Check and Repair the Shower Arm
The shower arm itself can sometimes be the source of the leak, especially if it’s corroded or damaged. Here’s what to do:
- Inspect the Shower Arm: Carefully examine the shower arm for signs of corrosion, rust, or damage. Pay attention to the threads where the showerhead connects.
- Remove the Shower Arm (If Necessary): If the shower arm is heavily corroded or damaged, you might need to replace it. To remove it, use an adjustable wrench to loosen the connection at the wall. You might need to apply penetrating oil to loosen stubborn connections.
- Clean the Threads: If you’re not replacing the shower arm, clean the threads with a wire brush to remove any rust or debris.
- Apply Plumber’s Tape: Wrap new plumber’s tape around the threads of the shower arm, going in a clockwise direction.
- Reattach the Shower Arm (If Removed): Carefully thread the shower arm back into the wall connection and tighten it with the adjustable wrench. Be careful not to overtighten.
- Reattach the Showerhead: Apply plumber’s tape to the threads of the shower arm and reattach the showerhead.
- Test for Leaks: Turn on the water and check for leaks at both the showerhead connection and the wall connection.
Step 5: Consider Replacing the Showerhead
If you’ve tried all the above steps and your showerhead is still leaking, it might be time to replace it. Showerheads can wear out over time, and internal components can fail.
- Choose a New Showerhead: Select a new showerhead that fits your needs and budget. Consider features like water-saving technology, different spray patterns, and ease of installation.
- Remove the Old Showerhead: Use the adjustable wrench to remove the old showerhead from the shower arm.
- Install the New Showerhead: Apply plumber’s tape to the threads of the shower arm and attach the new showerhead, following the manufacturer’s instructions.
- Test for Leaks: Turn on the water and check for leaks. Enjoy your new, leak-free shower!
Dealing with a Stripped Shower Arm
A stripped shower arm is a common issue, especially in older homes. The threads can become worn, making it impossible to get a tight seal. Here are a few options:
- Thread Repair Kit: You can purchase a thread repair kit from a hardware store. These kits include a tool that re-threads the shower arm, allowing for a fresh, clean connection.
- Larger Diameter Shower Arm: Consider replacing the shower arm with one that has a slightly larger diameter. This can sometimes create a tighter fit.
- Epoxy Putty: As a last resort, you can use epoxy putty to fill in the damaged threads. Apply the putty to the shower arm threads, then attach the showerhead. Allow the putty to fully cure before turning on the water.
When to Call a Plumber
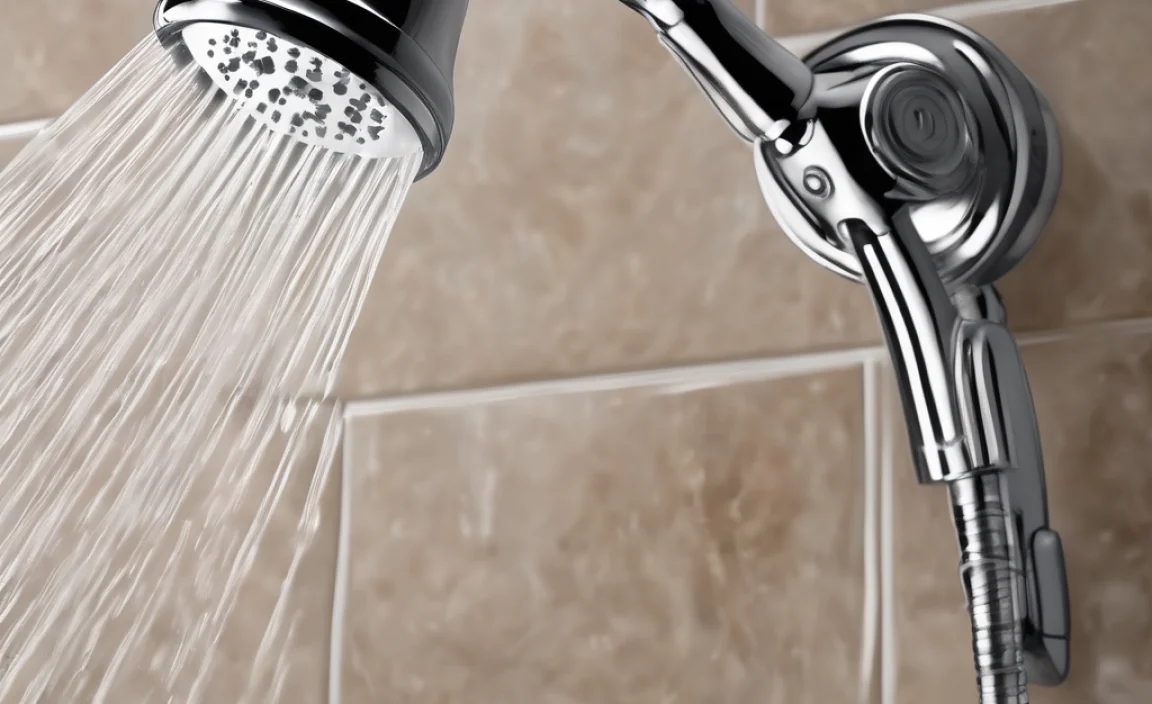
While many showerhead leaks can be fixed with DIY methods, there are times when it’s best to call a professional plumber.
- Persistent Leaks: If you’ve tried all the above steps and the showerhead is still leaking, there might be a more serious problem with the plumbing behind the wall.
- Damaged Pipes: If you notice signs of water damage on the wall or ceiling around the shower, it could indicate a leaking pipe that needs immediate attention.
- Complex Plumbing Issues: If you’re uncomfortable working with plumbing or if you encounter a problem you can’t solve, it’s always best to call a licensed plumber.
Preventing Future Leaks
Here are some tips to help prevent showerhead leaks in the future:
- Use a Water Softener: If you have hard water, consider installing a water softener to reduce mineral buildup.
- Regular Cleaning: Clean your showerhead regularly to remove mineral deposits. You can do this by soaking it in vinegar every few months.
- Inspect and Replace Washers: Periodically inspect the washers and O-rings in your showerhead and replace them as needed.
- Avoid Overtightening: When tightening connections, be careful not to overtighten, as this can damage the threads.
Cost Considerations
Fixing a leaky showerhead is usually an inexpensive DIY project. Here’s a breakdown of potential costs:
| Item | Estimated Cost |
|---|---|
| Plumber’s Tape | $2 – $5 |
| Washers/O-rings | $3 – $7 |
| Adjustable Wrench (if you don’t have one) | $10 – $20 |
| New Showerhead | $15 – $100+ |
| Plumber (if needed) | $75 – $200+ per hour |
Troubleshooting Tips
Here are a few extra tips to help you troubleshoot your leaky showerhead:
- Identify the Source: Carefully observe where the water is leaking from. Is it coming from the connection between the showerhead and the shower arm, or from the showerhead itself?
- Check Water Pressure: High water pressure can cause leaks. Consider installing a pressure regulator to reduce the pressure. You can buy a water pressure gauge at most hardware stores and test it yourself.
- Use Quality Parts: When replacing washers, O-rings, or the showerhead itself, use high-quality parts that are designed to last.
FAQ About Leaky Showerheads
Why is my showerhead dripping even when it’s turned off?
This is usually caused by a worn-out washer or O-ring inside the showerhead connection or mineral buildup preventing a tight seal. Replacing the washer or cleaning the showerhead often fixes this.
Can I fix a leaky showerhead myself, or do I need a plumber?
Most showerhead leaks are easy to fix yourself with basic tools and some simple steps. However, if you’re uncomfortable working with plumbing or if the problem persists, it’s best to call a plumber.
What kind of plumber’s tape should I use for my showerhead?
Use standard white Teflon plumber’s tape, which you can find at any hardware store. Wrap it clockwise around the threads of the shower arm before attaching the showerhead.
How often should I clean my showerhead to prevent leaks?
Cleaning your showerhead every few months can help prevent mineral buildup and leaks. If you have hard water, you might need to clean it more frequently.
What if my shower arm is stripped and I can’t get a tight seal?
You can try using a thread repair kit, replacing the shower arm with a larger diameter one, or using epoxy putty to fill in the damaged threads. If these don’t work, it’s best to call a plumber.
Will a new showerhead fix a leak, or is the problem always something else?
A new showerhead can fix a leak if the old showerhead is faulty or worn out. However, the leak could also be caused by loose connections, worn-out washers, or mineral buildup, so it’s important to troubleshoot the problem first.
Is it OK to use WD-40 on my showerhead?
While WD-40 can help loosen a stuck showerhead, it’s not a long-term solution for leaks. It’s better to use plumber’s tape and replace any worn-out parts to ensure a proper seal.
Conclusion
Fixing a leaky showerhead is a manageable DIY project that can save you water and money. By following these steps, you can identify the cause of the leak and take the necessary steps to fix it. Start with the simplest solutions, like tightening connections and cleaning mineral buildup, and move on to more involved repairs if needed. Remember to take your time, be careful not to overtighten connections, and don’t hesitate to call a plumber if you encounter a problem you can’t solve. With a little effort, you can stop that annoying drip and enjoy a leak-free shower!

