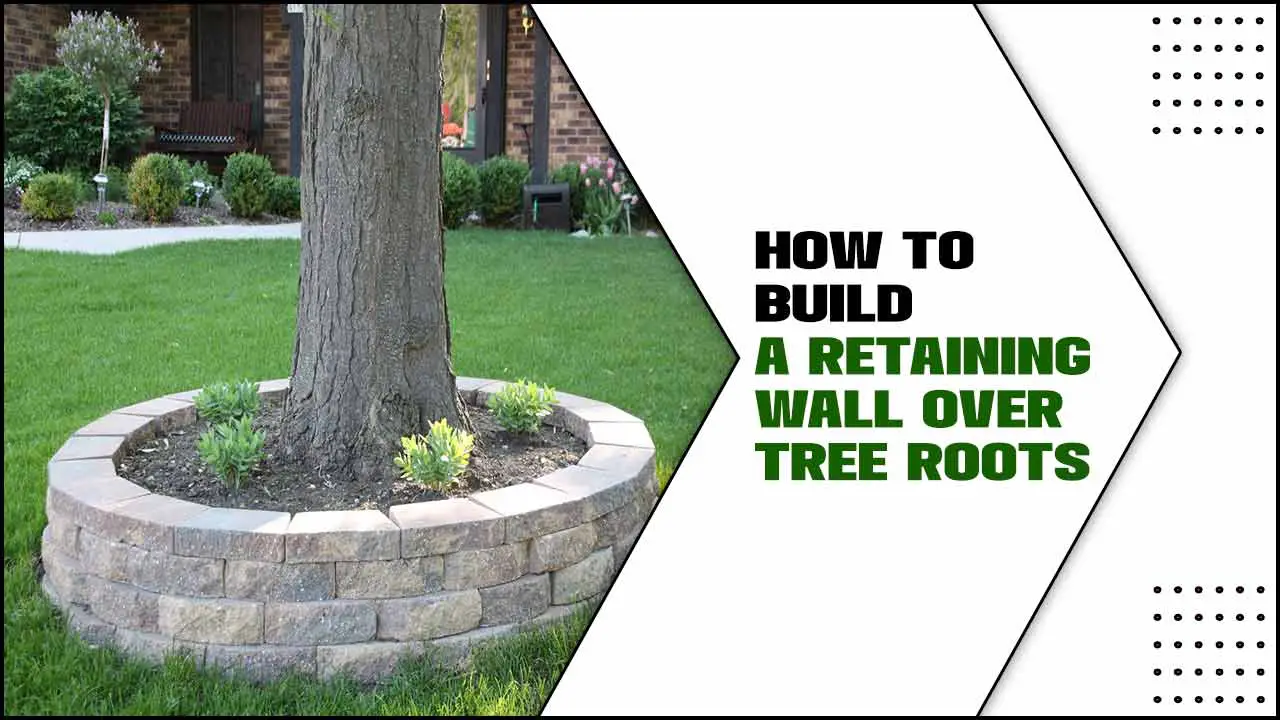
A retaining wall is a structure that prevents soil erosion and creates terraces or levels in landscaping. They can be built from concrete, bricks, or stone, but proper drainage is crucial to avoid water accumulation behind the wall.
Are you looking for a solution to prevent soil erosion, create usable outdoor space, or simply add visual appeal to your landscape? Look no further than a retaining wall.
A retaining wall can be a valuable addition to your property, but it requires careful planning and execution to ensure its longevity and stability. Here we will cover what a retaining wall is and the factors you should consider before building one.
We will also provide you with step-by-step instructions on how to build a retaining wall. By following these guidelines and tips for building a strong retaining wall, you’ll have a beautiful addition to your landscape that will last for years.
What To Consider Before Building A Retaining Wall
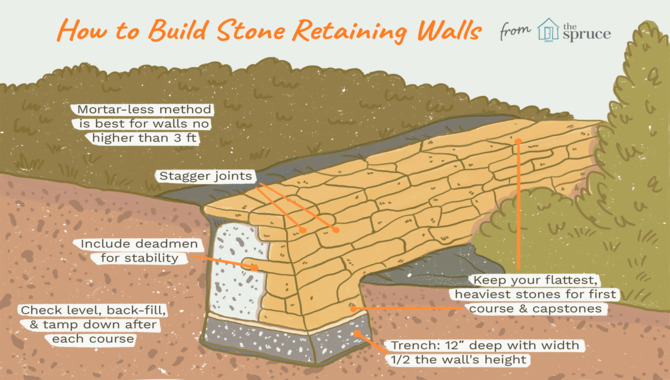
It is crucial to consider several aspects to build a strong retaining wall without compromising its integrity over time. Determine the primary purpose of your landscaping structure while selecting from different building materials like cinder blocks or natural stones available at outlets such as Home Depot.
After assessing slope angle and soil composition with tools like tape measures and shovels, excavate trenches with depth suitable for your chosen first row of blocks. Next comes installing drainage pipes with perforated pipes covered in crushed stones as a base material for compacting before laying your first course of blocks with adhesive on seams.
Ensure proper leveling using hand tampers or mallets before adding backfill behind the wall till height is desired. Add cap blocks on top secured by mortar adhesive and install deadman anchors on every other row at the back of the wall.
How To Build A Retaining Wall – Step By Step
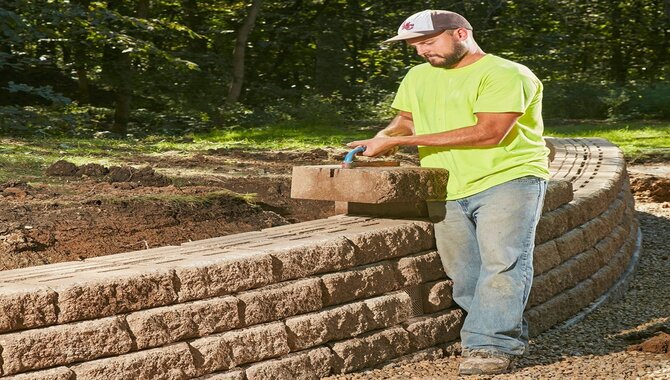
When building a retaining wall for your landscaping project or home improvement DIY task, it’s crucial to choose the right materials based on soil type and drainage needs while keeping in mind the width and height of the wall. Start by excavating and leveling out a trench as per the proposed layout. Here is the step-by-step guide on how to build a retaining wall.
1. Select A Location And Measure
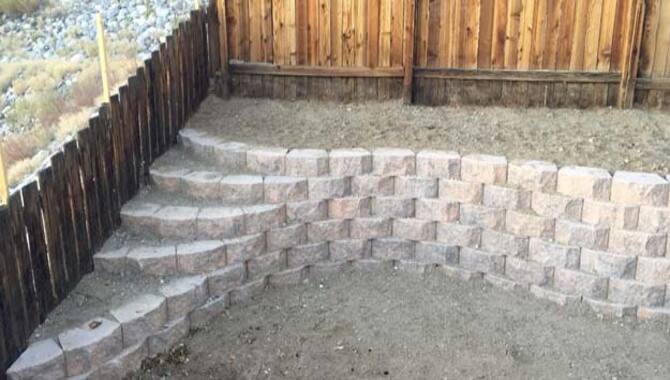
Precise measurement and location selection are crucial to build a strong retaining wall. While selecting an appropriate location for your landscaping project, consider aspects such as soil erosion and drainage issues, along with measuring the area for proper placement of the wall blocks.
For stability, soil compaction and base materials like gravel or crushed stone will be required. With careful planning and adherence to local building codes and regulations, your DIY home improvement project can be successful.
2. Mark The Area And Excavate The Trench
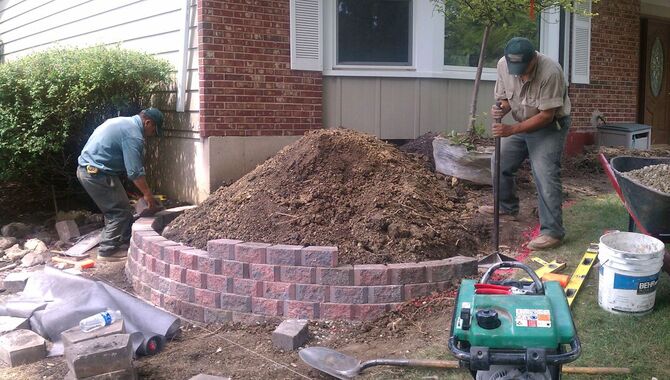
Before starting your DIY home improvement project of building a new retaining wall in your outdoor space, start by marking out an appropriate location with your tape measure and spray paint- avoiding underground utilities and obstructions.
Next is digging out the trench with your trusty shovel while ensuring you have removed any unwanted rocks or debris before compacting it using a hand tamper. Adding some gravel for better drainage is advisable before laying down landscape fabric to protect against weed growth.
3. Install Drainage Pipe And Gravel Base
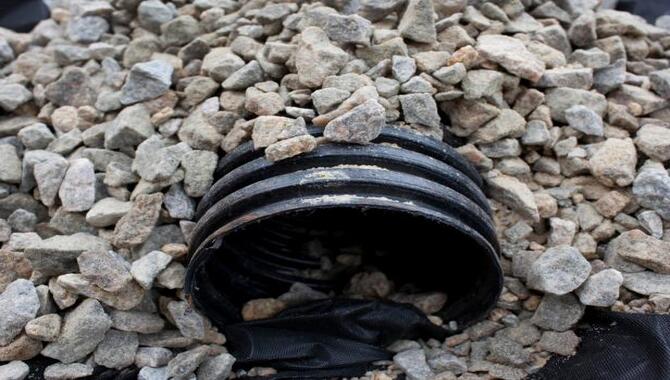
To ensure that your retaining wall lasts long, it’s important to have proper drainage in place. Start by preparing the area for installation by removing any debris or vegetation. Dig a trench deep enough based on local regulations and depending on the height of your wall.
Install perforated drainpipe in the trench with landscape fabric covering it to prevent soil from clogging it over time. Add a layer of gravel to create a firm base for your retaining wall blocks.
4. Lay The First Course Of Blocks
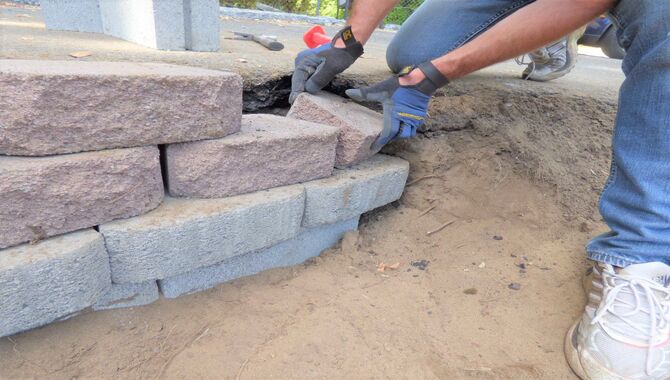
To lay the first course of blocks for building a retaining wall, start by marking where you want to construct it and digging a trench for the foundation. Remember always to use a layer of gravel or crushed stone for drainage, after which you can begin laying the first course of retaining wall blocks using a rubber mallet to adjust any uneven pieces.
These simple DIY steps involving trenching and gravel placement before installing and perfectly positioning the first course of blocks with a rubber mallet will build a sturdy and durable retaining wall.
5. Install The Second Course Of Blocks
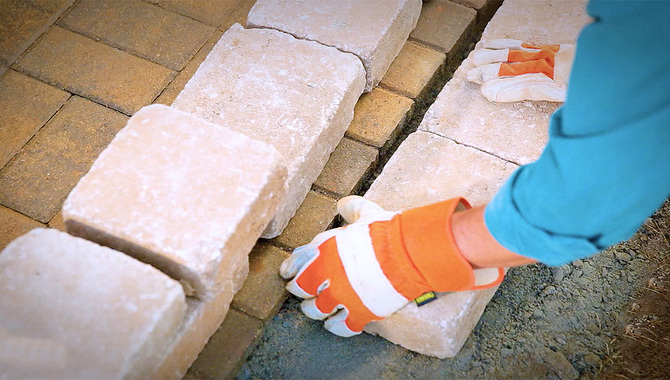
When adding the second course of blocks for your retaining wall, it’s vital to ensure their stability by staggering them while keeping them level both horizontally and vertically using a leveler. Adding a layer of gravel behind the wall will prevent water buildup, while installing drainage pipes will allow water to flow away from the wall.
6. Add Backfill And Compaction
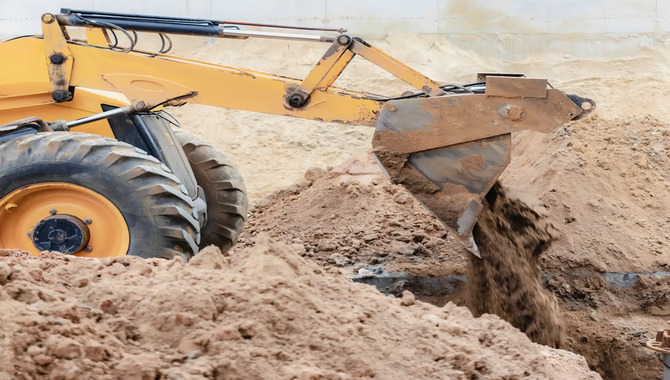
For optimal results when adding backfill and compacting your retaining wall, ensure that the backfill material is placed in even layers and compacted with either a hand tamper or plate compactor.
It’s crucial to balance the placement of materials on both sides of your retaining wall to prevent any instability. Keep drainage in mind by incorporating crushed stone behind the wall to prevent soil erosion. For long-lasting success, regular maintenance is recommended.
7. Check The Level And Alignment
When constructing a retaining wall, it is essential to continually check its level and alignment using a level tool. Ensure each block or stone is correctly leveled and aligned with other blocks to avoid putting pressure on specific areas leading to eventual failure.
Be vigilant when building corners or curves, as these sections require additional attention. Failing to maintain proper levels may lead to costly repairs in the future. Adopting appropriate measures while constructing your retaining walls with regard to leveling and alignment will save you both money and time.
8. Install The Final Course Of Blocks
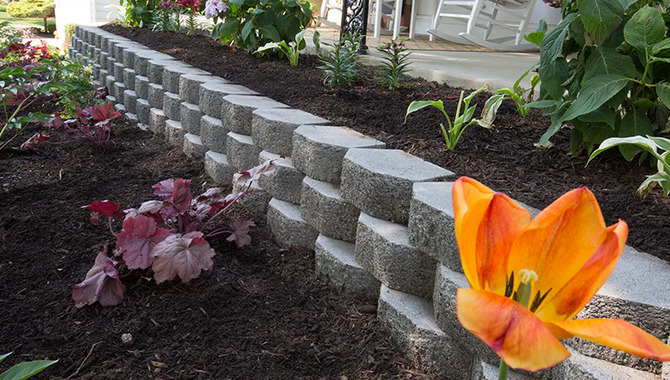
To complete your retaining wall project, you must install the final course of blocks correctly. Achieve this by using construction adhesive between each block to create a strong bond and backfilling behind the wall with gravel or crushed stone for proper drainage.
Aesthetically enhance your landscaping by considering capstones or decorative elements such as boulders. Remember that improperly installed final-course blocks can lead to soil erosion and instability of the structural integrity of your retaining wall.
9. Add Cap Blocks And Fill With Mortar
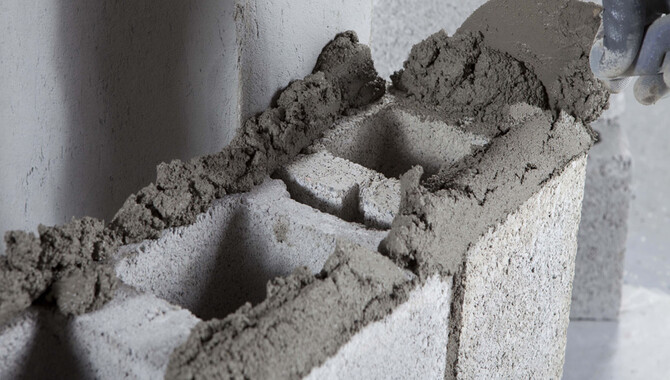
To finish your retaining wall project without any issues related to soil erosion or stability concerns in your outdoor space, you must add cap blocks and fill them with mortar. To do so, start by securing the first layer of wall blocks using adhesive and then adding a second layer with proper backfilling to ensure proper drainage.
You can then install cap blocks carefully on top of the wall while filling up gaps between them using high-quality mortar thoroughly mixed as per manufacturer guidelines. It’s crucial to let it dry properly before applying any additional pressure.
10. Install Deadman Anchors

Installing deadman anchors correctly is essential to ensure that your retaining wall is strong and durable. Choose the appropriate anchor based on soil type, weather conditions, and wall height. Ensure accurate placement during installation for a secure hold. Correctly installed deadman anchors can save you from expensive repairs in the future.
Estimating Cost For A Retaining Wall Project
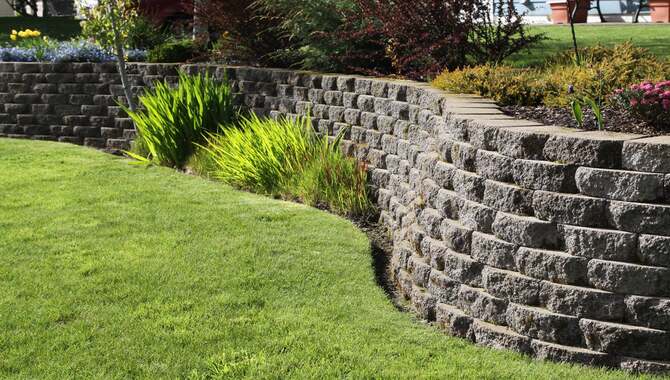
To avoid overspending on your DIY home improvement project for building a retaining wall, estimating the cost accurately is crucial. Begin by measuring the width and height of the wall using a tape measure and selecting appropriate wall blocks.
Such as cinder blocks or natural stones that can resist erosion. Make sure to factor in base materials like gravel and backfill before starting with your first course of the block. Which should be leveled well with a hand tamper.
Consider installing perforated pipe behind the first layer of blocks for proper drainage. Lastly, contact an engineer for guidance on anchors to help prevent soil erosion and improve stability.
Tips For Building A Strong Retaining Wall
You must consider several factors to build a strong retaining wall that lasts long. Proper drainage is essential to prevent soil erosion; therefore, installing perforated pipes and gravel at the back of the wall can do wonders.
Choose different materials like natural stone or cinder blocks for extra durability. Always ensure to compact each layer of the wall carefully using hand tampers or compactors. Moreover, adding landscape fabric behind retaining wall blocks prevents weeds from growing. Seek professional expert advice before starting your DIY project.
Conclusion
A retaining wall is an essential part of any landscaping project. It can help prevent soil erosion, hold back water, and create a beautiful focal point for your outdoor space. Building a retaining wall requires careful consideration of many factors, such as location, materials, and drainage.
By following the step-by-step instructions we provided here on how to build a retaining wall, you’ll have a strong and durable retaining wall that will last for years to come. Remember to always prioritize safety and consult with professionals if you need additional guidance. With patience and hard work, you can successfully complete this project and enjoy the benefits of your new retaining wall.
Frequently Asked Questions
[rank_math_rich_snippet id=”s-d6fae621-4568-4de5-946c-da36567f6a93″]

I am passionate about home engineering. I specialize in designing, installing, and maintaining heating, ventilation, and air conditioning systems. My goal is to help people stay comfortable in their homes all year long.

