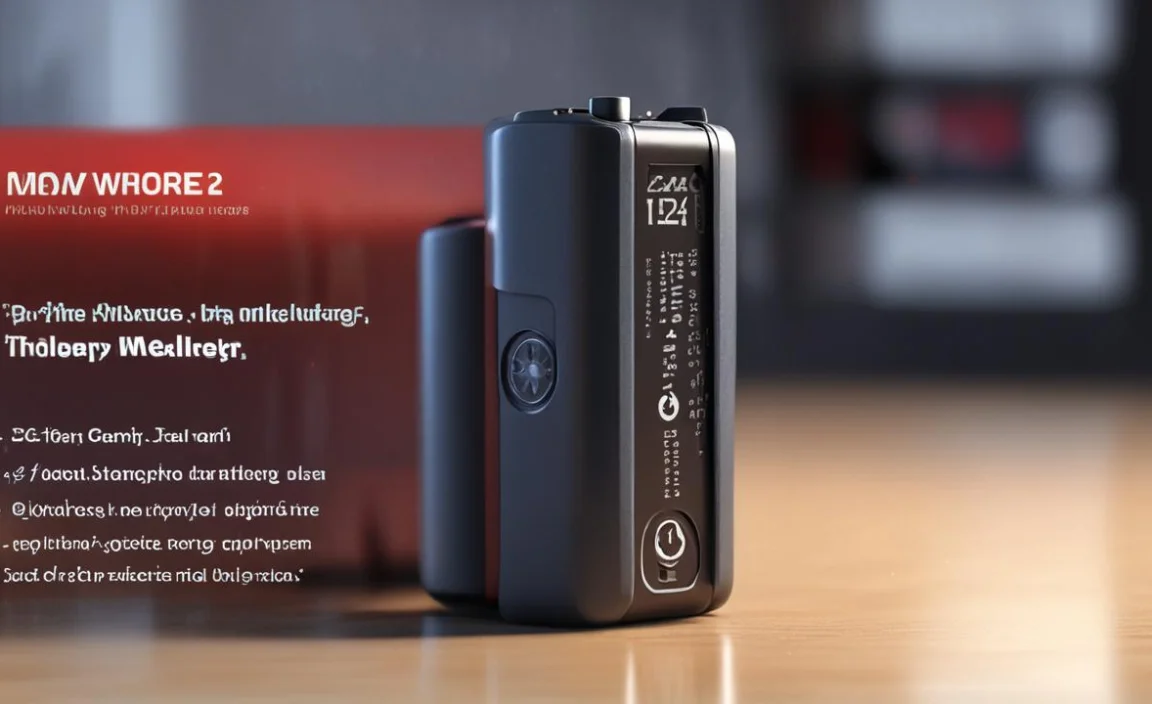
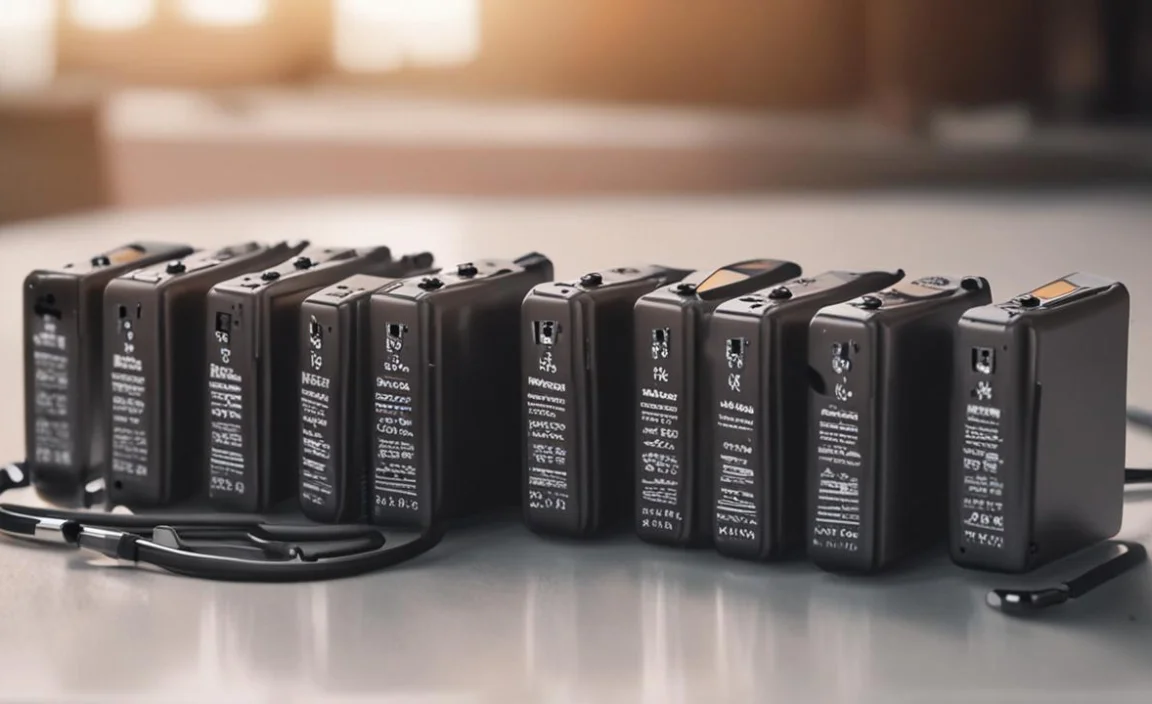
Construction professionals highly regard Milwaukee batteries for their power, longevity, and quality. However, if you’ve recently noticed that your Milwaukee Battery Only Charges To 3 Bars.
You may wonder what could be causing this issue. While it’s certainly frustrating to have a battery that doesn’t charge to its full capacity. The good news is that there are several potential explanations for this problem. It could be due to a faulty charger, a damaged battery cell, or even just a build-up of dirt and debris on the battery terminals.
Whatever the cause, addressing the issue as soon as possible is important to ensure your tools are always ready to go when needed. We’ll explore some common reasons why Milwaukee battery only charges to 3 bars and provide some tips on troubleshooting the problem.
Steps To Fix Milwaukee Battery Only Charges To 3 Bars
Milwaukee batteries are designed to provide reliable power for various cordless tools and devices. However, sometimes they may not charge fully and only show 3 bars on the indicator. This can affect the performance and runtime of the tools. Here are some steps to fix Milwaukee battery only charges to 3 bars and restore the battery to its optimal condition.
Check The Milwaukee Battery Model
The first step is to check the battery model and ensure it is compatible with the charger. Different models of Milwaukee batteries have different voltage and capacity ratings, and they require specific chargers to charge them properly. Using the wrong charger can damage the battery or prevent it from charging fully. Refer to the user manual or the battery and charger label to verify compatibility.
Inspect The Charger For Damage
The next step is to inspect the charger for any signs of damage or malfunction. Look for cracks, burns, loose wires, or corrosion on the charger and its cord. Also, check if the charger fan is working and if there are any error codes on the display. If the charger is damaged or faulty, it may not deliver enough current to charge the battery fully. Replace or repair the charger if needed.
Verify The Power Source
Another possible cause of incomplete charging is a faulty or insufficient power source. Ensure that the power outlet or extension cord you use to plug in. The charger is working properly and has enough voltage and amperage.
You can use a multimeter or a voltage tester to measure the power output of the outlet or cord. If the power source is low or unstable, it may affect the charging process. Try using a different outlet or cord if possible.
Measure The Battery Voltage
The fourth step is to measure the battery voltage and see if it matches the rated voltage of the battery model. You can use a multimeter or a battery tester to check the voltage of each cell in the battery pack.
If the voltage is too low or too high, it may indicate that the battery is over-discharged or over-charged, which can reduce its capacity and lifespan. You may need to perform a deep discharge or a balance charge on the battery to fix this.
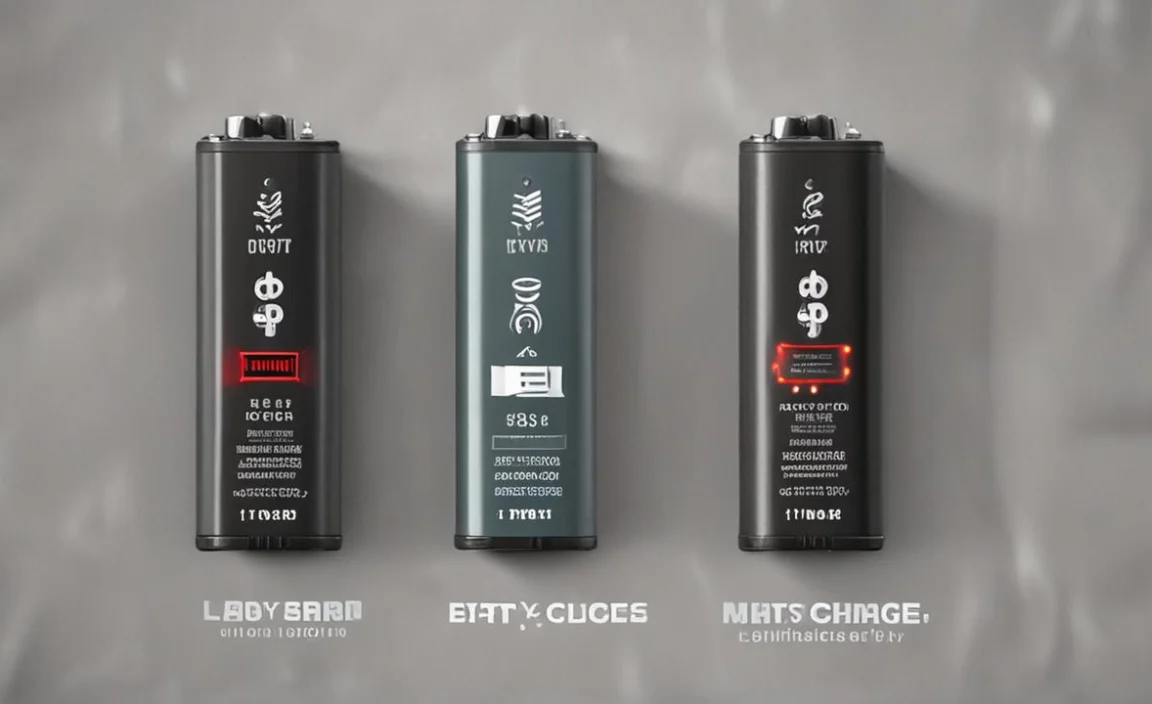
Test The Battery Health
The fifth step is to test the battery’s health and see if it has any defects or degradation. You can use a battery analyzer or a smart charger to perform a capacity or cycle test on the battery. These tests will measure how much charge the battery can hold and how many times it can be charged and discharged before losing its performance.
If the test results show that the battery has low capacity or high internal resistance, it may be worn out or damaged. In this case, you may need to replace the battery.
Clean The Battery Terminals
The sixth step is to clean the battery terminals and remove any dirt, dust, grease, or corrosion that may interfere with the contact between the battery and the charger. You can gently use a soft cloth, cotton swab, or brush to wipe off any debris from the terminals. You can also use a mild solvent like alcohol or vinegar to dissolve stubborn stains or oxidation. Be careful not to damage or short-circuit the terminals while cleaning them.
Calibrate The Battery
The seventh step is to calibrate the battery and reset its internal memory. Sometimes, due to repeated partial charging and discharging, the battery may lose track of its true capacity and show inaccurate readings on the indicator. To fix this, you must fully charge and discharge the battery several times until it reaches its maximum and minimum voltage levels. This will recalibrate the battery and make it recognize its full capacity again.
Reset The Battery Memory
The final step is resetting the battery memory and clearing any errors or glitches affecting its performance. You can do this by removing the battery from the charger and pressing and holding down both buttons on either side of the indicator for about 10 seconds. This will reset all settings and data stored in the battery’s microchip and restore it to its default state.
Conclusion
The issue of a Milwaukee battery only charges to 3 bars is a specific and important problem that requires attention. This limitation may result in decreased battery life and reduced overall tool performance, which can negatively impact success on the job site.
It is crucial to prioritize finding a solution to this issue to ensure your tools operate at their fullest potential. Further investigation and analysis of the battery charging process may be necessary for a successful resolution.
By taking the time to address this problem, you can increase the lifespan of your tools and improve their overall efficiency. With a fully charged Milwaukee battery, you can complete your tasks with confidence and success.
FAQ’s
[rank_math_rich_snippet id=”s-99be595f-3430-40af-bfc8-c1930d01ab75″]
