Replacing a broken air compressor petcock drain valve can seem tough. However, it is easier than you might think. Many people face problems with their air compressors. A common issue is a broken drain valve. This valve helps remove moisture from the tank. Without it, your compressor can rust or fail.
Wouldn’t it be great if you could fix it yourself? You can! This article will guide you through the process of replacing a broken air compressor petcock drain valve. Let’s explore the steps, tools, and tips you need.
Key Takeaways
- Replacing a broken air compressor petcock drain valve is easy.
- Gather the right tools before you start working.
- Always turn off your compressor before replacing parts.
- Check for leaks after replacing the drain valve.
- Regular maintenance can prevent future problems.
Understanding the Air Compressor Petcock Drain Valve
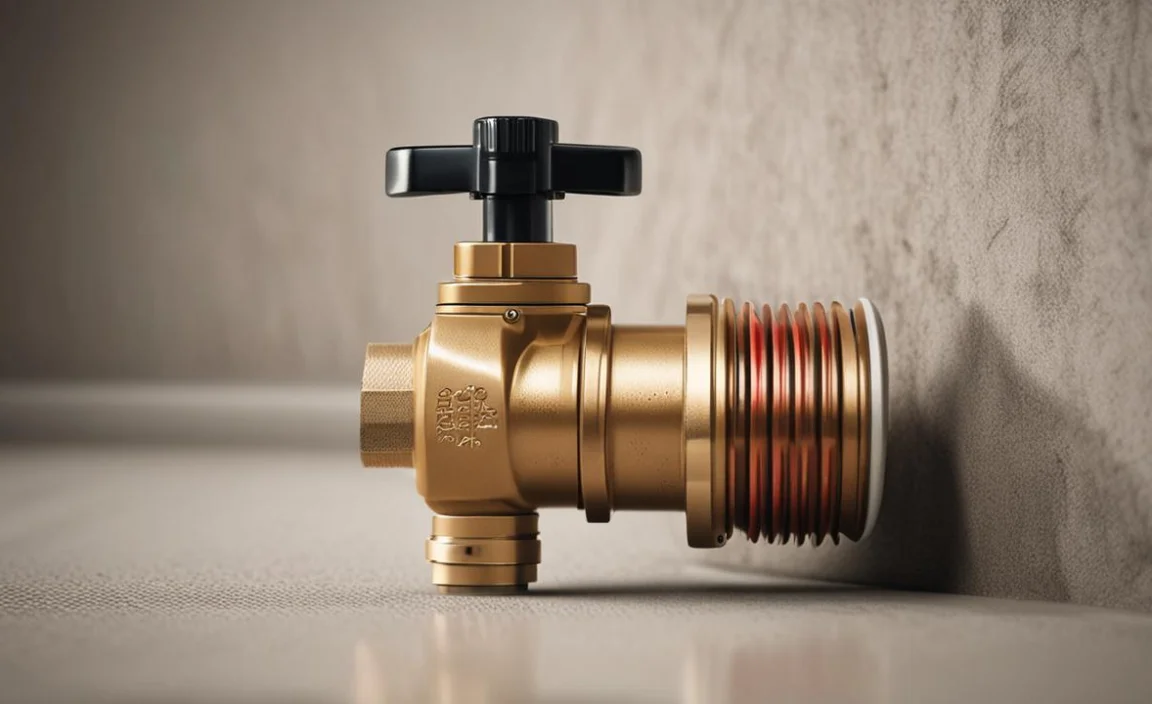
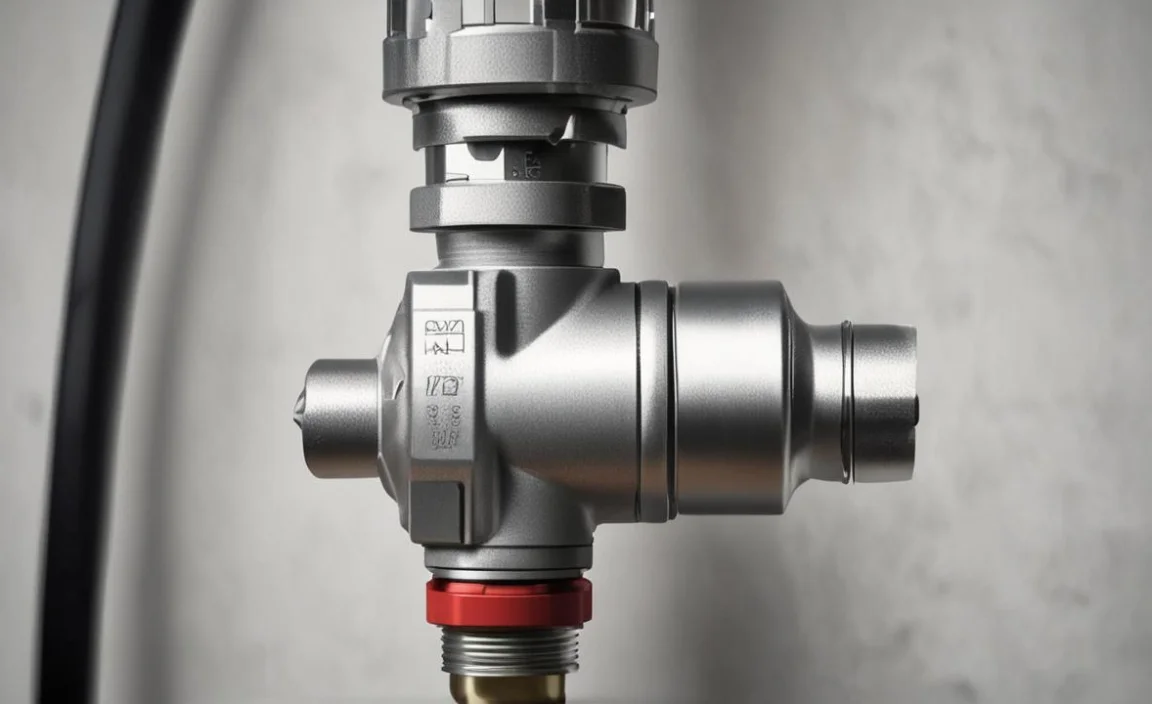
A petcock drain valve is a small yet important part of an air compressor. It lets out moisture collected in the tank. Most air compressors collect water over time. This water can lead to rust and damage. Some compressors have a petcock valve that you can unscrew. Others may have a lever or button. Knowing your valve type is important for replacement.
There are many signs of a broken valve. You may see water leaking from the valve. Or the valve might be stuck and hard to turn. Sometimes, the valve may break off completely. You should address these problems quickly. Ignoring them can lead to larger issues and costly repairs.
- A petcock valve helps drain water from the tank.
- It can be different types depending on the compressor.
- Look for leaks or damage to know if it’s broken.
- Regular checks help keep your compressor running well.
- Replacing it can save your compressor from damage.
Replacing a broken air compressor petcock drain valve can save you money. You won’t need to buy a new compressor. Plus, fixing it yourself can be rewarding. Always check your valve regularly to catch problems early. This simple task can help your air compressor last longer.
Fun Fact or Stat: Did you know that moisture in the air compressor can reduce its efficiency by up to 25%?
Signs Your Petcock Valve Needs Replacement
Have you ever wondered when to replace your petcock valve? There are clear signs to look for. If you notice water leaking, act fast. A leaking valve can lead to serious issues. Another sign is rust around the valve. This means moisture is getting into places it shouldn’t.
Sometimes, the valve might be hard to turn. If you struggle to open or close it, that’s a warning sign. A broken valve can let air escape. This makes your air compressor work harder. Hard work can lead to burnout or failure over time.
Regular checks can help you find these issues early. Don’t wait for a complete breakdown. Keeping your compressor in good shape can save you money and hassle in the long run.
Choosing the Right Replacement Valve
Choosing the right replacement valve is important. Each air compressor is different. You need to match the new valve with your old one. Most petcock valves are available at hardware stores.
Look for a valve made of durable materials. Brass and stainless steel are good choices. They resist rust and wear. Sometimes, you might find a universal valve. These can fit many compressor types.
If you’re unsure, ask a store employee for help. They can guide you to the right product. It’s best to spend a little time choosing. A quality valve will last longer and work better.
Tools You’ll Need for the Replacement
Do you have the right tools for the job? Having the right tools makes replacing a broken air compressor petcock drain valve easier. Start with a wrench. A wrench helps you unscrew the old valve.
Next, you will need Teflon tape. This tape helps seal the new valve. It prevents leaks and keeps everything tight. Don’t forget a bucket or container. This will catch any water that drains out.
Finally, have some cleaning supplies handy. You might need to clean the area around the valve before replacing it. Having these tools ready can help your project go smoothly.
Fun Fact or Stat: Using Teflon tape can reduce leaks by up to 90%.
Steps for Replacing a Broken Air Compressor Petcock Drain Valve
Replacing a broken air compressor petcock drain valve is simple if you follow these steps. First, turn off the compressor and unplug it. This is important for safety. Next, release any air pressure from the tank. You can do this by opening the drain valve, if it still works.
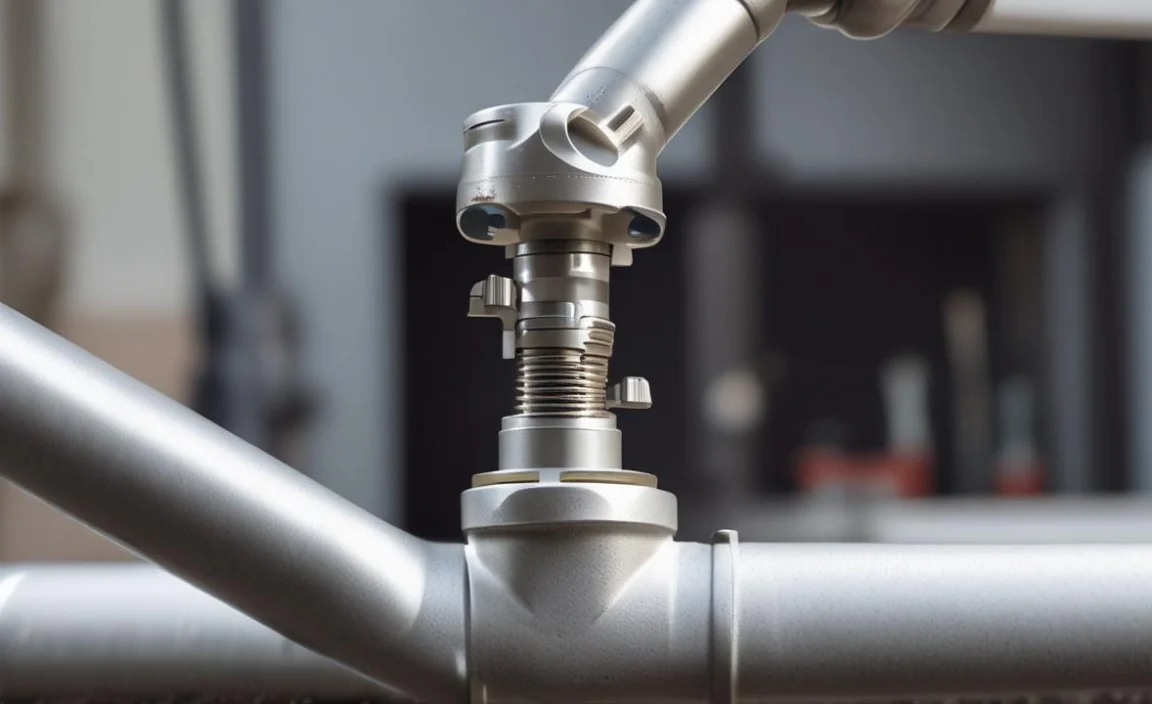
Once the pressure is released, take your wrench. Use it to remove the broken valve. Be careful not to damage the tank. After removing the old valve, clean the area. Make sure there’s no rust or debris.
Now, wrap the threads of the new valve with Teflon tape. This helps create a better seal. Screw the new valve into place using your wrench. Don’t overtighten it. Finally, turn your compressor back on and check for leaks.
- Turn off and unplug the compressor first.
- Release air pressure from the tank safely.
- Use a wrench to remove the old valve carefully.
- Clean the area before installing the new valve.
- Check for leaks after installing the new valve.
After following these steps, your air compressor should be ready to work again. Regular maintenance is key to keeping it running well. Make it a habit to check your air compressor and its parts. This will help you avoid future issues and repairs.
Fun Fact or Stat: Regular maintenance can double the lifespan of your air compressor!
Safety Tips During the Replacement
Safety is very important when working with air compressors. Always wear safety goggles and gloves. This protects your eyes and hands from debris.
Make sure to work in a well-ventilated area. This helps to avoid inhaling any harmful fumes. If you’re unsure about any step, ask for help. It’s better to ask than to risk injury.
Always double-check that the compressor is off and unplugged. This prevents accidents. Avoid wearing loose clothing that can get caught in machinery. Following these safety tips will keep you safe and sound.
Common Mistakes to Avoid
When replacing a broken air compressor petcock drain valve, it’s easy to make mistakes. One common mistake is forgetting to release air pressure first. This can cause accidents and injuries.
Another mistake is not cleaning the area before installing the new valve. Dirt can lead to leaks later. Some people also overtighten the new valve. This can damage the threads and cause leaks.
Don’t rush through the process. Take your time to do it right. Lastly, remember to check for leaks after replacing the valve. This simple step can save you from further problems.
Checking for Leaks After Replacement
After you replace the petcock valve, checking for leaks is crucial. Turn on the air compressor and let it build pressure. Once it reaches the desired pressure, listen carefully. You may hear hissing sounds if there’s a leak.
You can also use soapy water to check for leaks. Spray it around the valve area. If you see bubbles forming, there’s a leak. If everything looks good, you’re ready to use your compressor.
Regularly checking for leaks keeps your compressor running smoothly. It also helps prevent costly repairs. Make it a habit to check your equipment after any maintenance.
Fun Fact or Stat: Keeping your compressor leak-free can save you up to 30% on energy costs!
Maintaining Your Air Compressor for Longevity
Regular maintenance is key to keeping your air compressor running well. A well-maintained compressor lasts longer and works better. Start by checking the oil level frequently. Some compressors need oil to run smoothly.
Cleaning or replacing air filters is also important. Dirty filters can reduce efficiency. Next, regularly check and replace the petcock drain valve. This keeps moisture from building up in the tank.
Finally, inspect the hoses and connections. Look for any signs of wear or damage. Fixing small problems now can prevent bigger issues later.
- Check oil levels regularly for smooth operation.
- Clean or replace air filters often.
- Inspect hoses and connections for wear.
- Replace the petcock drain valve when needed.
- Keep a maintenance schedule to stay on track.
Maintaining your air compressor is a simple task. It just needs a little time and attention. Make it a habit to schedule regular maintenance. This will help your air compressor serve you well for many years.
Fun Fact or Stat: Proper maintenance can extend the life of your compressor by up to 50%.
Creating a Maintenance Schedule
Have you thought about a maintenance schedule for your air compressor? A schedule keeps you on track. It’s easy to forget tasks without one. Start by listing all the important maintenance tasks. Include checking the oil, filters, and petcock drain valve.
Pick a time each month to do these checks. You could set a reminder on your phone. Or you could write it on a calendar.
Make sure to keep a log of what you did. This way, you can see when tasks were last completed. A maintenance log can help you catch problems early.
When to Seek Professional Help
Sometimes, you may need professional help. If your air compressor isn’t working right, don’t hesitate to call an expert. It’s better to ask for help than to risk more damage.
Signs you might need help include strange noises, poor performance, or frequent breakdowns. A professional can diagnose the problem quickly. They have the tools and experience to fix it.
Don’t wait until a small problem turns into a big one. Seeking help early can save you money in the long run.
Keeping Track of Parts Replacement
Keeping track of when you replace parts is a smart idea. You can create a simple spreadsheet or using a notebook. Note the date of replacement and any details about the part.
Why is this important? It helps you know when to replace parts again. You can also track how well your air compressor is performing. If something seems off, you can look back at your notes.
This habit can help you catch problems early. It also saves you time when you need to replace parts in the future.
Fun Fact or Stat: Keeping records can reduce maintenance costs by up to 20%.
Summary
Replacing a broken air compressor petcock drain valve is a straightforward task. With the right tools and knowledge, you can do it yourself. Always check for leaks after completing the replacement. Regular maintenance will help your air compressor run better. Keep a schedule for tasks to ensure your compressor lasts longer.
Remember, taking care of your air compressor saves you money. It also prevents bigger problems down the road. Follow the steps in this article to keep your compressor in great shape.
Conclusion
In conclusion, replacing a broken air compressor petcock drain valve is essential. It’s not a hard task if you follow the steps. Always prioritize safety during the process. Regular maintenance keeps your compressor running well for years. Preventative care can save you from costly repairs later. Make it a habit to replace and check your petcock drain valve regularly.
Frequently Asked Questions
Question No 1: How often should I check the petcock drain valve?
Answer: You should check the petcock drain valve at least once a month. Regular checks help you find leaks or damage early. If you notice any issues, replace it right away. Proper maintenance can extend the life of your compressor. Replacing a broken air compressor petcock drain valve is an important part of this process.
Question No 2: What tools do I need to replace the valve?
Answer: To replace the valve, you need a wrench, Teflon tape, and a bucket. The wrench helps to unscrew the old valve. Teflon tape helps seal the new valve properly. The bucket will catch any water that drains out during the process. Having these tools ready makes replacement easier.
Question No 3: What are the signs of a broken valve?
Answer: Signs of a broken valve include leaks, rust, or difficulty turning it. If you notice any of these, it’s time for a replacement. Ignoring these signs can lead to bigger issues and damage. Replacing a broken air compressor petcock drain valve can save you money and hassle.
Question No 4: How do I know if the replacement valve is right?
Answer: To ensure the right replacement valve, check the specifications of your air compressor. Look for a valve that matches the size and type of your old one. Many stores have universal valves that fit various compressors. If unsure, ask an employee for help in choosing the right one.
Question No 5: Can I replace the valve myself?
Answer: Yes, you can replace the petcock drain valve yourself. It’s a straightforward task if you have the right tools. Follow the steps in this article for a smooth replacement. Always prioritize safety by turning off the compressor and wearing protective gear. If you feel uncomfortable, don’t hesitate to ask for help.
Question No 6: How can I maintain my air compressor?
Answer: To maintain your air compressor, check oil levels and replace air filters regularly. Inspect hoses and connections for wear. Also, regularly check and replace the petcock drain valve. Following a maintenance schedule helps keep your compressor running smoothly. This prevents issues like rust and leaks, saving money in the long run.
