Replacing a shower valve can be a big task. Many people think it’s too hard to do. But what if you could do it without going behind the wall? Imagine saving time and money! You can replace your shower valve without accessing from behind. It is possible, and it can be done with the right steps.
Many homeowners face this issue. Shower valves may wear out or leak over time. Instead of calling a plumber, you can take matters into your own hands. You can fix it yourself with a few tools and some guidance. Learning how to replace a shower valve without accessing from behind can be a fun project!
Are you ready to learn? Let’s explore how to do this task step by step. You will be surprised how easy it can be!
Key Takeaways
- You can replace a shower valve without accessing from behind.
- Tools like a wrench and a screwdriver are essential.
- Follow steps carefully for the best results.
- Take your time and don’t rush the process.
- Keep safety in mind while working on the valve.
Understanding Shower Valves and Their Functions
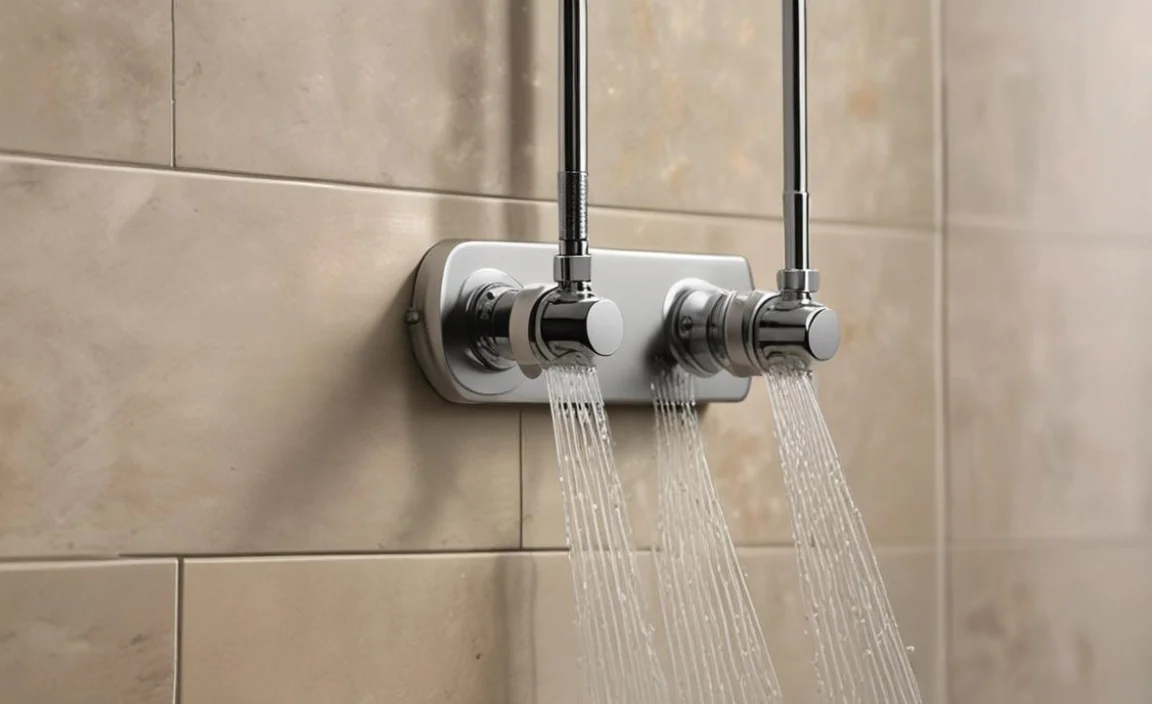
Shower valves control the water flow in your shower. They are important for hot and cold water mixing. If your valve is broken, you may face leaks or inconsistent water temperature. This can lead to a frustrating shower experience. Knowing how they work helps you understand why replacing them is necessary.
- Shower valves mix hot and cold water.
- They help maintain water pressure.
- A broken valve can cause leaks.
- Valves come in various styles and designs.
- Understanding valves helps in choosing the right one.
When you know what a shower valve does, you can see its importance. It keeps your showers comfortable and enjoyable. Learning how to replace it without accessing from behind opens more options. You can fix issues quickly without major repairs in your bathroom. This skill is valuable for any homeowner.
Fun Fact or Stat: Most homeowners can replace their shower valve in just a few hours!
Types of Shower Valves You May Encounter
Did you know there are different types of shower valves? Each type has its own features. Some people get confused when selecting a new valve. Knowing the types helps you pick the right one for your shower. Popular types include cartridge, compression, and thermostatic valves. Each type works differently and has its own strengths.
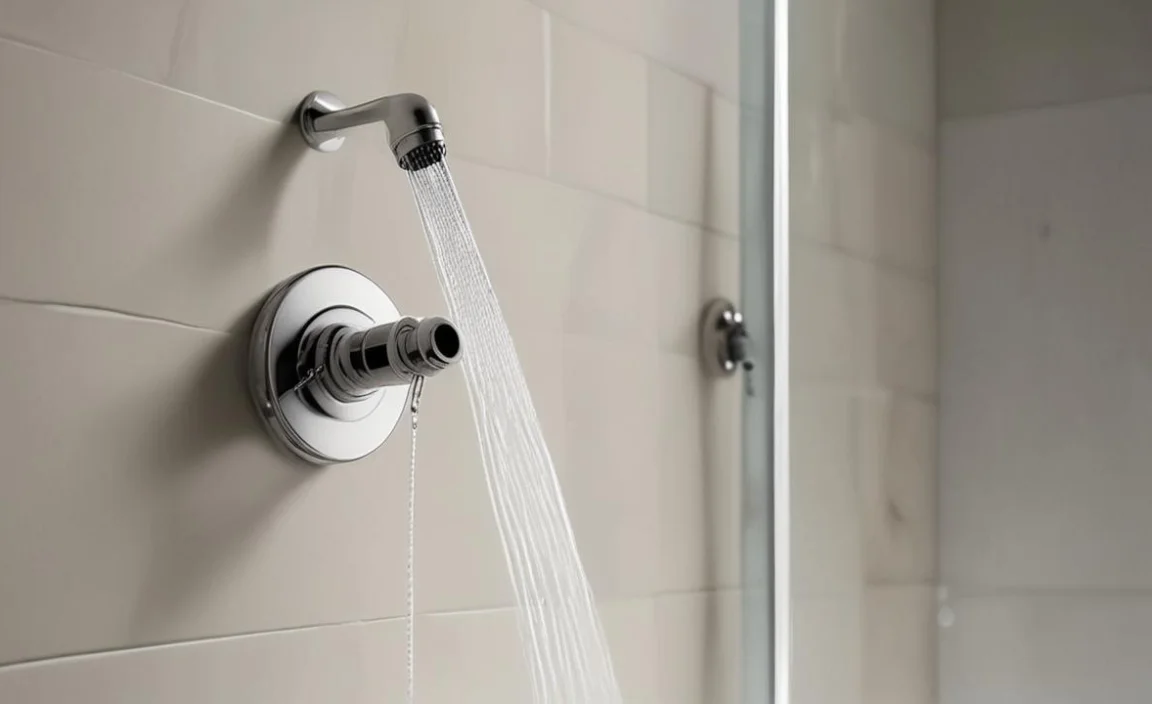
Why You Might Need to Replace Your Shower Valve
Your shower valve may need replacing for several reasons. Sometimes, it leaks or does not work properly. A dripping valve can waste water and money. You may also notice strange noises during your shower. These signs mean it’s time to take action. Learning about these reasons helps you understand when to replace your valve.
Choosing the Right Replacement Valve
When replacing your shower valve, choosing the right one is important. You should consider factors like size and brand. Do you want a valve that lasts long? Look for a high-quality option. Reading reviews can help you find the best choice for your needs. Always remember to match the new valve to your existing plumbing.
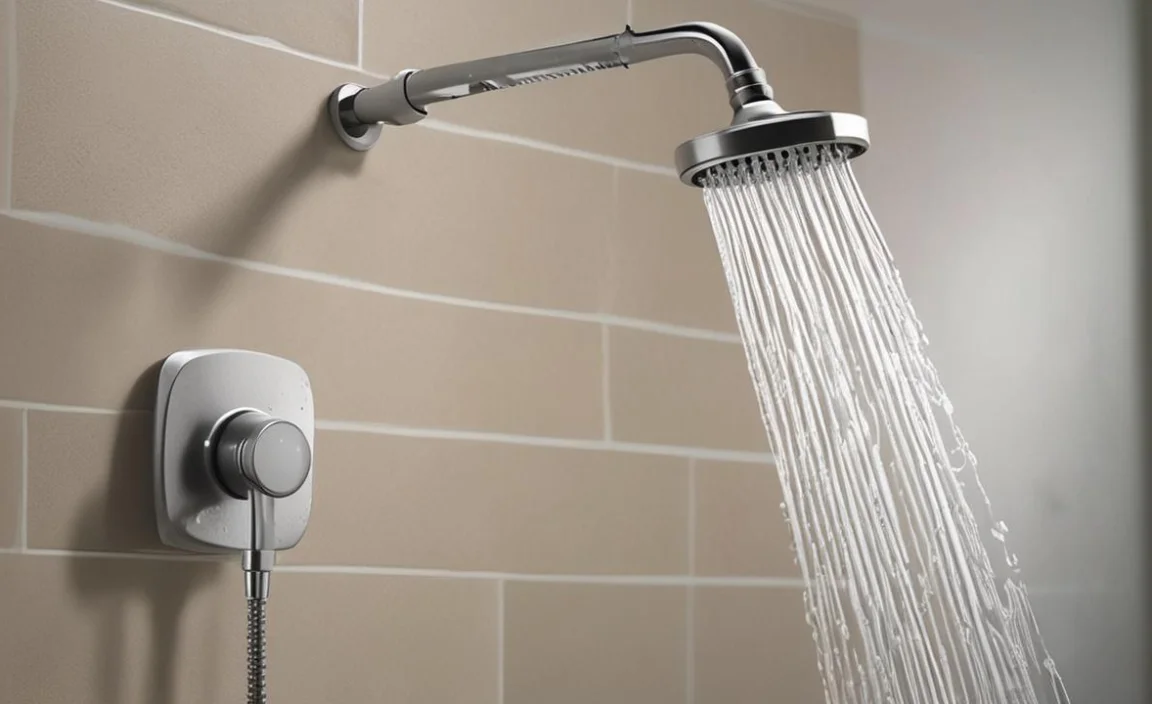
Steps for Replacing Shower Valve Without Accessing from Behind
Replacing a shower valve without accessing from behind is possible with the right steps. First, gather your tools. You will need a wrench, screwdriver, and maybe a new valve. Next, turn off the water supply to avoid spills. You will also need to remove the handle and trim plate carefully. This task requires patience and attention to detail.
- Gather necessary tools like wrenches and screwdrivers.
- Turn off the water supply before starting.
- Remove the handle and trim carefully.
- Disconnect the old valve once exposed.
- Install the new valve according to instructions.
After you follow these steps, you will have a new valve installed. Be sure to check for leaks before finishing. If everything looks good, you can replace the handle and trim. Enjoy your newly functioning shower! Replacing a shower valve without accessing from behind is a rewarding task.
Fun Fact or Stat: Many people save money by doing this repair themselves!
Gathering Necessary Tools
Gathering the right tools is key to a successful repair. You will need a wrench for loosening bolts. A screwdriver will help remove screws. Make sure to have a bucket or towel too, for any water spills. Check your tools before starting your project. Having everything ready makes the task smoother and faster.
Turning Off the Water Supply
Always remember to turn off the water supply! This is the first step for safety. If you forget this step, water can spray everywhere. Look for the main water shut-off valve in your home. Turn it off before you start working on your shower. This simple action helps avoid a watery mess.
Removing the Handle and Trim
Removing the handle and trim is a careful process. You may need to unscrew them to get to the valve. Use your screwdriver gently to avoid breaking anything. Once removed, take a good look at the valve. This part is where you will do the work. Following this step correctly is crucial for the next stages.
Tools Needed for Replacing Shower Valve Without Accessing from Behind
For this job, you need some basic tools. Most of them are common and easy to find. A wrench is essential. You need it to loosen fittings. A screwdriver, either flat or Phillips, will help remove screws. A utility knife can also be handy. It helps cut away any old seals or caulking.
| Tool | Purpose | Size Needed | Where to Buy |
|---|---|---|---|
| Wrench | Loosening and tightening fittings | Adjustable | Hardware stores |
| Screwdriver | Removing screws | Flat/Phillips | Online or local shops |
| Utility Knife | Cutting old seals | Standard size | Any hardware store |
| Bucket | Catching water spills | Any | Online or local shops |
Each tool serves a specific purpose. Having them all ready makes replacing your shower valve easier. Check your garage or toolbox. You may already own some of these tools! If not, they are easy to find. Be prepared before you start, and your project will go smoothly.
Fun Fact or Stat: Most homeowners can find all tools in one trip!
Why You Should Use Quality Tools
Using quality tools is important for any DIY project. Cheap tools can break or not work well. This can lead to frustration during your repair. Good tools make your work easier and faster. They also help you avoid mistakes. Investing a little more in tools can save you time in the long run.
Where to Buy Tools
You can find tools at hardware stores or online. Local shops often have staff to help find what you need. Online stores sometimes offer better deals. Compare prices to get the best value. Remember, having the right tools is key to a successful shower valve replacement. Don’t rush this part!
Maintaining Your Tools for Future Use
After using your tools, clean and store them properly. This helps them last longer and work better. Wipe them down to remove dust and moisture. Put them in a dry place where they won’t get damaged. Well-maintained tools are always ready for your next project. Taking care of your tools is just as important as using them.
Common Mistakes When Replacing Shower Valve Without Accessing from Behind

Many people make mistakes when replacing a shower valve. One common mistake is not turning off the water supply. This can cause a big mess! Another mistake is rushing the steps. Take your time to avoid errors. Not reading the instructions can also lead to problems. It’s important to follow all steps carefully for the best outcome.
- Not turning off the water supply first.
- Rushing the removal of the old valve.
- Over-tightening new valve fittings.
- Forgetting to check for leaks after installation.
- Using the wrong tools for the job.
By knowing these common mistakes, you can avoid them. Each step is important in this process. Taking your time ensures a successful valve replacement. Don’t let a little mistake ruin your hard work. Always double-check your actions for the best results. Remember, replacing a shower valve without accessing from behind can be done right!
Fun Fact or Stat: Most DIY projects have simple fixes for common mistakes!
Ignoring Step-by-Step Instructions
Ignoring instructions can lead to confusion. Each step is there for a reason. They guide you through the process. Skipping steps can damage your shower or valve. Always read the instructions carefully. If you’re unsure, look for videos online. Visual guides can help you understand better. Following directions keeps your project on track.
Not Checking for Leaks
Failing to check for leaks can lead to further issues. After installation, always test the valve. Turn on the water slowly and watch for drips. If you see any, tighten fittings. Not checking can cause water damage over time. Taking a few extra minutes to test saves you trouble later. Always prioritize testing before finishing up.
Using Incorrect Tools or Parts
Using the wrong tools can make tasks harder. It’s essential to match tools with your project needs. If a tool doesn’t fit, it may damage the valve. The same goes for parts. Always ensure that replacement parts match your old ones. Using correct tools and parts helps ensure everything functions well after installation.
Tips for a Successful Replacement

To have a successful shower valve replacement, plan ahead. Start by gathering all your tools. Make sure you have a clear workspace. A tidy area can help you focus better. It’s also important to work slowly and carefully. Rushing can lead to mistakes. Take breaks if needed. Staying calm helps keep the task enjoyable.
- Prepare your workspace before starting.
- Read all instructions thoroughly.
- Double-check tools and parts before beginning.
- Take breaks to avoid feeling overwhelmed.
- Ask for help if needed during tricky steps.
Following these tips can make your project fun and easy. You’ll feel accomplished once you complete it. Share your success with friends or family! They may be inspired to tackle their own home improvements. Remember, replacing a shower valve without accessing from behind is a great skill to have. Enjoy your new shower!
Fun Fact or Stat: Many DIYers enjoy sharing their projects online!
Planning Your Project
Planning your project can make the process smoother. Before starting, list what you need. This helps you stay organized. Set aside a day or weekend to complete it. Make sure you won’t be rushed. If you feel prepared, the project will be more fun. Planning can also reduce the chances of mistakes.
Working with a Friend
Having a friend help can make the job easier. They can assist with holding tools or reading instructions. Working together can also be more fun. Plus, it can make the project go faster. You can share tips and tricks along the way. Friends can help you stay focused and motivated!
Feeling Proud of Your Work
When you finish, take a moment to feel proud. You did the work yourself! Completing home repair tasks can boost your confidence. It shows you can learn and grow. Share your success with others. They may want to try it too. Celebrate your accomplishment and enjoy your newly repaired shower!
Summary
Replacing a shower valve without accessing from behind is a valuable skill. It saves time and money for homeowners. With the right tools and steps, anyone can do it. Follow instructions carefully, and don’t rush. By preparing well, you can enjoy a successful project. Remember, your shower will work even better after the repair!
Conclusion
In conclusion, replacing a shower valve without accessing from behind is doable. It requires some preparation and patience. Gather your tools and follow the steps. Always check for leaks and ensure everything is tight. With practice, you will master this skill. Enjoy your new shower experience!
Frequently Asked Questions
Question No 1: Can I replace a shower valve myself?
Answer: Yes, you can replace a shower valve yourself. With the right tools and steps, it’s doable. Make sure to read instructions carefully and take your time. You can do this project without needing a professional’s help. Remember to turn off the water supply first, so you don’t make a mess!
Question No 2: What tools do I need for this project?
Answer: You will need a wrench, screwdriver, and utility knife. These tools help you remove the old valve and install the new one. A bucket is also useful to catch water. Having the right tools is key to successfully replacing your shower valve without accessing from behind.
Question No 3: How do I know if my shower valve needs replacing?
Answer: If your shower leaks or has inconsistent temperatures, it may need replacing. Strange noises can also be a sign. Pay attention to these signs and take action when needed. Learning about your shower valve will help you know when to make changes.
Question No 4: Is it hard to replace the valve without going behind?
Answer: No, it is not hard if you follow the right steps. Taking your time and being careful is important. Gather your tools and read instructions thoroughly. You can successfully replace the shower valve without accessing from behind if you prepare well.
Question No 5: What are common mistakes to avoid?
Answer: Common mistakes include not turning off the water supply and rushing steps. Always read instructions and check for leaks after finishing. Taking your time helps avoid errors. Being careful ensures that your project turns out well.
Question No 6: How can I make this project easier?
Answer: Planning your project can make it easier. Gather your tools and set aside time to focus on the task. Ask a friend for help. Working together can make the job faster and more fun. Enjoying the process is important, so take your time!
