The toilet flange is a vital part that connects the toilet to the drainpipe and creates a secure seal to prevent leaks. Installing a toilet flange on a concrete floor requires a different approach than installing it on a wood subfloor.
However, when dealing with a concrete floor, many homeowners and DIY enthusiasts may face some challenges in finding the right toilet flange. With the abundance of options available on the market, it can be overwhelming to determine which toilet flange is suitable for a concrete floor.
Here, we will provide a comprehensive guide on mastering toilet flange for concrete floor installation. We will cover everything you need to know, from the tools and materials required to the step-by-step process for installing the flange correctly.
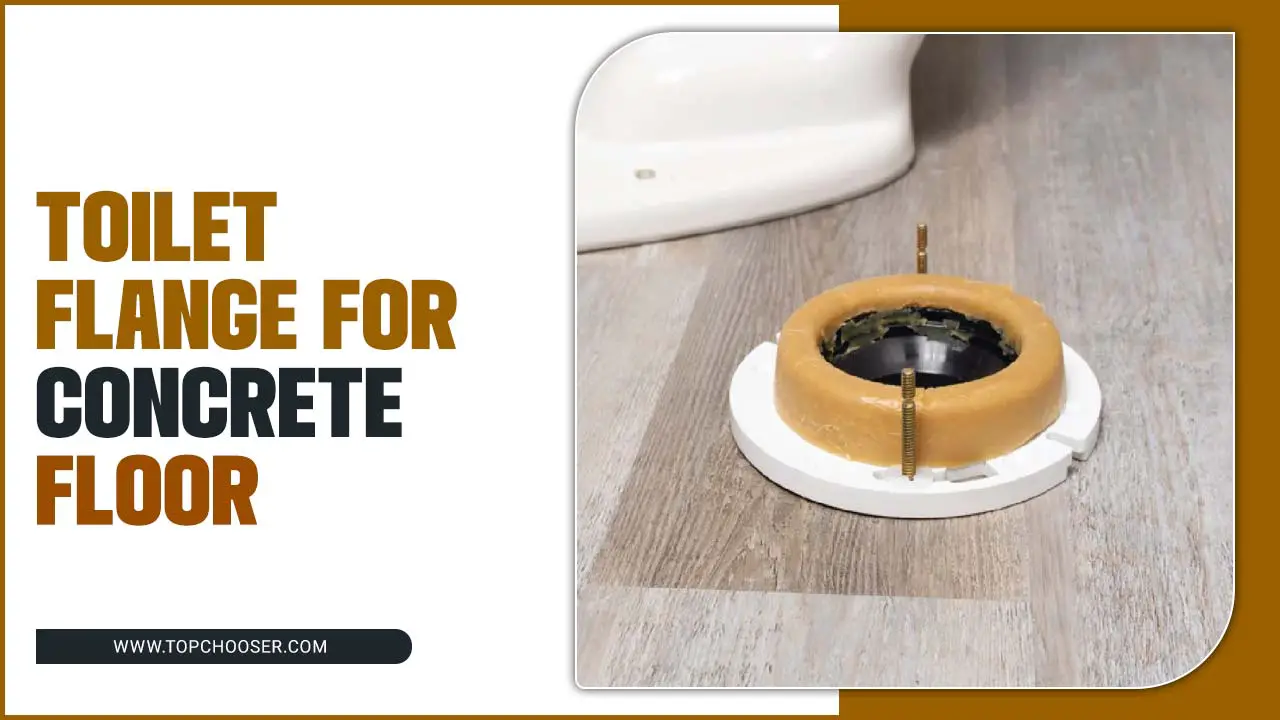
Tools And Materials Needed For Installation
Installing a toilet flange on a concrete floor requires a few specific tools and materials. With these tools and materials on hand, you’ll be ready to tackle your toilet flange installation on a concrete floor. Here are the items you’ll need for a successful installation:
- Toilet flange
- Wax ring
- Adjustable wrench
- Screwdriver
- Hammer drill
- Concrete screws or anchors
- Plumber putty or silicone sealant
Preparing The Concrete Floor For Installation
To properly install the toilet flange on a concrete floor, it is important to prepare the surface beforehand. Begin by thoroughly cleaning the concrete floor and removing any debris or dirt that may affect the adhesion of the flange. Next, use a hammer and chisel to create a smooth, level surface where you will install the flange.
Applying a layer of primer to the concrete floor will enhance the adhesion of the flange. Once the surface is prepared, use a construction adhesive or epoxy to securely attach the flange to the concrete floor, ensuring proper alignment with the waste pipe. Finally, fasten the flange to the floor using screws or bolts, ensuring a flush fit.
Instruction To Set Up Toilet Flange For Concrete Floor Installation
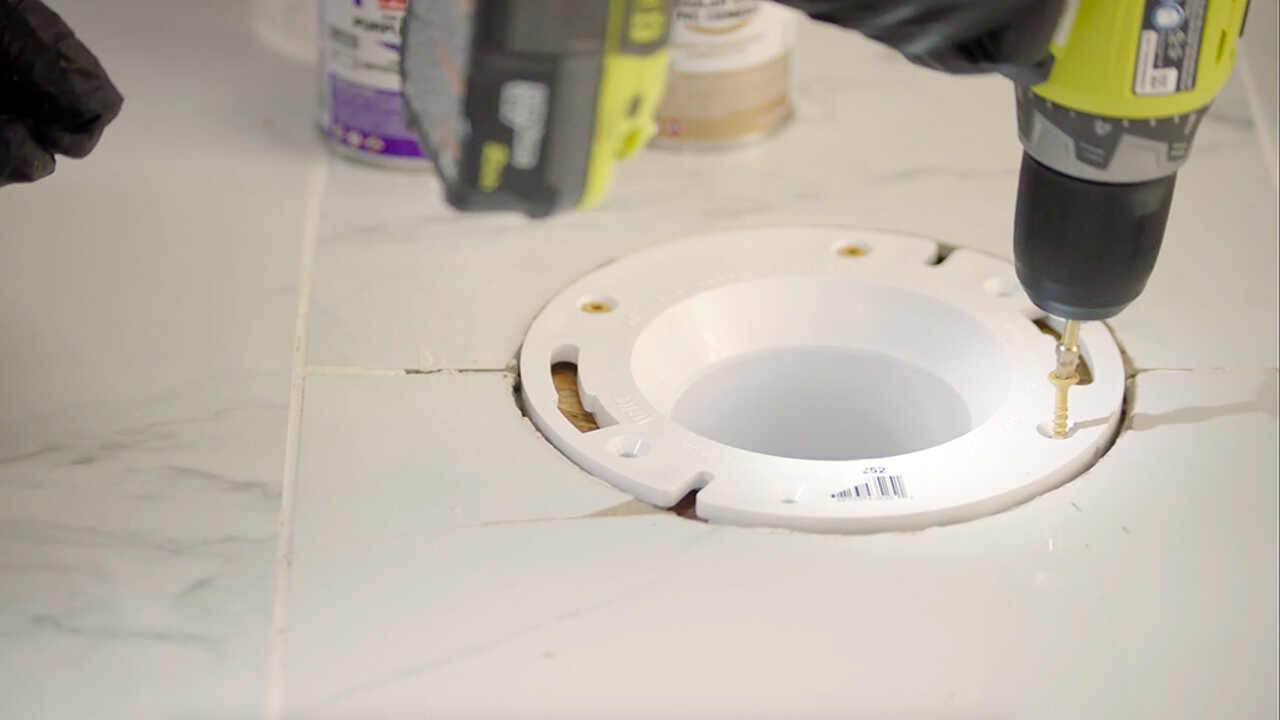
To set up a toilet flange for concrete floor installation, clean and level the surface. Measure and mark the location of the flange before using a masonry drill bit to create anchor screw holes. Insert plastic anchors into the drilled holes and attach the metal flange to the concrete floor using screws and anchors. Finally, apply a layer of waterproof sealant around the base of the flange.
Choosing The Right Type Of Toilet Flange
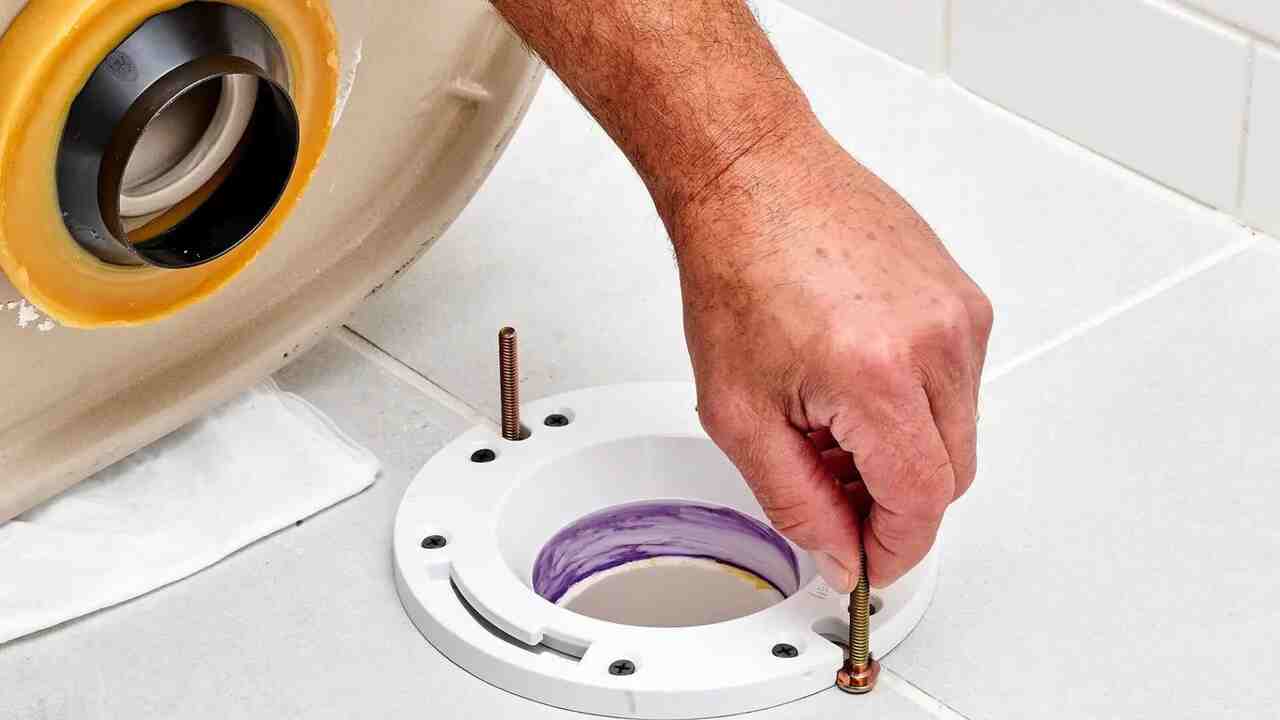
Several options exist when choosing the right type of toilet flange for a concrete floor installation. People commonly use PVC flanges due to their affordability and ease of installation. Cast iron flanges offer durability and can withstand heavy use, making them ideal for commercial settings.
Stainless steel flanges are corrosion-resistant and often used in marine or outdoor applications. When selecting the appropriate flange for your installation, it’s important to consider factors such as pipe size, flange height, and special features.
Removing The Old Flange (If Applicable)
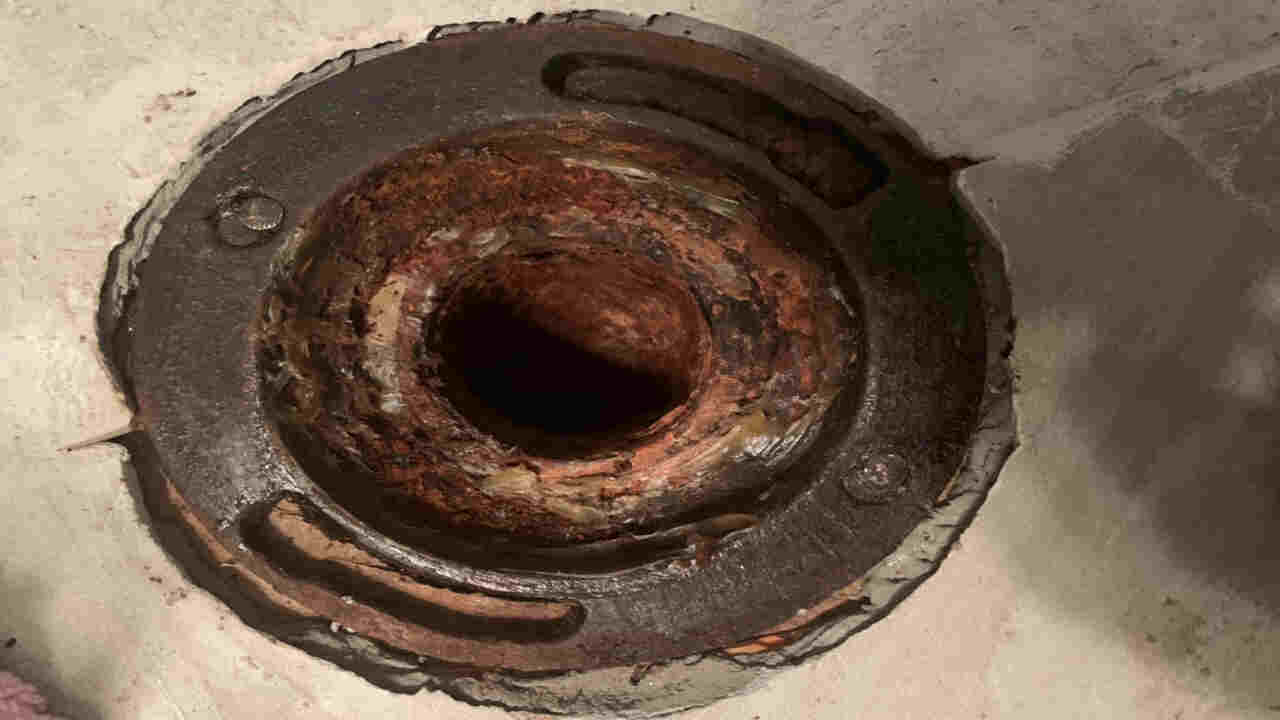
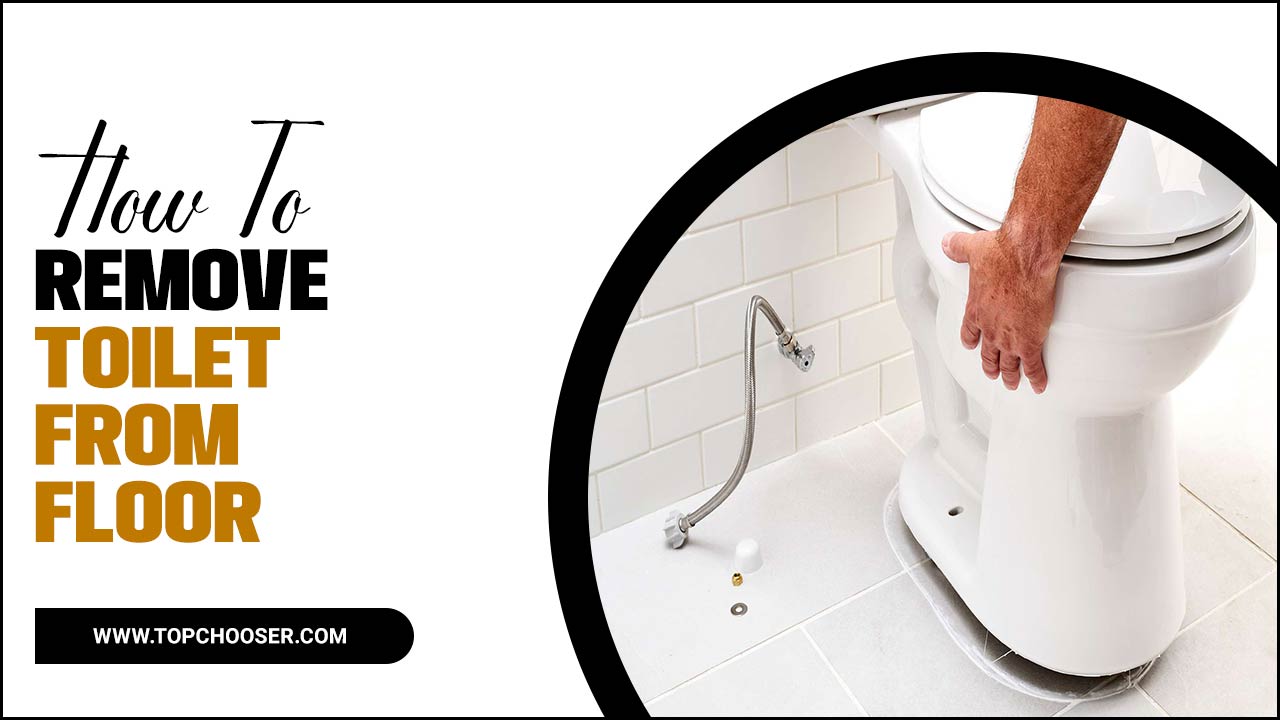
If the old toilet flange is damaged or misaligned, it should be removed before installing a new one on a concrete floor. Shut off the water supply to the toilet and drain any remaining water from the bowl and tank.
Remove the nuts and bolts securing the toilet, then lift it off the flange. Inspect the old flange for cracks or damage, using a chisel or pry bar to loosen and remove it if necessary. Clean the area where the old flange was removed to prepare for installing the new flange.
Attaching The New Flange To The Drain Pipe
To attach the new flange to the drain pipe, start by ensuring that the pipe is clean and free from debris or old wax ring remnants. Apply PVC primer to the outside of the drain pipe and the inside of the flange, allowing it to dry briefly.
Then, use PVC cement to secure the flange onto the drain pipe, ensuring a tight fit. Use a level to check if the flange sits evenly on the floor and adjust if necessary. Finally, secure the flange to the concrete floor using concrete screws or anchors to attach it firmly. Test the stability of the flange by gently wiggling it to ensure it doesn’t move or rotate.
Securing The Flange To The Concrete Floor
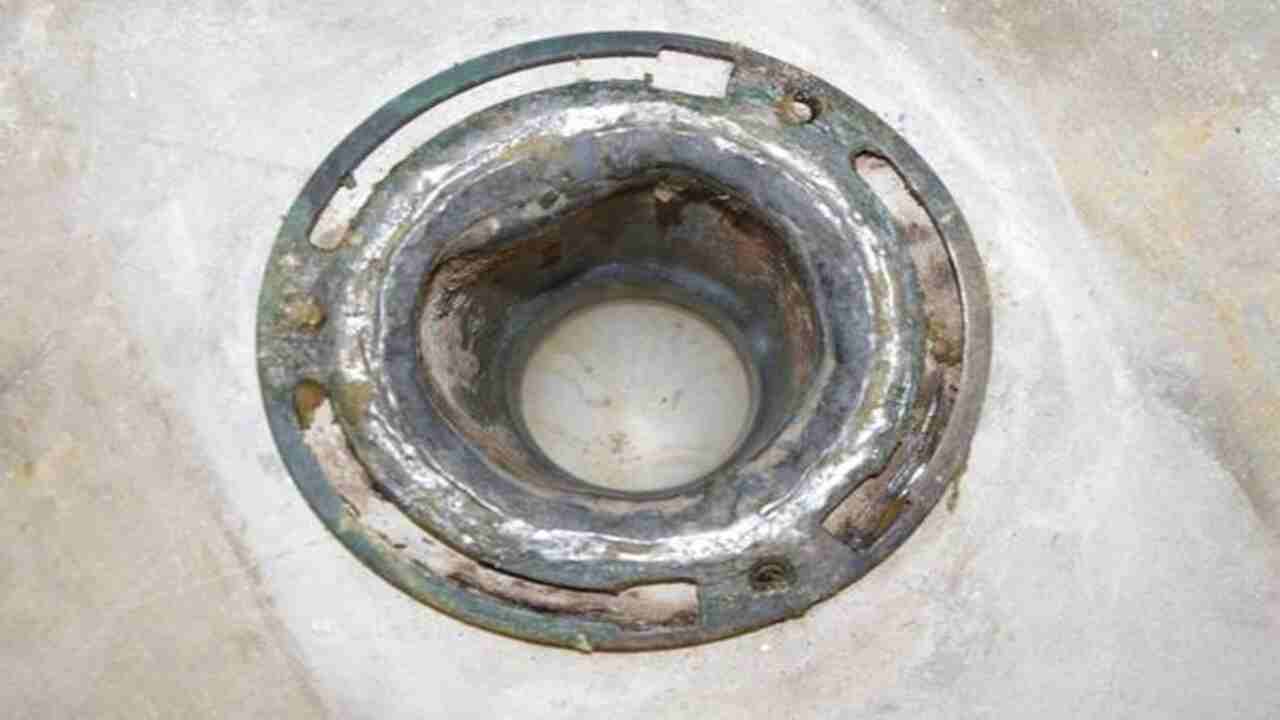
When installing a toilet flange on a concrete floor, it is important to ensure it is securely attached. To begin, mark the location of the toilet flange on the concrete floor and drill holes accordingly. Securing the toilet flange to a concrete floor is an important step in the installation process. First, determine the location of the flange by placing a piece of tile or a finished floor over the hole in the concrete slab.
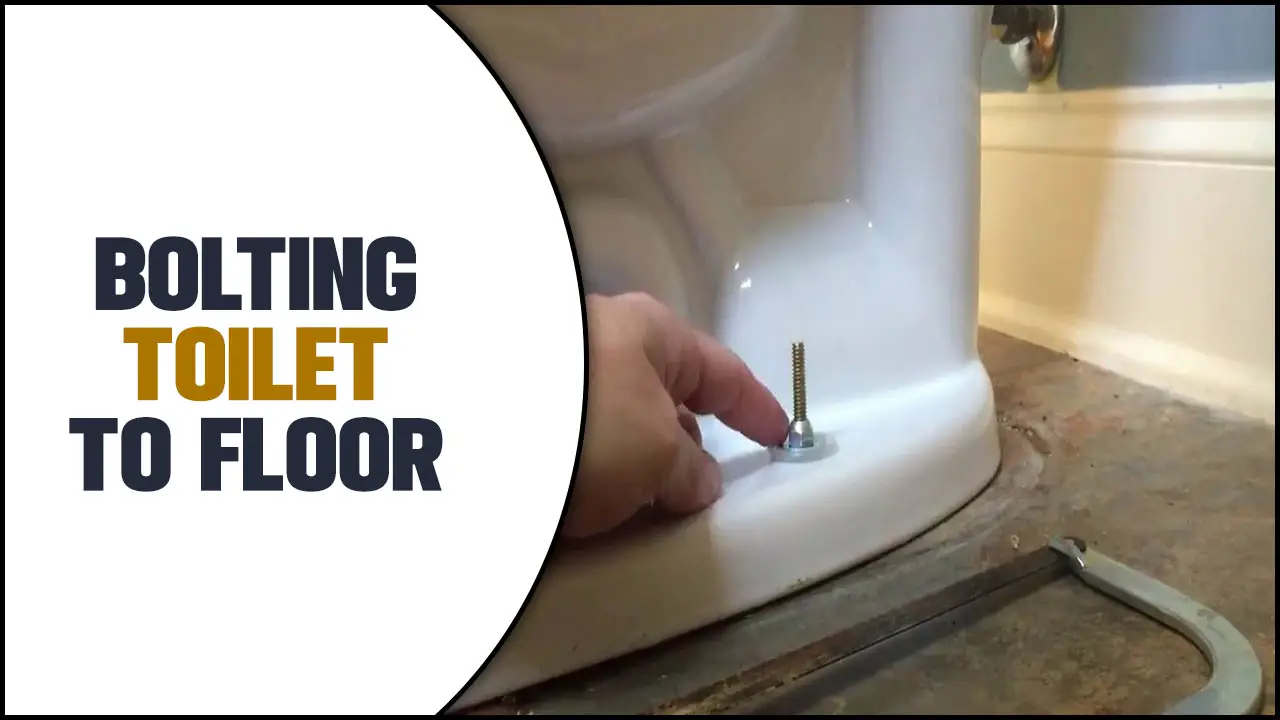
This will help ensure that the flange is positioned correctly. Once you have determined the location, use a drill to create holes in the concrete for the toilet bolts. Next, apply adhesive to the bottom of the flange and press it firmly onto the concrete floor, making sure it is level. Finally, insert the toilet bolts into the holes and tighten them securely to secure the flange in place.
Testing The Flange For Stability
Before installing the toilet flange on a concrete floor, it is important to test its stability. Start by placing the flange over the existing drain pipe and aligning the bolt holes. Then, insert closet bolts into the slots provided and secure them using nuts.
Next, place a toilet bowl upside down on top of the flange and align it with the bolt holes. Use tape to hold the bowl in place temporarily. Lastly, check if the original flange sits flush with the floor and is stable. If not, adjustments may be necessary before proceeding with installation.
Sealing The Flange To The Toilet Base
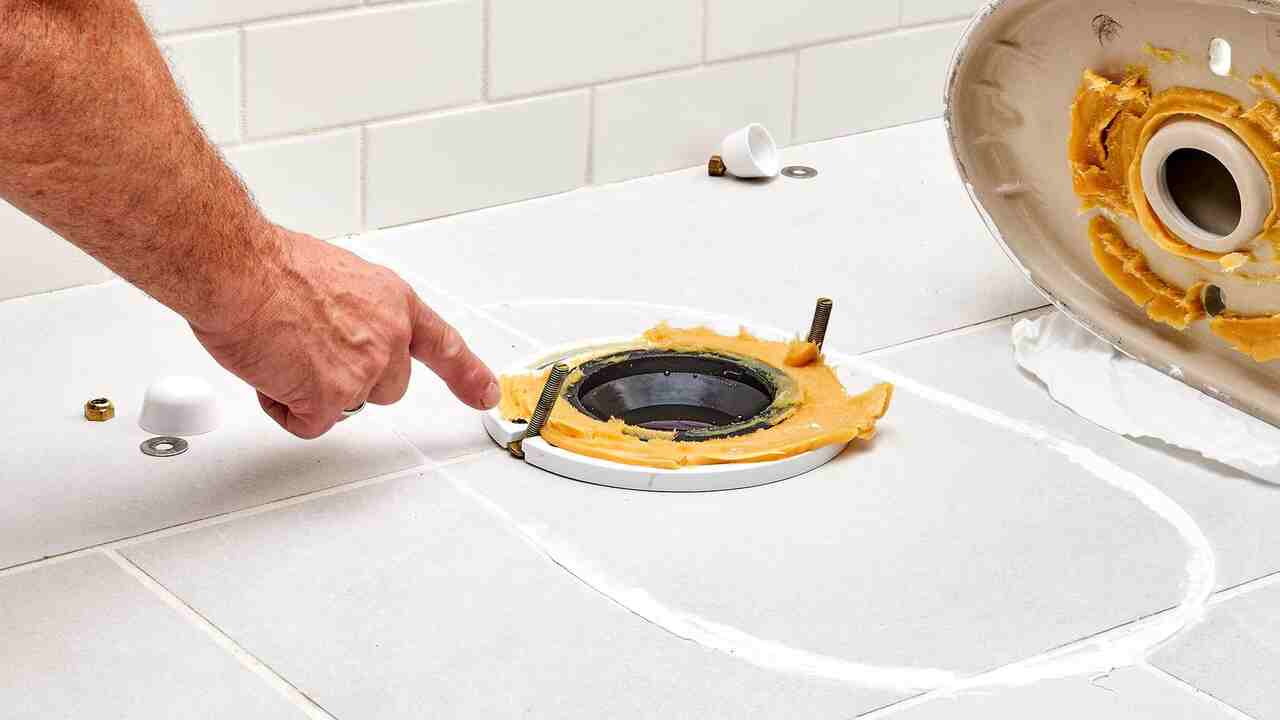
After properly positioning and leveling the flange on the concrete floor, create a watertight seal by applying the plumber’s putty or silicone caulk around the bottom of the toilet base. Lower the toilet carefully onto the flange, ensuring the wax ring aligns with the opening.
Compress the wax ring by pressing down on the toilet firmly for a secure seal. Secure the toilet to the floor using the provided screws or bolts. Test for leaks by flushing the toilet and checking for water around the base; tighten the bolts or screws if necessary.
Measure The Size Of The Flange
To set up a toilet flange for concrete floor installation, the first step is to measure the size of the flange. This will ensure that you select the correct flange for your toilet. There are various types of flanges available, such as toilet flange kits, brass flanges, and floor flanges.
Once you have chosen the right flange, position it over the drain hole in the concrete floor and use a level to ensure that it is perfectly aligned. Secure the flange to the floor using bolts and bolt caps to ensure a tight and secure fit.
Select The Correct Size Flange
When setting up a toilet flange for concrete floor installation, it is crucial to select the correct size flange. The flange should fit securely over the waste pipe and have rubber seals to prevent leaks. Before installation, tape measures the distance between the center of the waste pipe and the finished wall to ensure proper alignment.
To install the flange, use a hammer drill to create holes in the concrete floor for stability. Then, apply the cement floor around the outer edge of the flange and press it firmly into place. This will provide a secure connection between the toilet and the waste pipe, preventing any stability issues in the future.
Set The Toilet Flange In Place
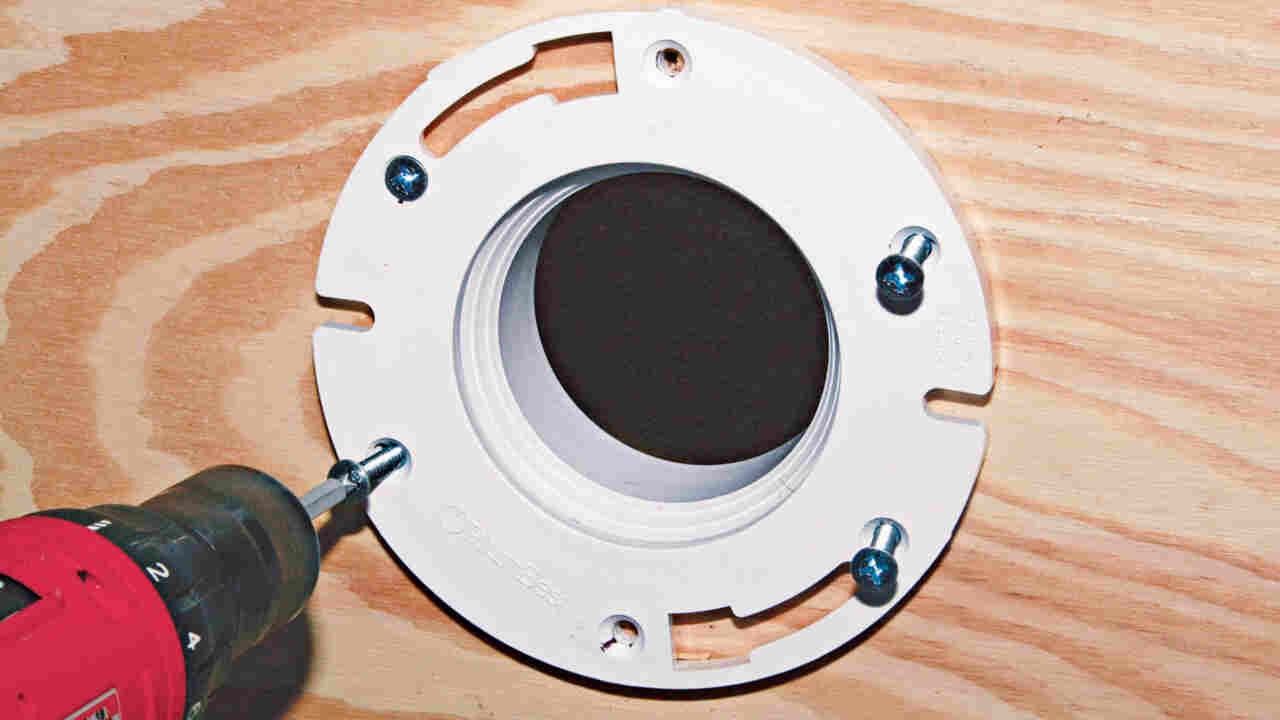
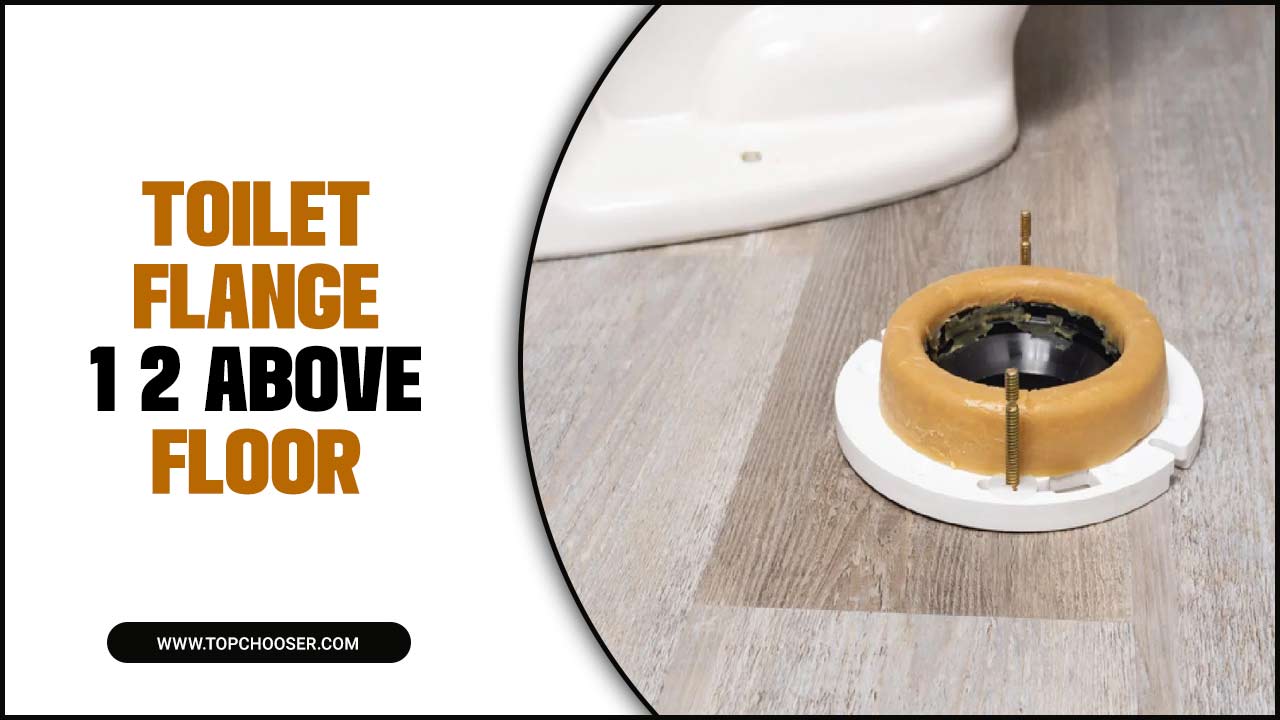
To set up a toilet flange for concrete floor installation, begin by ensuring that the sanitary sewer pipe is clean and free from any debris. Next, place a toilet wax ring onto the ABS flange or brass closet flange, ensuring that it is centred properly.
Carefully lower the flange onto the sewer pipe, aligning the holes in the flange with the bolts on the floor. Once aligned, press down firmly to secure the flange in place. Make sure that the flange is level and flush with the floor before tightening the alignment of bolts to ensure a proper seal.
Should The Toilet Flange Be Screwed To The Concrete Floor?
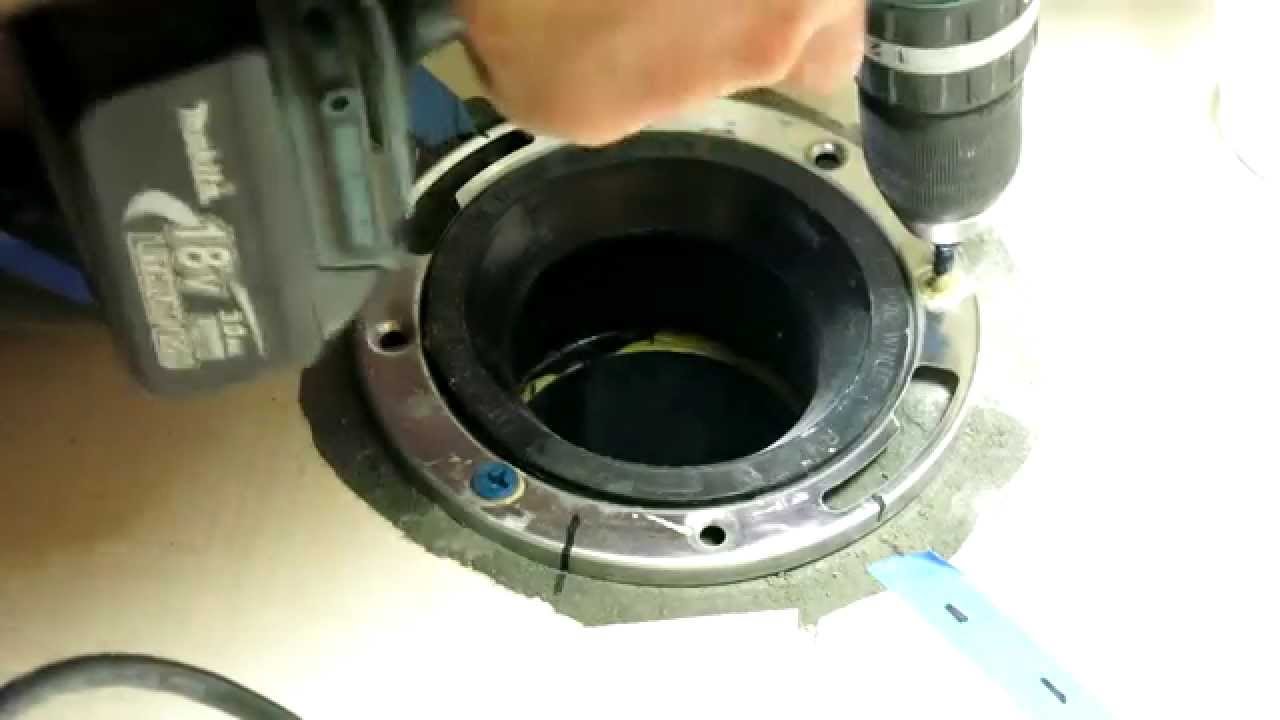
When installing a toilet flange on a concrete floor, it is not necessary to screw the flange directly to the floor. Instead, the flange should be secured using bolts that fit into the bolt slots clean on the flange. Before installing the flange, make sure that the area around the flange is clean and free of any debris.
The use of a black seal can help create a watertight connection between the flange and the ABS pipe. When positioning the toilet bowl levels on top of the flange, it is important to ensure that it is level to prevent any leaks or wobbling.
Conclusion
Mastering the installation of a toilet flange for concrete floor is essential for a secure and functional bathroom. Following the step-by-step instructions and using the right tools and materials can ensure a successful installation that will prevent leaks and damage.
Remember to choose the right flange type, properly prepare the floor, and securely attach the flange to the drain pipe and the concrete. Avoid common mistakes that can lead to future problems.
Consult a professional plumber if you’re unsure about any step or need further guidance. We have provided bulk information For the toilet flange for the concrete floor and hope our information was helpful from your perspective.
Frequently Asked Questions
[rank_math_rich_snippet id=”s-772bb979-8cdf-4ae2-ae72-d9104ed73edc”]

I am passionate about home engineering. I specialize in designing, installing, and maintaining heating, ventilation, and air conditioning systems. My goal is to help people stay comfortable in their homes all year long.

