Toilet tank sweating happens when warm, moist air meets the cold surface of the tank, causing condensation. This is similar to how a cold glass of water “sweats” on a hot day. Fixes include insulating the tank, reducing humidity in the bathroom, or installing a mixing valve to warm the incoming water. Addressing this issue prevents water damage and mold growth.
Is your toilet tank constantly covered in beads of water? It’s a common problem, and it can be frustrating. That “sweating” isn’t just annoying; it can lead to water damage on your floors and even mold growth. But don’t worry! Understanding why your toilet tank sweats is the first step to fixing it.
This guide will walk you through the causes of toilet tank sweating and provide simple, step-by-step solutions you can easily do yourself. We’ll cover everything from adjusting your bathroom’s ventilation to more involved fixes like insulating your tank. Let’s get started and say goodbye to that sweaty toilet tank for good!
Understanding Toilet Tank Sweating
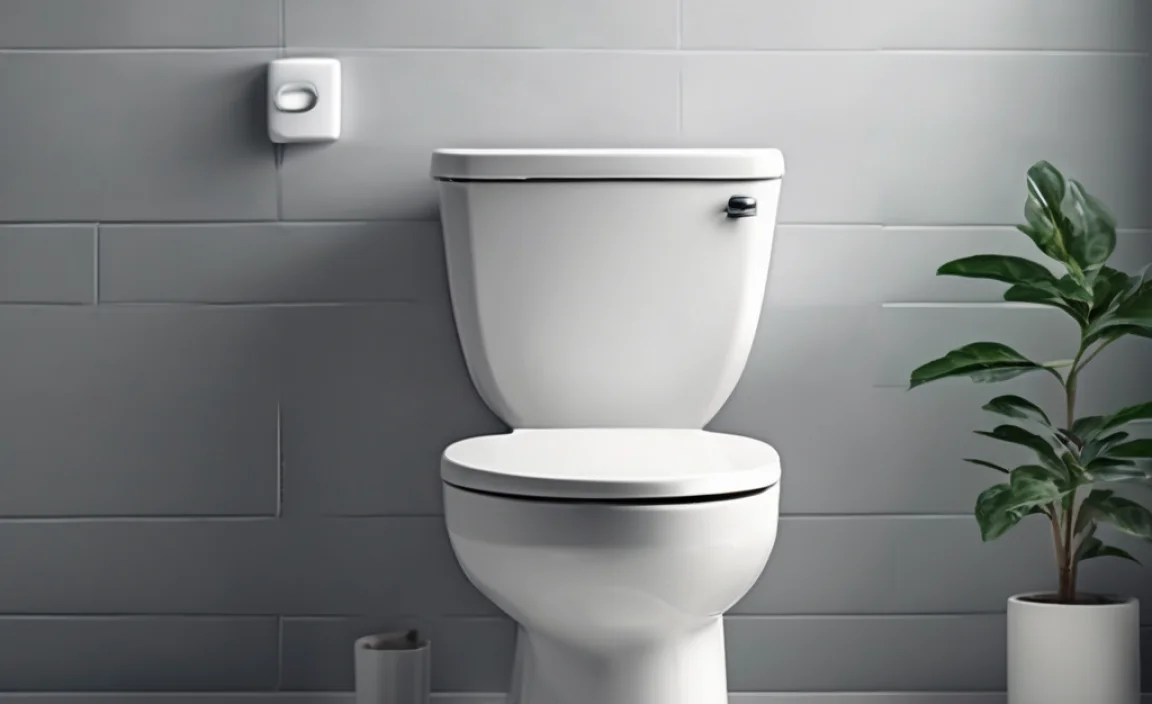
Toilet tank sweating, also known as toilet condensation, happens when the outside of the toilet tank gets covered in water droplets. This isn’t a sign that your toilet is leaking. Instead, it’s a result of simple physics. Here’s a breakdown of what’s happening:
The Science Behind the Sweat
The main culprit is the difference in temperature between the water inside the tank and the air outside. When warm, humid air comes into contact with the cold surface of the toilet tank, condensation forms. Think of it like a cold can of soda on a warm day – the can “sweats” as moisture from the air turns into liquid on its surface.
- Warm, Moist Air: Bathrooms tend to be humid, especially after showers or baths.
- Cold Water: The water in your toilet tank is usually cold, especially in the summer months.
- Condensation: When these two meet, the warm air cools down and releases its moisture as water droplets on the tank.
Factors That Make It Worse
Several factors can increase the likelihood and severity of toilet tank sweating:
- High Humidity: The more humid your bathroom, the more moisture is in the air, and the more condensation you’ll see.
- Cold Water Supply: If your incoming water is very cold, the temperature difference is greater, leading to more condensation.
- Poor Ventilation: Bathrooms without good ventilation trap moist air, exacerbating the problem.
- Seasonal Changes: Sweating might be worse in the summer when humidity levels are typically higher.
Why is Toilet Tank Sweating a Problem?
While a little bit of condensation might seem harmless, ignoring it can lead to several issues:
- Water Damage: Constant dripping can damage your flooring, especially if you have wood or laminate.
- Mold Growth: Damp environments are breeding grounds for mold and mildew, which can cause health problems and unpleasant odors.
- Wasted Water: Although the sweating itself doesn’t waste water, it can mask actual leaks from the toilet, leading to unnoticed water waste.
- Unsightly Appearance: A constantly wet toilet tank is simply not appealing.
Simple Solutions to Stop Toilet Tank Sweating
Now that you understand why your toilet tank is sweating, let’s explore some easy solutions you can try.
1. Improve Bathroom Ventilation
Better ventilation helps reduce humidity, which in turn reduces condensation. Here’s how:
- Use the Exhaust Fan: Always turn on the bathroom exhaust fan when showering or bathing, and leave it running for at least 15-20 minutes afterward to remove excess moisture.
- Open a Window: If the weather permits, open a window to allow fresh air to circulate.
- Consider a Dehumidifier: In particularly humid climates, a small bathroom dehumidifier can make a big difference.
2. Insulate the Toilet Tank
Insulating the tank helps to keep the water inside closer to room temperature, reducing the temperature difference that causes condensation.
Materials You’ll Need:
- Toilet Tank Insulation Kit: These kits are readily available at most hardware stores and contain pre-cut foam pieces designed to fit inside your toilet tank.
- Scissors or Utility Knife: For trimming the insulation if needed.
- Clean Cloth or Sponge: To clean the inside of the tank.
Step-by-Step Instructions:
- Turn Off the Water Supply: Locate the shut-off valve behind the toilet (usually near the floor) and turn it clockwise to stop the water flow.
- Flush the Toilet: Flush the toilet to empty the tank as much as possible. Use a sponge to remove any remaining water.
- Clean the Inside of the Tank: Wipe down the inside of the tank with a clean cloth or sponge to remove any dirt or debris.
- Install the Insulation: Follow the instructions included with your insulation kit. Typically, this involves peeling off the adhesive backing and sticking the foam pieces to the inside walls of the tank. Trim as needed to fit around the toilet’s components.
- Turn the Water Supply Back On: Slowly turn the shut-off valve counterclockwise to allow water to refill the tank.
- Check for Leaks: Keep an eye on the tank for any leaks around the insulation.
3. Install a Toilet Tank Mixing Valve
A mixing valve blends a small amount of hot water with the cold water entering the toilet tank. This raises the water temperature and reduces condensation. This is a more involved solution, but it can be very effective.
Materials You’ll Need:
- Toilet Tank Mixing Valve: Purchase a mixing valve designed for toilets.
- Adjustable Wrench: For tightening plumbing connections.
- Teflon Tape: To seal threaded connections and prevent leaks.
- Bucket: To catch any water during the installation.
Step-by-Step Instructions:
- Turn Off the Water Supply: Locate the shut-off valve behind the toilet and turn it clockwise to stop the water flow.
- Flush the Toilet: Flush the toilet to empty the tank as much as possible. Use a sponge to remove any remaining water.
- Disconnect the Water Supply Line: Use an adjustable wrench to disconnect the water supply line from the bottom of the toilet tank. Have a bucket ready to catch any remaining water in the line.
- Install the Mixing Valve: Follow the manufacturer’s instructions for installing the mixing valve. This usually involves connecting the valve to both the hot and cold water supply lines. Use Teflon tape on all threaded connections to ensure a tight seal.
- Reconnect the Water Supply Line: Reconnect the water supply line to the mixing valve.
- Adjust the Water Temperature: Most mixing valves have an adjustment knob to control the amount of hot water that is mixed in. Start with a low setting and gradually increase it until the condensation disappears. Be careful not to make the water too warm.
- Turn the Water Supply Back On: Slowly turn the shut-off valve counterclockwise to allow water to refill the tank.
- Check for Leaks: Carefully inspect all connections for leaks. Tighten as needed.
4. Use a Toilet Tank Heater
A toilet tank heater is a small, submersible heater that warms the water inside the tank. This raises the water temperature and reduces condensation. It’s a simple plug-and-play solution.
Materials You’ll Need:
- Toilet Tank Heater: Choose a model specifically designed for toilet tanks.
Step-by-Step Instructions:
- Turn Off the Power: Plug the toilet tank heater into a GFCI outlet near the toilet. Ensure the outlet is grounded.
- Submerge the Heater: Carefully place the heater inside the toilet tank, following the manufacturer’s instructions. Most models have suction cups to secure them to the tank’s wall.
- Adjust the Temperature: If the heater has a temperature setting, start with a low setting and gradually increase it until the condensation disappears. Be careful not to make the water too warm.
- Monitor: Check the tank regularly to ensure there are no issues.
5. Consider an Anti-Condensation Valve
An anti-condensation valve is installed on the water supply line to the toilet. It allows a small amount of warm water to enter the tank along with the cold water, raising the overall water temperature and reducing condensation.
Materials You’ll Need:
- Anti-Condensation Valve: Purchase an anti-condensation valve designed for toilets.
- Adjustable Wrench: For tightening plumbing connections.
- Teflon Tape: To seal threaded connections and prevent leaks.
- Bucket: To catch any water during the installation.
Step-by-Step Instructions:
- Turn Off the Water Supply: Locate the shut-off valve behind the toilet and turn it clockwise to stop the water flow.
- Flush the Toilet: Flush the toilet to empty the tank as much as possible. Use a sponge to remove any remaining water.
- Disconnect the Water Supply Line: Use an adjustable wrench to disconnect the water supply line from the bottom of the toilet tank. Have a bucket ready to catch any remaining water in the line.
- Install the Anti-Condensation Valve: Follow the manufacturer’s instructions for installing the valve. This usually involves connecting the valve to the water supply line and then to the toilet tank. Use Teflon tape on all threaded connections to ensure a tight seal.
- Turn the Water Supply Back On: Slowly turn the shut-off valve counterclockwise to allow water to refill the tank.
- Check for Leaks: Carefully inspect all connections for leaks. Tighten as needed.
6. Lower the Humidity in Your Bathroom
Reducing humidity in your bathroom can greatly minimize toilet tank sweating.
- Take Shorter, Cooler Showers: Hot, steamy showers release a lot of moisture into the air.
- Fix Leaks Promptly: Repair any leaking faucets or showerheads to prevent excess moisture.
- Dry Wet Surfaces: Wipe down shower walls and floors after use to remove standing water.
- Improve Air Circulation: Keep the bathroom door open when not in use to allow air to circulate.
7. Use a Drip Tray
A simple, immediate solution is to place a drip tray under the toilet tank to catch the condensation. This won’t stop the sweating, but it will protect your floor from water damage.
Materials You’ll Need:
- Drip Tray: A shallow plastic or metal tray that fits under the toilet tank.
Step-by-Step Instructions:
- Position the Tray: Carefully slide the drip tray under the toilet tank so that it catches any dripping water.
- Empty Regularly: Empty the tray regularly to prevent overflow and mold growth.
Troubleshooting Common Issues
Even with these solutions, you might encounter some challenges. Here’s how to troubleshoot them:
| Issue | Possible Cause | Solution |
|---|---|---|
| Sweating persists after insulation. | Inadequate insulation or extremely high humidity. | Ensure the insulation is properly installed and consider a dehumidifier. |
| Mixing valve not working effectively. | Incorrect installation or faulty valve. | Double-check the installation and replace the valve if necessary. |
| Leaks after installing a mixing valve. | Loose connections. | Tighten all connections with an adjustable wrench and use Teflon tape. |
| Drip tray overflowing. | Tray is too small or not emptied frequently enough. | Use a larger tray and empty it more often. |
Preventative Measures
Once you’ve tackled the sweating issue, here are some preventative measures to keep it from returning:
- Regularly Check for Leaks: Inspect your toilet and plumbing for any signs of leaks and repair them promptly.
- Maintain Good Ventilation: Always use the exhaust fan during and after showers, and ensure it’s working properly.
- Monitor Humidity Levels: Keep an eye on the humidity levels in your bathroom, especially during humid months.
Cost Considerations
Here’s a breakdown of the costs associated with each solution:
| Solution | Estimated Cost |
|---|---|
| Improve Bathroom Ventilation | $0 – $100 (depending on whether you need to replace the exhaust fan) |
| Insulate the Toilet Tank | $10 – $30 (for an insulation kit) |
| Install a Toilet Tank Mixing Valve | $30 – $100 (for the valve and installation supplies) |
| Use a Toilet Tank Heater | $20 – $50 (for the heater) |
| Consider an Anti-Condensation Valve | $25 – $75 (for the valve and installation supplies) |
| Use a Drip Tray | $5 – $20 (for a plastic or metal tray) |
Safety Tips
When working on plumbing projects, safety should always be your top priority.
- Turn Off the Water Supply: Always turn off the water supply before disconnecting any plumbing.
- Use Teflon Tape: Apply Teflon tape to all threaded connections to prevent leaks.
- Wear Gloves: Protect your hands from dirt and bacteria by wearing gloves.
- Be Careful with Electrical Components: If using a toilet tank heater, ensure the outlet is GFCI-protected and follow the manufacturer’s instructions carefully.
FAQ About Toilet Tank Sweating
Here are some frequently asked questions about toilet tank sweating:
1. Is toilet tank sweating a sign of a leak?
No, toilet tank sweating is usually caused by condensation, not a leak. However, the constant moisture can sometimes mask a real leak, so it’s important to check your toilet regularly.
2. Can toilet tank sweating cause mold?
Yes, the damp environment created by toilet tank sweating can promote mold and mildew growth. Addressing the sweating issue can help prevent mold problems.
3. Is it safe to drink water from a toilet tank?
No, it is not safe to drink water from a toilet tank. The water is not potable and may contain bacteria and other contaminants.
4. How do I know if my bathroom has poor ventilation?
Signs of poor ventilation include condensation on mirrors and windows, musty odors, and slow-drying surfaces after showering.
5. Can I use regular foam insulation instead of a toilet tank insulation kit?
While you could, it’s best to use a kit specifically designed for toilet tanks. These kits contain pre-cut pieces that fit properly and won’t interfere with the toilet’s components.
6. Will a toilet tank heater increase my electricity bill?
Yes, a toilet tank heater will use some electricity, but the amount is usually minimal. Look for energy-efficient models to minimize the impact on your bill.
7. When should I call a plumber about toilet tank sweating?
If you’ve tried several solutions and the sweating persists, or if you suspect there might be an underlying plumbing issue, it’s best to call a plumber for professional assistance.
Conclusion
Toilet tank sweating is a common problem, but with a little knowledge and effort, you can easily tackle it yourself. By understanding the causes and following the step-by-step solutions outlined in this guide, you can eliminate condensation, prevent water damage, and keep your bathroom clean and healthy. Whether you choose to improve ventilation, insulate your tank, or install a mixing valve, you’ll be well on your way to a sweat-free toilet. So, roll up your sleeves, grab your tools, and get ready to say goodbye to that pesky toilet tank sweating for good!


